DIY Glowing Moon Rocks: Your Ultimate Guide to Crafting Celestial Magic
Hello fellow crafters! Today, I’m thrilled to share my journey into the enchanting world of DIY Glowing Moon Rocks. After countless evenings spent marveling at the night sky, I yearned to bring a piece of that celestial beauty into my home. These glowing moon rocks have become a beloved decoration, effortlessly transforming any space with their ethereal glow. Whether you’re planning a stargazing party, decorating your garden, or just looking to add a magical touch to your home, these glowing wonders are perfect for you!
What Are Glowing Moon Rocks?
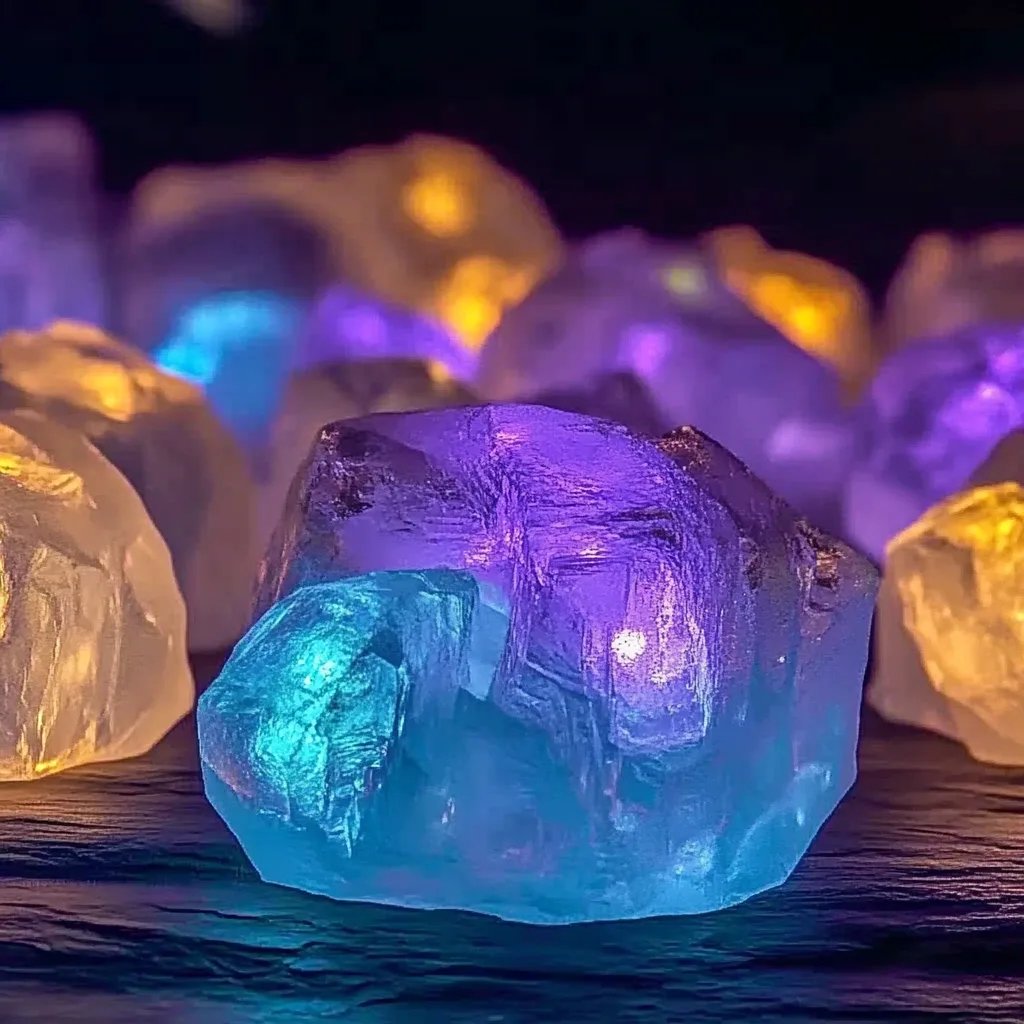
Glowing moon rocks are essentially decorative stones that glow in the dark, resembling the mystical allure of the moon. Made from natural stones or even craft stones, they are coated with phosphorescent (glow-in-the-dark) paint or powders. They’re popular among crafters, gardeners, and anyone looking to create an ambient atmosphere. Imagine placing them in your garden or around your patio—this ethereal glow creates a serene and enchanting environment, perfect for summer evenings or a cozy winter night.
Why I Love Making DIY Glowing Moon Rocks
- Versatility: Use them indoors, outdoors, or even as party favors.
- Simplicity: Requires few materials and basic crafting skills, making it accessible to everyone.
- Personal Touch: Each moon rock can be uniquely designed, adding your individual flair.
- Stress Relief: Crafting is a fantastic way to unwind, and creating these glowing beauties offers a rewarding experience.
Let’s dive into the crafting process, shall we? I’ll guide you through every step while sharing tips and tricks to avoid common pitfalls!
Materials You’ll Need
Before we get started, here’s a list of materials. Trust me, having everything at hand makes the process smoother!
- Natural stones (or craft stones) – Opt for smooth, rounded shapes for an authentic look.
- Glow-in-the-dark paint – Phosphorescent paint is key for that magical glow. You can find this at craft stores or online.
- Paintbrushes – Use both small and medium-size brushes for detail and coverage.
- Sealant spray – This will protect your moon rocks once they’re fully dry.
- Newspaper or a drop cloth – For your workspace to catch any spills.
- Pail of water and soap – For cleaning stones if needed.
- Optional: Glitter or other embellishments for added flair.
Step-by-Step Tutorial
Now, let’s get crafting!
Step 1: Collect Your Stones
Why This Matters: The size and shape of your stones will affect the results, so select those that resonate with you.
I’ve sourced my stones from local beaches and riverbanks, but craft stores often sell lovely selections too. Remember, the type of stone impacts the final result; some absorb glow-in-the-dark paint better than others. You might consider smooth river stones as they offer a natural appeal.
Step 2: Clean and Dry the Stones
Before painting, it’s crucial to clean your stones to remove any dust, muck, or residue.
What Could Go Wrong: If the stones are dusty, the paint won’t adhere well.
Solution: Rinse thoroughly and let them dry completely. Pat them with a towel for an extra touch.
Step 3: Apply Glow-in-the-Dark Paint
Here’s where the magic begins! Choose a well-ventilated area, ideally outside or in a garage.
I start by applying a layer of glow-in-the-dark paint to the whole stone using a medium brush. Here’s how I do it:
- Begin with a thin base coat. This won’t be your final layer, so it doesn’t need to be perfect.
- Allow the first coat to dry (usually about 30 minutes to an hour).
- Once dry, apply a second layer for that vibrant glow.
What Could Go Wrong: If your first layer is too thick, it may bubble or peel.
Solution: Just remember to apply thin layers.
Tip: Use different colors of glow paint (like green, blue, or even purple) to create a more vibrant mix of colors on the stones!
Step 4: Add Glitter (Optional)
For an extra sprinkle of magic, consider adding glitter while the paint is still wet. It’ll stick wonderfully and give your moon rocks a celestial sparkle!
Be Careful: Ensure the paint is still tacky when adding glitter; otherwise, it won’t bond and can fall off.
Step 5: Seal Your Moon Rocks
Once your stones are completely dry (usually after 4-6 hours), it’s time to protect your masterpiece!
Spray your rocks with a sealant to help them withstand the elements if they are going outside. Ensure you do so in a well-ventilated space, as some sealants can have strong fumes.
Step 6: Charge and Display
To make your moon rocks shine, place them in a light source beforehand—sunlight works best. The more they charge, the brighter they’ll glow later!
Feel free to create a gorgeous display. I love using glass jars filled with faux moss and integrating my moon rocks for a whimsical touch on our porch.
Creative Variations
- Salt Dough Moon Rocks: Instead of stones, you can create moon rocks using a simple salt dough recipe (salt, flour, and water). Shape them into spheres and paint as usual.
- Mix with Natural Ingredients: If you’re feeling adventurous, try mixing sand into your paint for an earthy texture.
- Themed Decorations: Paint inspired by different celestial bodies—like stars or planets for a full-space theme.
Wrapping It Up
Making DIY Glowing Moon Rocks is not only a delightful way to spark your creativity but also a beautiful addition to any space. Throughout this process, I felt my worries melt away, and I hope you will too. Remember, crafting is a journey; every piece you make holds a story and a memory.
Do take your time with each step; the journey is just as rewarding as the completed project. If you run into any hiccups, don’t hesitate to reach out for guidance or explore online forums where crafters share their tips.
So get out there, gather your materials, and let your imagination run wild with these glowing beauties! I can't wait to hear about your own glowing moon rocks adventures. Remember, the universe is your canvas—go create your masterpiece! 🌙✨