DIY Glitter Jar: An Incredible Ultimate Craft for Everyone
DIY Glitter Jar is an amazing way to add a touch of sparkle to your home while creating a calming sensory tool. Whether you're looking to engage your kids in a fun art project or simply want to craft something beautiful for your own space, a glitter jar offers a wonderful outlet for both creativity and relaxation. The gentle swirls of glitter can create a mesmerizing effect that helps soothe minds and adds a decorative flair to any room.
If you’ve ever envisioned creating something magical from simple materials, this DIY Glitter Jar will fulfill that dream. Imagine shaking a jar filled with shimmering colors, watching them dance and swirl through the liquid. This craft is not only enjoyable, but it also brings an element of tranquility, making it perfect for both kids and adults alike. In this guide, you will discover why making a DIY Glitter Jar is so worthwhile, the materials you require, and a step-by-step process to achieve an intricate result.
Creating a glitter jar isn't just about the final product; it’s an experience filled with joy and creativity. You can customize it to reflect your personality or seasonal themes, making it a fun and versatile project. Let's dive into why this craft will soon become one of your favorites!
Why You’ll Love This DIY Glitter Jar
There are several reasons that make making a DIY Glitter Jar a delightful experience:
- Simple Materials: Most of the items needed can likely be found at home or purchased inexpensively.
- Creative Expression: You can personalize your jar with different colors, types of glitter, and materials to suit your style.
- Relaxation Tool: The gentle movement of glitter can help calm anxiety or stress, serving as an effective mindfulness tool.
- Kids Friendly: This project is suitable for all ages and can be enjoyed as a family bonding activity.
- Endless Possibilities: Adjust the size, colors, and shapes to create unique jars for different occasions, such as holidays or gifts.
- Fun Educational Activity: It teaches children about liquid dynamics, color mixing, and sensory experiences.
With all these factors combined, a DIY Glitter Jar stands out as not just a craft but a meaningful experience that brings family and friends together.
Preparation and Cooking Time
Getting started with your DIY Glitter Jar will be quick and easy. Here's a breakdown of the time required:
- Preparation Time: 10 minutes
- Crafting Time: 20-30 minutes
- Drying Time: Minimal (as it's a non-baking craft)
Overall, you can expect to spend about 30-40 minutes creating your glitter jar from start to finish, depending on your level of creativity and personalization.
Ingredients
- 1 clear glass or plastic jar with a lid
- Distilled water
- Clear glue or glitter glue
- Food coloring (optional)
- Fine glitter (in various colors)
- A small mixing utensil (like a spoon)
- Optional decorations (e.g., ribbons, stickers)
Step-by-Step Instructions
Creating your DIY Glitter Jar is easier than it seems. Just follow these simple steps:
- Gather Materials: Collect all your supplies in one place to streamline the process.
- Prepare the Glue Mixture: In a bowl, mix equal parts of clear glue and distilled water. This will act as the thickening agent for your glitter. Stir well until combined.
- Add Color: If you want to add color to your glitter jar, mix in a few drops of food coloring into the glue mixture.
- Pour Glitter: Choose your glitter colors and pour them into the mixture. Feel free to use multiple colors for a more vibrant look. Start with 2-3 tablespoons of glitter.
- Combine Mixtures: Pour the glue glitter mixture into your jar, filling it about two-thirds full.
- Add Water: Fill the remaining space in the jar with distilled water, leaving a little room at the top so that it doesn't overflow when shaking.
- Seal the Jar: Securely close the lid of your jar to prevent any spills. If you're using a plastic jar, ensure that it’s tightly sealed.
- Shake and Enjoy: Slowly shake the jar and watch the glitter swirl and settle beautifully.
How to Serve
Your DIY Glitter Jar is now complete, and it can be utilized in various engaging ways:
- Display: Place your glitter jar on a shelf or table as a beautiful decorative piece.
- Sensory Tool: Use it as a calming sensory tool by observing the glitter when feeling stressed or anxious.
- Gift Option: Consider creating a glitter jar as a thoughtful gift for friends or family. Personalize it to match their favorite colors.
- Theme-Based Decor: Create seasonal jars for holidays (like red and green for Christmas or pastels for Easter) to keep your home festive year-round.
- Mindfulness Practice: Encourage children and adults alike to focus on the movement of glitter as a practice for mindfulness and relaxation.
By keeping these serving suggestions in mind, you can enhance the utility and enjoyment of your DIY Glitter Jar. Create, shake, and share the magic of your creation!
Additional Tips
- Personalize Your Jar: Use different colors or types of glitter to express your style. You can also add small personal items or mementos to make it uniquely yours.
- Be Mindful of the Glitter: While it’s visually appealing, be cautious with the amount of glitter you use. Too much can overwhelm the aesthetic.
- Test for Spills: If you're unsure about the seal, conduct a test shake over a sink to ensure the lid holds.
Recipe Variation
Feel free to explore these variations to make your DIY Glitter Jar stand out even more:
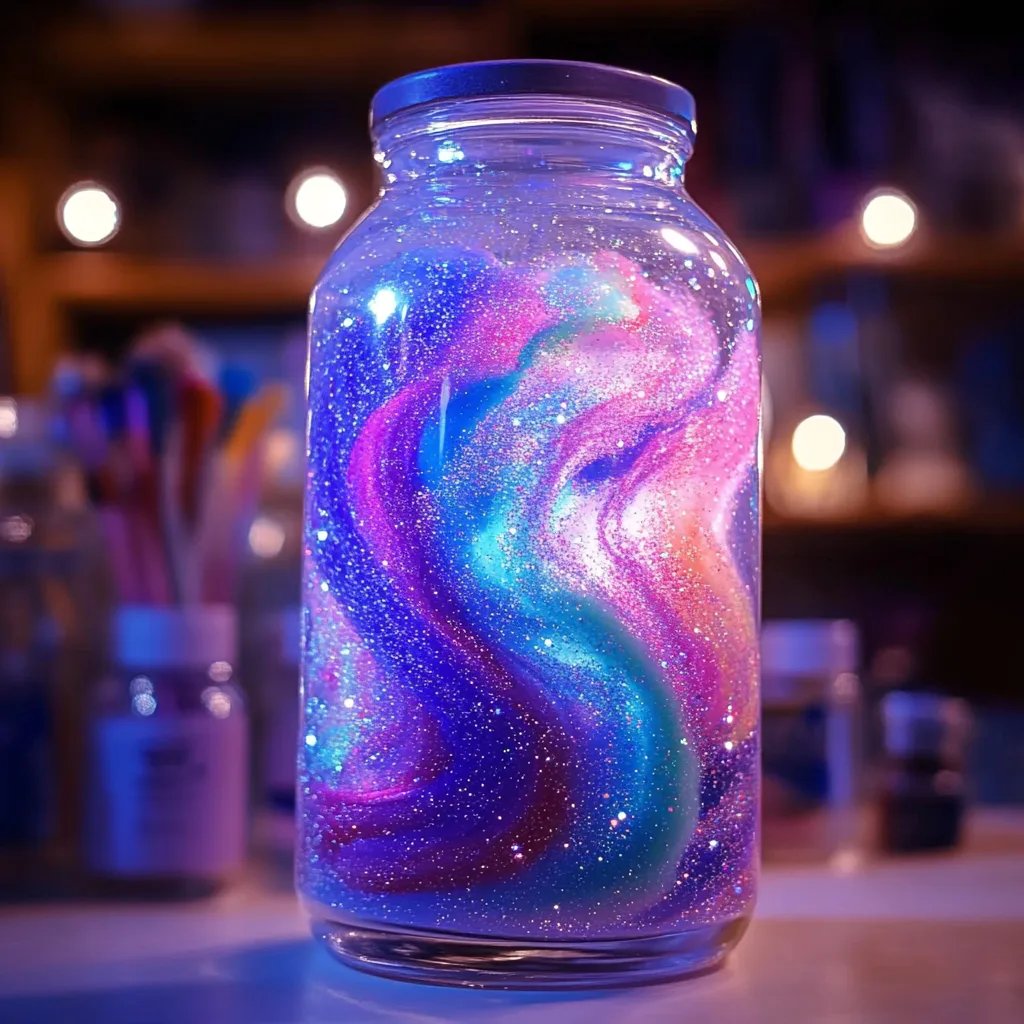
- Themed Jars: Make glitter jars with themes in mind, such as ocean colors (blues and greens) or galaxy-themed colors (dark purples and whites) for a cosmic effect.
- Adding Shapes: Incorporate small foam shapes, beads, or sequins along with the glitter for added texture and visual interest.
- Using Different Liquids: Instead of distilled water, try using clear soda or tonic water for a fun twist with slight fizziness, adding another dynamic to the glitter movement.
Freezing and Storage
- Storage: Your glitter jar should be kept in a cool, dry place when not in use. It’s best to store it out of direct sunlight to preserve the colors.
- Long-Term Storage: While glitter jars do not require freezing, if you have any leftover glue or glitter mixtures, store them tightly sealed in an airtight container to maintain freshness.
Special Equipment
You will need the following essential materials to create a perfect DIY Glitter Jar:
- A clear jar, preferably glass, for a classic look.
- A mixing bowl for combining the glue and water.
- A spoon or stick for stirring the mixtures.
- A funnel (optional) for easier pouring into the jar without spilling.
Frequently Asked Questions
How long does the glitter last in the jar?
With proper sealing, the glitter will suspend in the liquid indefinitely, creating a lasting decorative piece.
Can I add other materials, like small toys or keepsakes?
Absolutely! Adding small items can enhance the sensory experience and make the jar more personal.
Is this project suitable for very young children?
While the craft is generally kid-friendly, it’s a good idea to supervise young children, especially when working with small items or pouring liquids.
How do I clean the jar if I want to change the design?
You can rinse out the jar with warm, soapy water. If needed, soak it to remove any residual contents before starting anew.
Can I use colored glue instead of mixing food coloring?
Yes! Using colored glue can provide a vibrant effect without needing to mix additional dyes.
Conclusion
Making a DIY Glitter Jar is a fun and creative way to express yourself while creating a beautiful sensory tool. With a few simple materials and steps, you can craft a piece that not only decorates your home but serves as a peaceful retreat during stressful moments. Whether you’re looking to engage your children in a fun project, create thoughtful gifts, or simply enjoy a mesmerizing display, this craft fits the bill!
Engage your imagination, gather your materials, and let the glitter swirl! Your DIY Glitter Jar awaits—full of charm, color, and character that you can showcase or use as a calming companion. So, why wait? Dive into this engaging project and experience the joy it brings!