DIY Gel Air Fresheners: An Amazing Ultimate Guide
DIY Gel Air Fresheners are a wonderful way to refresh your home with delightful scents. Not only do they eliminate unpleasant odors, but they also allow you to personalize fragrances to suit your mood and environment. Using natural ingredients, you can create gel air fresheners that smell incredible without exposing your family to harsh chemicals. This guide will take you through the process of making your own gel air fresheners, and you'll soon discover why this creative endeavor is an essential addition to your home care routine.
The satisfaction of crafting something beautiful and useful cannot be overstated. Imagine walking into a space enveloped in your favorite fragrance, all thanks to your DIY efforts. DIY Gel Air Fresheners offer not just fragrance but also the charm of homemade touches. They can clutter your shelves with openly displayed jars, each contributing to the décor. You will be pleasantly surprised by how easy and enjoyable this project can be.
Get ready to explore the incredible realm of scents, as you learn why making your own gel air fresheners is both fun and rewarding. With a few simple ingredients and steps, you can create unique scents that tailor to your preference. Let's delve into why this recipe is worth your time!
Why You'll Love This Recipe
DIY Gel Air Fresheners present numerous advantages that make them an exciting project for your home. Consider these points:
- Natural Ingredients: Utilizing essential oils and natural elements means you avoid harmful chemicals found in commercial air fresheners.
- Customizable Scents: You can create personalized fragrances based on your preferences. Mix different essential oils for unique combinations.
- Budget-Friendly: Making your own gel air fresheners is economical. You can create several batches at minimal cost compared to store-bought options.
- Simple Process: The steps are easy to follow, even for beginners. It’s a straightforward project that doesn’t require special skills.
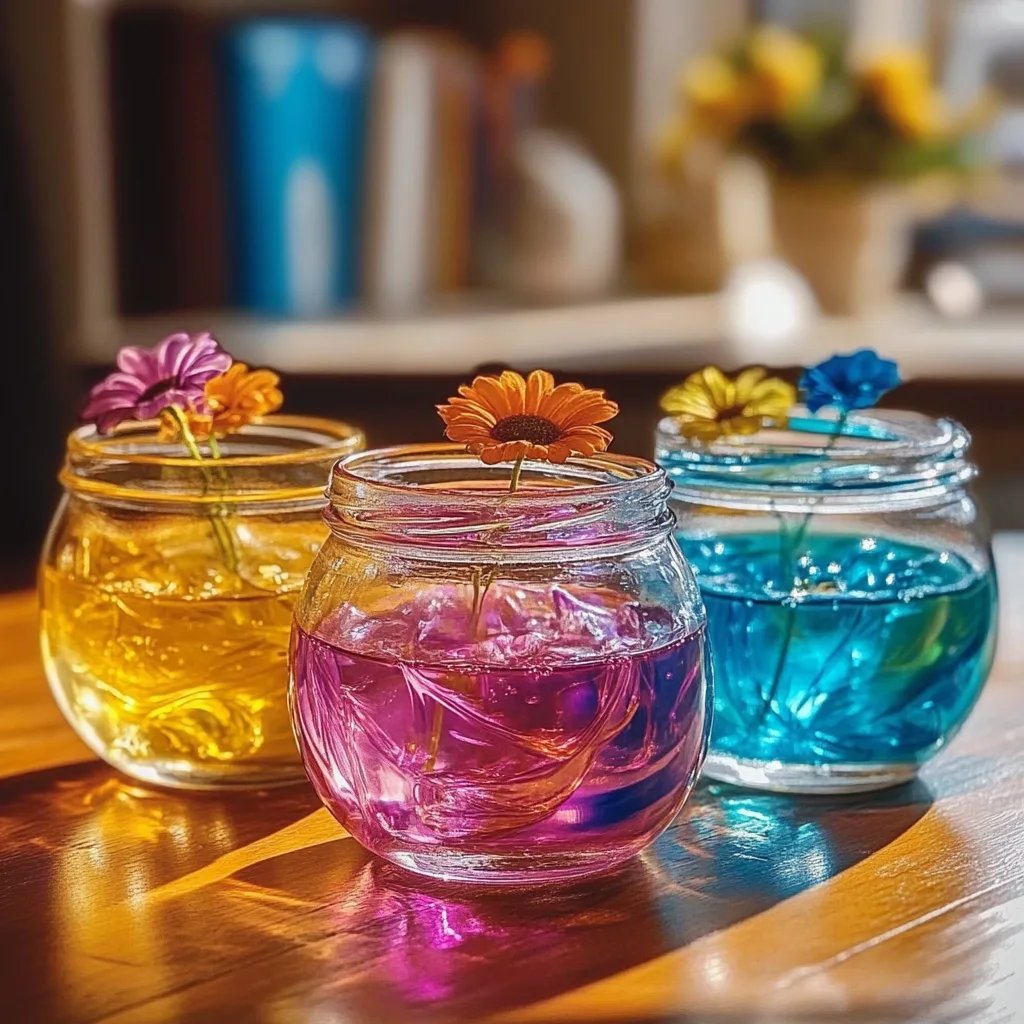
- Beautiful Decor: Your DIY creations can serve as lovely decor items. Choose jars that match your household aesthetic.
- Sustainable Choice: Use recyclable materials and avoid plastic, making this a green choice for your home environment.
Embracing the art of making DIY Gel Air Fresheners means delving into the world of scents while enjoying a creative outlet. You won’t just make your home smell fresh; you'll also feel a sense of accomplishment from making something on your own.
Preparation and Cooking Time
In total, preparing your DIY Gel Air Fresheners will take about 30 minutes, including the setup and cooling time. Here's a breakdown:
- Preparation Time: 15 minutes
- Cooling Time: 10-15 minutes
- Total Time: Approximately 30 minutes
This short time investment offers lasting rewards, as you can enjoy your delightful scents for weeks thereafter.
Ingredients
- 1 cup distilled water
- 1 tablespoon unflavored gelatin
- 1 tablespoon salt (acts as a preservative)
- 25-30 drops of essential oil (your choice of scents)
- Food coloring (optional, for visual appeal)
- Small jars or containers (to hold the gel air fresheners)
Step-by-Step Instructions
Creating your DIY Gel Air Fresheners is an exciting project that can be accomplished with ease. Follow these steps:
- In a small saucepan, heat 1 cup of distilled water over medium heat.
- Slowly add 1 tablespoon of unflavored gelatin to the warm water, whisking continuously until fully dissolved.
- After the gelatin has dissolved, add 1 tablespoon of salt and continue stirring until fully mixed.
- Remove the saucepan from heat and let it sit for a couple of minutes to cool slightly.
- Add 25-30 drops of your preferred essential oil to the mixture for fragrance. Experiment with various blends for unique aromas!
- If desired, include a few drops of food coloring to personalize the appearance of your gel.
- Carefully pour the mixture into your small jars or containers. Leave some space at the top for the gel to expand as it cools.
- Allow the gel air fresheners to cool completely at room temperature before placing them in your desired locations.
- Once cooled and set, these gel air fresheners are ready to use!
These simple steps will guide you in making delightful air fresheners that enhance the atmosphere of any room.
How to Serve
Properly presenting and using your DIY Gel Air Fresheners can enhance their effectiveness and aesthetic appeal. Consider the following tips when serving them:
- Placement: Position your gel air fresheners in areas where odors often linger, such as kitchens, bathrooms, or living rooms.
- Decorative Touches: Use attractive jars that complement your interior design. A rustic look or elegant glass can add charm to your spaces.
- Mix Scents: Create a variety of scents and place them in different rooms for a complete fragrant experience throughout your home.
- Replace When Needed: Monitor the strength of the scent. Refresh your gel air fresheners every two weeks or as needed by adding more essential oils.
- Safety Considerations: Ensure that they are out of reach of children and pets. Although natural, some essential oils may not be safe for ingestion.
By thoughtfully placing and maintaining your DIY Gel Air Fresheners, you can enjoy the wonderful scents for an extended period, keeping your home smelling delightful. Whether for everyday freshness or special occasions, these charming air fresheners will enhance the ambiance of your living space beautifully.
Additional Tips
- Experiment with Scents: Try blending various essential oils to create personalized fragrances. Notes like citrus, wood, or floral can be combined for unique aromas.
- Adjust Consistency: If you prefer a firmer gel, add a bit more gelatin. For a softer gel, you can reduce the gelatin slightly.
- Personalize the Jars: Consider decorating your jars with labels, twine, or stickers. This adds a fun, whimsical touch to your home décor.
- Use Fresh Ingredients: Freshly sourced essential oils will offer better fragrance than older or synthetic versions. Make sure they are pure and high quality.
- Stir Regularly: If you notice the mixture starting to set before pouring, just give it a quick stir to re-mix the ingredients.
Recipe Variation
Explore variations in scents and sizes to spice up your DIY Gel Air Fresheners!
- Herbal Aroma: Combine essential oils like lavender, eucalyptus, and peppermint to create a refreshing herbal blend.
- Seasonal Scents: Make a holiday-themed air freshener using cinnamon, clove, and orange essential oils for a cozy seasonal vibe.
- Citrus Spritz: Mix lemon, lime, and grapefruit essential oils for a bright, energizing scent that uplifts your space.
- Floral Fantasy: Blend rose, jasmine, and ylang-ylang essential oils for a soft, romantic fragrance perfect for bedrooms.
- Mini Jars: Instead of large jars, use small mason jars or even silicone molds to create smaller, portable versions of your air fresheners.
Freezing and Storage
- Storage: Keep your gel air fresheners in a cool, dry place. Ideally, store them in an airtight container to keep them effective for longer.
- Refrigeration: They can be refrigerated if you want to prolong their life, but it’s not necessary.
- Freezing: You can freeze the gel air fresheners in a freezer-safe container but remember that the texture may change upon thawing.
Special Equipment
Having the right tools can streamline your DIY process:
- Measuring Cups and Spoons: Accurate measurement ensures the right consistency.
- Small Saucepan: For heating the water and dissolving the gelatin.
- Whisk: To mix the gelatin evenly into the water.
- Heat-Proof Jars/Containers: Make sure your containers can withstand heat while pouring the hot mixture.
- Sealable Containers: To store your finished air fresheners safely.
Frequently Asked Questions
How long will my DIY Gel Air Fresheners last?
With proper storage, they can last around 2-4 weeks before the scents start to fade.
Can I use different oils that are not essential oils?
It’s best to stick with essential oils for the natural fragrance, as other types may not provide the same aroma or could introduce unwanted chemicals.
Do I need to refrigerate the gel air fresheners?
Refrigeration is not necessary, but it can help prolong their life. Store them in a cool, dry area for best results.
What if I want a stronger scent?
You can increase the number of essential oil drops to intensify the fragrance. Start with a small amount and slowly add more until you reach the desired scent.
Are DIY Gel Air Fresheners safe for children and pets?
While the ingredients are natural, ensure that the essential oils you choose are safe for both children and pets. Always store them out of reach.
Conclusion
Creating your own DIY Gel Air Fresheners is a rewarding project that combines creativity with functionality. Not only do they make your home smell fresh and inviting, but they also allow you to incorporate your personal scent preferences. The process is straightforward, making it accessible for everyone, even beginners. With a variety of scent combinations and decorative options, your DIY air fresheners can be as unique as you are. Enjoy the satisfaction of crafting something wonderful that enhances your living space while prioritizing natural and budget-friendly ingredients.