DIY Flowers Salt Painting for Kids: A Colorful Craft Adventure
As a lifelong crafting enthusiast, I’ve always believed in the magic of creating with our own hands—there’s something incredibly special about transforming simple materials into vibrant works of art. One of my favorite projects, especially for kids, is DIY Flowers Salt Painting. This fun technique not only introduces children to the basics of watercolor painting but also encourages them to explore their creativity while learning a bit about the science of color and texture.
Whether you’re looking for a rainy day activity, a fun project for a birthday party, or simply a way to foster creativity at home, salt painting is a wonderful choice. The grains of salt create a stunning reaction with the watercolors, resulting in enchanting “flowers” that can brighten up any space. So, grab your supplies, and let’s dive into this colorful crafting adventure!
Why Salt Painting?
Salt painting, especially when combined with a floral theme, captivates the imagination of kids and adults alike. The way the salt interacts with the watercolor creates unique textures, making each painting truly one-of-a-kind. This technique is popular because it’s relatively simple, requires easily accessible materials, and allows for creativity without the pressure of perfection. Plus, the results can be displayed proudly as home decor or gifts for family and friends!
Materials Needed
Before we get started, let’s gather our supplies. Here’s what you’ll need for our DIY Flowers Salt Painting project:
Essential Materials:
- Thick white paper or watercolor paper (A4 size or larger for better results)
- Liquid school glue
- Table salt (not coarse; regular table salt works best)
- Watercolor paints (liquid or pans)
- Paintbrushes (fine-tipped and broader brushes)
- Small containers for mixing colors
- Paper towels or a cloth (for cleanup)
- A shallow tray or tray liner (to catch excess salt)
Optional Materials:
- Food coloring (as a substitute for watercolors)
- Pipettes or droppers (for easier application of watercolors)
Step-by-Step Tutorial
Step 1: Plan Your Design
Before we unleash the paints, let's sketch a simple flower design on our paper. I usually encourage kids to start with a basic flower shape. They can draw one large flower in the center or multiple smaller ones scattered around the page. Remember, this is about exploring creativity, so any design is welcome!
*Tip: If you want to avoid pencil marks, have your child trace over the design with glue instead before sprinkling salt.*
Step 2: Apply Glue and Salt
Once you’re pleased with your design, it’s time to outline it with glue. Squeeze a line of liquid school glue along the pencil or sketched lines of your flower design. As you outline, have an adult assist younger children to ensure a steady hand.
After applying the glue, immediately sprinkle table salt over the wet glue. Make sure to cover each section generously, as this will enhance the texture and help the watercolor adhere later.
*What Could Go Wrong?:* If the glue dries before you add the salt, it won’t hold the salt well. To fix this, you can apply another layer of glue to areas where the salt didn’t stick.
Step 3: Shake Off Excess Salt
Once you've coated your design in salt, gently shake the paper to remove any excess. Work over your shallow tray to capture any leftover salt, which can be reused for the next part of your project.
*Personal Anecdote:* I love the sound of salt tinkling as it falls away! It’s a little joyful sensory moment—reminding me that craft projects should be fun, not just about the final product.
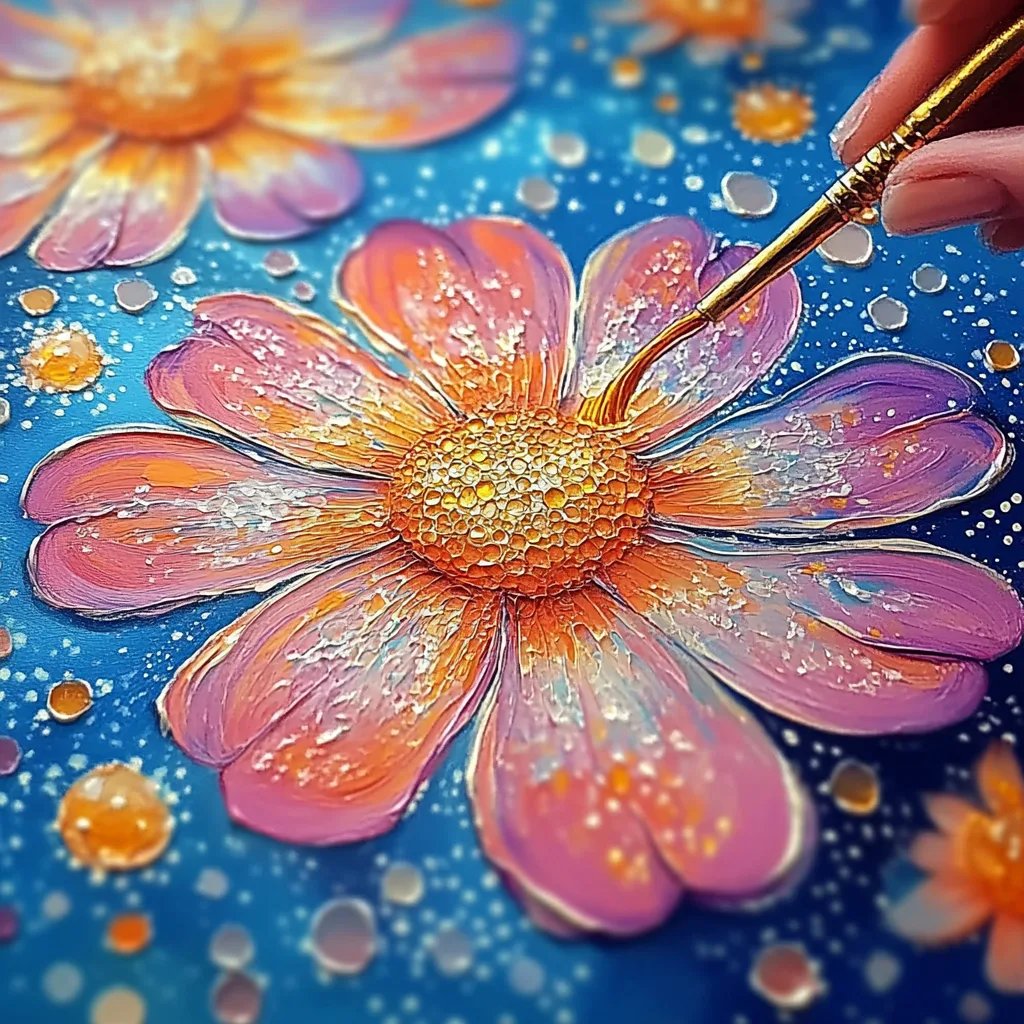
Step 4: Introduce Watercolors
Now comes the exciting part—adding color! Using a damp paintbrush, gently touch the watercolors to the salt-covered areas. The colors will spread in unexpected ways, creating beautiful, organic shapes and patterns as they react with the salt.
*Tip: If using food coloring instead of watercolors, the process remains the same! Just keep in mind that the results may differ slightly in intensity.*
Step 5: Let It Dry
After you’ve finished painting, set your masterpiece aside to dry completely. Depending on how much water you've used, this could take anywhere from a few hours to overnight.
*Safety Warning:* It's crucial not to touch the artwork while it’s drying, as the salt can be fragile and the design could smudge.
Step 6: Display your Art!
Once dry, your creations are ready to be showcased! Frame them, hang them on the fridge, or gift them to family members. Each piece becomes a cherished memento of creativity.
Creative Variations
- Rainbow Flowers: Instead of traditional colors, experiment with creating rainbow effects by mixing multiple colors together.
- Theme Gardens: Create scenes with multiple flowers and even add butterflies and other elements.
- Salt Experiments: Try different salt grains (like kosher salt) for varying textures and effects.
Final Thoughts
Embarking on this DIY Flowers Salt Painting journey with kids opens up a world of creative possibilities. It’s a fantastic way to teach children about colors, textures, and the beauty of imperfection in art. Watching them express themselves freely and enthusiastically is one of the greatest joys of being a crafting guide.
Don’t be afraid to experiment and let your artistic spirit soar! I hope you and your kids enjoy creating beautiful pieces that evoke joy, creativity, and a sense of accomplishment. Happy crafting!