DIY Firework Salt Painting: A Crafting Adventure for All Ages
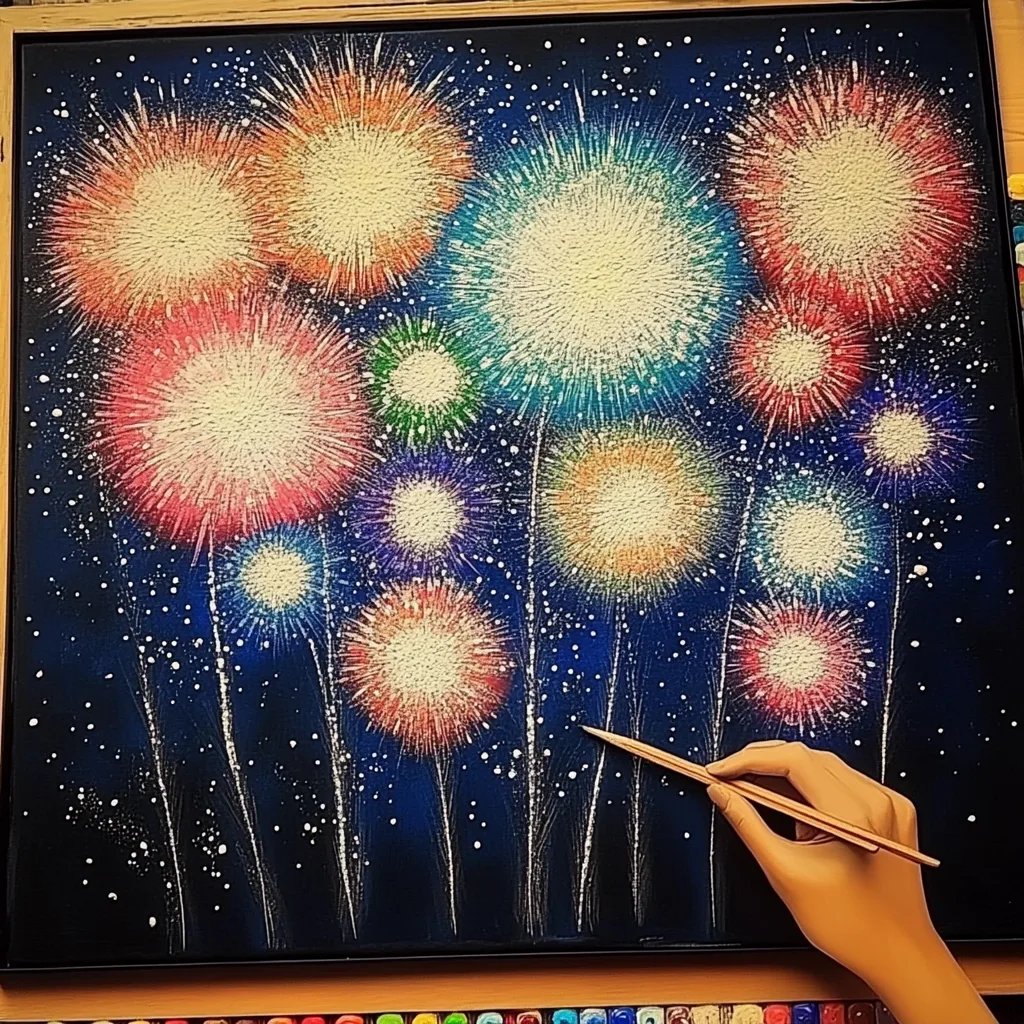
As someone who loves experimenting with different crafting techniques, I’ve come to appreciate how truly magical DIY projects can be, especially when vibrant colors and creativity collide! Today, I'm excited to share with you a wonderfully engaging project that's perfect for all ages: DIY Firework Salt Painting. This art form takes familiar materials you likely already have at home and transforms them into spectacularly vibrant artwork that resembles the dazzling explosions of fireworks. Whether you’re preparing for a festive occasion, looking for an educational activity to do with your kids, or simply wanting to express your creativity, this project is a delightful way to explore art.
Why Firework Salt Painting?
Firework salt painting has gained popularity not just for its eye-catching results but also for its innovative blending of art and science. This project is an excellent way to explore colors, textures, and even a bit of chemistry with the reaction between salt and liquid watercolors. I often use it as a teaching tool, and it can be a fantastic centerpiece for your Independence Day celebrations or any gathering where you want to wow friends and family with a unique and interactive experience.
What You'll Need
Before we dive into the steps, let's gather our materials. The beauty of this project is that it uses simple, accessible supplies:
Materials:
- Thick watercolor paper or cardboard (to hold the salt and withstand water)
- Salt (table salt or coarse salt both work well)
- Liquid watercolors (or food coloring mixed with water)
- Pipettes or small droppers (great for precise application)
- White glue (to help hold the salt in place)
- Small containers (to hold your colors)
- Paintbrushes (for fine detailing if needed)
- A shallow tray (to catch excess salt)
- Optional: Glitter, crayons, or other embellishments for added flair
Safety Warning:
If crafting with children, supervise them closely, especially during the use of liquids and when applying any glue. Always protect your work surface and wear old clothes or an apron, as this can get a little messy!
Step-by-Step Process
Step 1: Designing Your Artwork
First, come up with a design. I often start with simple shapes like circles or starbursts that resemble fireworks. You can use a pencil to lightly sketch this out on your watercolor paper or just freehand your design with glue.
*Why it matters*: Planning your design helps ensure that your finished piece looks cohesive and intentional.
Common Pitfall: Overthinking your design can lead to frustration. Remember, it's about the process as much as the final result!
Step 2: Creating Your Glue Outline
Next, grab your white glue and carefully squeeze it along the pencil lines of your design. The glue will serve as a resist, holding the salt in place and preventing the watercolor from muddying up your artwork.
*Pro Tip*: For more intricate designs, consider using a squeeze bottle for better control.
*Common Pitfall*: If too much glue is applied, it can run and ruin your design. Use a steady hand and slow pressure to avoid this.
Step 3: Applying the Salt
While the glue is still wet, generously sprinkle salt over the design. Make sure to cover all areas of glue completely, as this is what will give your artwork its dazzling sparkle.
*Why it matters*: The salt adheres to the glue, ensuring that it stays in place and contributes to the beautiful texture of your painting.
*Tip*: Do this over a shallow tray to catch any excess salt, making clean up a breeze.
Step 4: Removing Excess Salt
Once the salt has adhered, gently tilt the paper to let the excess fall away back into your tray. You want to keep only the salt stuck to the glue.
*Why it matters*: This step is crucial for a clean look and prevents the color from pooling in unwanted areas.
Step 5: Preparing Your Colors
Now it’s time to mix your colors! If you're using liquid watercolors, pour a small amount into each container. If you're using food coloring, mix a drop or two into some water to create your desired shades.
*Common Pitfall*: Avoid using too much water, as you want a concentrated color to make a more striking impact against the white salt.
Step 6: Painting Your Fireworks
Using your pipettes or droppers, gently drop your colored liquid onto the salt-covered glue outlines.
*Why it matters*: The water will travel along the salt, creating beautiful, blended colors reminiscent of fireworks exploding against the night sky.
*Tip*: Experiment with layering colors and different techniques. You can even use a straw to blow the paint around for added fun!
Step 7: Observing the Reaction
As you apply more color, watch the magic unfold! Observe how the colors bloom, spread, and create stunning, intricate designs. The salt absorbs the color, leading to unique patterns and textures.
*Common Pitfall*: If the colors seem too diluted, don’t hesitate to go back in with more pigment!
Step 8: Let It Dry
After you're satisfied with your artwork, let it sit and dry completely. This could take several hours to overnight, depending on the amount of water used.
*Tip*: Place your artwork in a well-ventilated area to speed up the drying process and prevent any moisture-related issues.
Step 9: Finishing Touches
Once dry, consider adding some sparkle! A sprinkle of glitter or embellishments can amplify the festive feel of your firework paintings.
*Personal Anecdote*: I love to frame these paintings or create greeting cards out of them for special occasions. They make wonderful gifts that showcase the recipient’s uniqueness!
Variations and Creative Alternatives
Here’s where your creativity can really shine. While I've shared a straightforward method, feel free to mix it up! You can use different types of paper, various colors, or even add different textures by incorporating sand or different grades of salt.
- Glow-in-the-Dark: Add some glow-in-the-dark paint or powder to the watercolors for a nighttime surprise!
- Seasonal Themes: Change your designs based on holidays, like hearts for Valentine’s Day, leaves for autumn, or even spooky shapes for Halloween.
Final Thoughts
DIY Firework Salt Painting is a fantastic adventure that brings joy that extends far beyond the creative process. Whether you’re crafting solo, with family, or leading a group of eager young crafters, it’s an experience that sparks laughter and conversation. As you dive into your salt painting journey, remember to relax, embrace the process, and most importantly, have fun!
Once you’ve completed your project, I would love to see the magic you've created. Share your pictures and experiences, and let’s ignite that spark of creativity together! Happy crafting!