DIY Firecracker Centerpieces: An Incredible Ultimate Guide to 5 Amazing Ideas
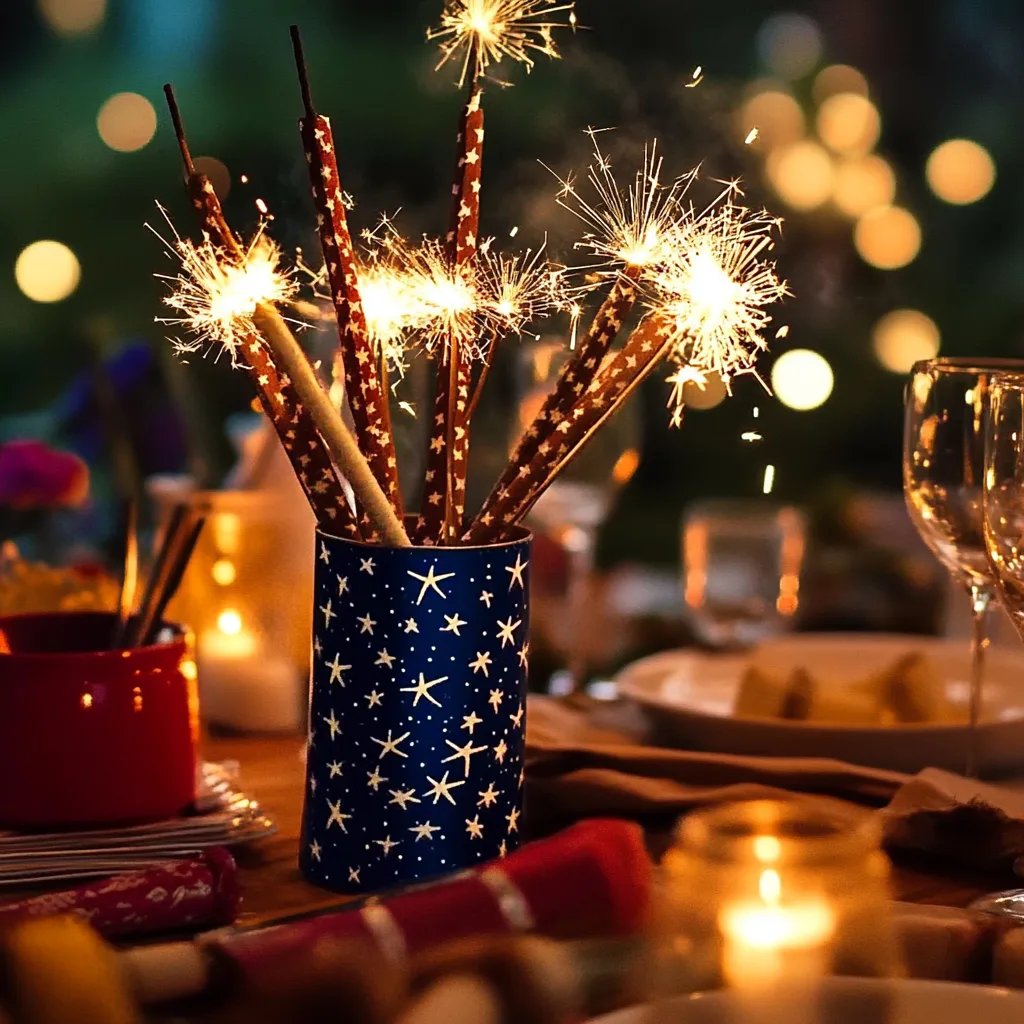
DIY Firecracker Centerpieces are a spectacular way to celebrate festive occasions like Independence Day or New Year’s Eve. They add a colorful and festive touch to your tablescape, enhancing the atmosphere with vibrant colors and shapes that mimic fireworks. This guide will walk you through five incredible ideas for creating eye-catching centerpieces that will impress your guests and set the tone for celebration.
Whether you're planning a backyard barbecue, a holiday party, or a themed event, these centerpieces are simple to put together and can be customized to suit your decor. Each centerpiece idea utilizes easy-to-find materials and incorporates fun elements that make the creation process enjoyable. So grab your crafting supplies and let’s get started on making your celebration memorable with DIY Firecracker Centerpieces!
Imagine the excitement on your guests' faces as they enter the room and see a table adorned with bright, festive centerpieces. These DIY projects not only beautify your space but also spark conversation and enhance the overall experience. Let’s discover why DIY Firecracker Centerpieces are a must-have for your next gathering!
Why You’ll Love This Guide to DIY Firecracker Centerpieces
Creating DIY Firecracker Centerpieces will bring immense joy and flair to your festivities. Here’s why you’ll love this guide:
- Fun and Creative: These projects allow you to express your creativity while working with fun and colorful materials.
- Budget-Friendly: You don’t need to spend a fortune; many materials can be sourced from local craft stores or repurposed from items you already own.
- Personalizable: Each centerpiece can be tailored to match your theme or color palette, making them truly unique.
- Easy to Assemble: Step-by-step instructions make the crafting process simple, ensuring success even if you consider yourself a novice.
- Eye-Catching Decor: These centerpieces will serve as conversation starters, drawing the attention of your guests and contributing to a lively atmosphere.
- Family Activity: Engaging family or friends in the creation process can turn it into a fun bonding experience, resulting in lasting memories.
With these points in mind, you can see how DIY Firecracker Centerpieces are not just decorations; they enhance the entire celebratory experience!
Preparation and Crafting Time
Creating your own DIY Firecracker Centerpieces is a straightforward process that doesn’t require a lot of time. Here's an estimate of what you can expect:
- Preparation Time: Approximately 15-30 minutes to gather materials and decide on designs.
- Crafting Time: Each centerpiece can take between 30-60 minutes to create, depending on your design complexity.
- Total Time: Expect around 1-1.5 hours for each centerpiece.
With these time frames, you can efficiently create multiple centerpieces for your gathering.
Materials Needed
Gather the following materials before you start crafting your DIY Firecracker Centerpieces:
- Empty toilet paper rolls or paper towel tubes
- Red, white, and blue construction paper or patterned scrapbook paper
- Scissors
- Glue or double-sided tape
- Colored tissue paper (yellow, red, orange, etc.)
- Glitter (optional)
- Ribbons or twine
- Miniature star or firework-themed embellishments
- Small decorative elements (like confetti, beads, etc.)
- An optional vase or glass for base stabilization
Step-by-Step Instructions
Creating your DIY Firecracker Centerpieces involves a few simple steps. Here's how to do it:
- Prepare the Tubes: If using paper towel rolls, cut them to your desired height. Toilet paper rolls are perfect for smaller designs.
- Cover with Paper: Cut strips of construction paper or scrapbook paper to wrap around the rolls. Secure using glue or double-sided tape.
- Create Flares: Cut colored tissue paper into strips about 1-2 inches wide and 4-6 inches long. Gather and pinch the center of each strip to create flares.
- Attach Flares: Using glue, attach the tissue paper flares to the top of your tube, fanning them out to mimic explosive fireworks.
- Add Decorations: Glue on glitter, ribbons, or embellishments for added flair. Use these to wrap around the base of the tube or sprinkle beside the centerpiece.
- Stabilize (Optional): If you want a more secured display, place your tube into a vase or glass filled with beans, rice, or sand to keep it upright.
- Set the Scene: Arrange your centerpieces on your tables to ensure they grab attention. Alternate heights and styles for a dynamic look.
- Final Touches: Add any last-minute embellishments or adjust the positioning of the flares for a polished appearance.
Follow these steps, and you’ll have stunning DIY Firecracker Centerpieces!
How to Serve
Your DIY Firecracker Centerpieces are now ready to enliven your event! Here are tips on how to best showcase them:
- Placement: Position centerpieces in the middle of each table or along a buffet. Ensure they’re at a height that allows guests to socialize easily.
- Coordinating Decor: Pair the centerpieces with matching tablecloths or decorative elements like string lights to amplify the celebratory vibe.
- Interactive Elements: Consider placing some festive sparklers or small fireworks nearby for guests to engage with the theme.
- Photogenic Setup: Arrange your centerpieces in a way that enhances photo opportunities. Guests love snapping pictures of unique decor!
- Mix and Match: If creating several designs, place them together to create a cohesive but varied look, drawing interest and attention towards different tables.
By following these serving tips, you’ll ensure that your DIY Firecracker Centerpieces sparkle at your event, creating a festive environment for all!
With the right creativity and materials, your DIY Firecracker Centerpieces will not only beautify your surroundings but also enhance your celebration. Enjoy crafting these unique pieces and the joy they bring to your festivities!
Additional Tips
- Use Bright Colors: To really make your DIY Firecracker Centerpieces pop, opt for bright, vibrant colors. Neon hues can add a fun, festive touch.
- Experiment with Heights: Varying the heights of your centerpieces adds visual interest. Use short tubes alongside tall ones for a dynamic arrangement.
- Consider Scent: Incorporate scented elements, like vanilla or cinnamon sticks, to engage the sense of smell and enhance the festive ambiance.
- Involve Kids: Get children involved in the crafting process. They can help with decorating, and it’s a great way to bond over a fun project.
- Reinforce with Tape: If using heavier decorations, reinforce them with tape to ensure they stay secured on the centerpiece.
- Go Glitter Crazy: Don’t be afraid to use glitter! It adds an exciting spark to your decorations but make sure to do it outside to avoid a messy cleanup.
Recipe Variation
Feel free to let your imagination run wild with these variations for your DIY Firecracker Centerpieces:
- Theme-Based Paper: Instead of standard colors, use paper that matches a specific theme, like nautical, beach, or winter wonderland.
- Add LED Lights: Attach small LED fairy lights to your centerpieces for a magical glow at night and an enchanting festive look.
- Use Natural Elements: Incorporate twigs, pinecones, or other natural elements for an outdoor rustic theme, blending in with nature.
- Seasonal Modifications: Change colors and decorations according to the celebration season, like autumn leaves for Thanksgiving or pastel colors for spring celebrations.
Freezing and Storage
- Storage: These centerpieces are meant to be displayed fresh, so make them just before your event. However, if you have leftovers, store them in a cool, dry place to maintain their vibrancy.
- Freezing: You can freeze some of the materials for future use. For instance, if you prepared tissue paper strips ahead of time, store them in a sealed bag.
Special Equipment
While creating your DIY Firecracker Centerpieces, having the right tools can make the process smoother. Here’s what you’ll need:
- Crafting scissors for precise cuts.
- Hot glue gun for faster drying times and stronger adherence.
- Crafting mat for easy cleanup and protection of your workspace.
- A ruler or measuring tape to ensure uniformity in your cuts.
- Colorful markers for adding personalized messages or designs directly onto your centerpieces.
Frequently Asked Questions
Can I use other materials instead of toilet paper rolls?
Yes! Paper towel tubes, wrapping paper rolls, or even small boxes can be great alternatives.
How do I make the centerpieces kid-friendly?
Use non-toxic glue and larger components that kids can easily handle. They can help decorate by coloring or adding stickers.
How far in advance can I make these centerpieces?
You can make them a day or two in advance. Store them in a cool, dry place until your event.
What if I run out of decorations?
Don’t worry! You can get creative with household items. Old greeting card cutouts, magazines, or any festive trinkets can be repurposed.
Are these centerpieces suitable for events other than Independence Day?
Absolutely! These ideas work for any celebration or event where you want to add a fun, festive touch, like birthdays or anniversaries.
Conclusion
DIY Firecracker Centerpieces are not only a delightful addition to your festive gatherings, but they also provide an opportunity for creativity and personalization. By following the steps outlined in this guide, you can create unique and vibrant decorations that enhance the celebratory atmosphere. Enjoy the process, get your loved ones involved, and transform your space into a dazzling display of color and joy!