DIY Felt Turkey: An Incredible 7-Step Guide
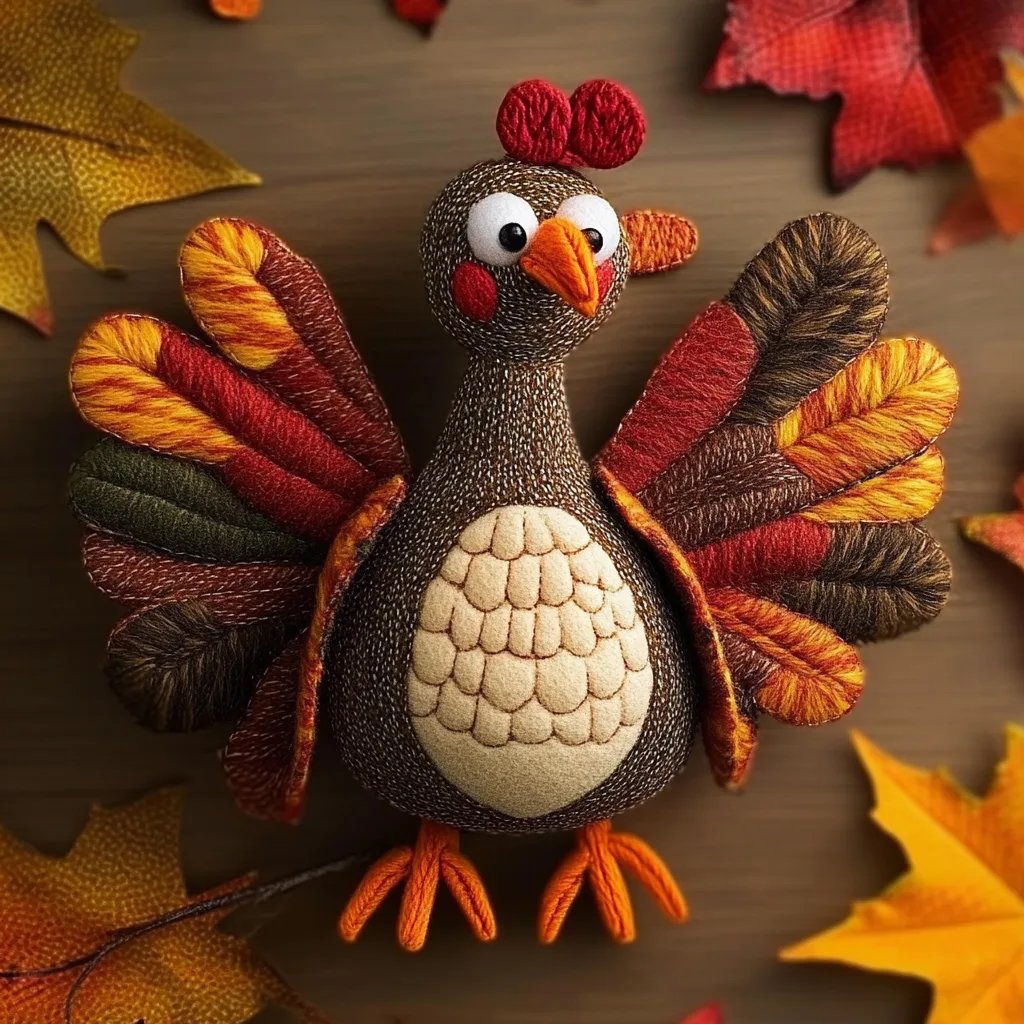
DIY Felt Turkey projects are a wonderful way to celebrate the fall season and to add a personal touch to your home decor. Creating your own felt turkey not only enhances your crafting skills but also provides a fun, engaging activity for you and your family. With just a few materials and some creativity, you can create an amazing felt turkey that will certainly steal the spotlight at your Thanksgiving festivities.
Whether you're looking for crafts to do with kids or a solo project to express your artistic flair, a DIY Felt Turkey fits the bill perfectly. The charm of this project lies not only in its simplicity but also in the endless possibilities for customization. You can choose your colors, designs, and even embellishments to match your home decor or personal style.
In this guide, you'll learn why this project is so special, what materials you need, and step-by-step instructions to create your very own felt turkey. Let's delve into the incredible world of DIY crafts and discover the joy of creating something unique and festive!
Why You'll Love This DIY Felt Turkey Project
Creating a DIY Felt Turkey is more than just a craft; it is an opportunity to immerse yourself in a creative experience. Here are some reasons why you will fall in love with this project:
- Easy to Make: Even if you are a novice crafter, this project is straightforward and fun.
- Customizable: You can personalize your felt turkey with different colors, sizes, and embellishments according to your taste.
- Family Fun: This activity is perfect for a family gathering, allowing everyone to contribute and express their creativity.
- Educational: Making this turkey can be an educational opportunity for kids to learn about animals, colors, and shapes.
- Affordable Materials: Most of the required materials are inexpensive and easy to find, making it accessible for everyone.
- Perfect Decoration: The finished felt turkey makes for a wonderful decoration for Thanksgiving or fall-themed events.
- Great for Gifting: A handmade felt turkey can also serve as a thoughtful gift for friends or family.
With these factors in mind, it becomes evident why making a DIY Felt Turkey is such a delightful project. It combines creativity, family bonding, and seasonal decoration into one fun package!
Preparation and Crafting Time
Creating your DIY Felt Turkey is a fun yet efficient process. Here's the breakdown of the time involved in making your turkey masterpiece:
- Preparation Time: 20-30 minutes
- Crafting Time: 1-1.5 hours
- Total Time: Approximately 1.5-2 hours
These times may vary based on your experience and the complexity of your turkey design, but this framework should give you a good estimate.
Materials
- Felt sheets in various colors (brown, red, yellow, orange, and green)
- Scissors
- Hot glue gun and glue sticks
- Needle and thread (optional for more secure assembly)
- Pencil or fabric chalk (for marking)
- Decorative items like googly eyes, buttons, or ribbons (optional)
- Craft paper (for templates)
- Stuffing material (like cotton or polyester fiberfill)
Step-by-Step Instructions
Creating your DIY Felt Turkey can be a delightful experience if you follow these steps:
- Select Your Colors: Choose the colors you want for your turkey from the felt sheets. Common choices include brown for the body and bright colors for the feathers.
- Create Templates: Use craft paper to draw templates for the body, wings, tail feathers, and beak of your turkey. You can find simple templates online or draw your own.
- Cut the Felt: Trace the templates onto the felt sheets using a pencil or fabric chalk. Carefully cut out the shapes with scissors.
- Assemble the Body: Start by gluing or sewing the body pieces together. Attach the wings and tail feathers securely to the back of the body.
- Add the Face: Glue on googly eyes or buttons for eyes. Create a beak and wattle using small cuts from red and yellow felt, gluing them onto the body.
- Embellish Your Turkey: Use ribbons, sequins, or other decorative items to personalize your turkey. Let your imagination run wild!
- Finalize Assembly: Allow all glued sections to dry adequately if you used a hot glue gun. If you chose to sew any parts, ensure the stitches are secure.
By following these steps, you’ll enjoy the incredible process of assembling your DIY Felt Turkey, perfect for the Thanksgiving season or simply as a charming craft addition to your home decor!
How to Serve
To showcase your DIY Felt Turkey beautifully, consider the following ideas:
- Display it Prominently: Place your finished turkey as a centerpiece on your table or mantelpiece to catch the eye of guests.
- Incorporate Into Decor: Use your turkey as part of a larger fall or Thanksgiving display, combining it with pumpkins, hay, and other seasonal decorations.
- Interactive Decor: If kids are involved, encourage them to name the turkey or tell stories about Thanksgiving traditions related to it.
- Playful Additions: Use the turkey as a fun cushion or toy for younger children, making it more than just a decorative item.
By putting thought into how you serve your DIY Felt Turkey, you elevate the entire crafting experience and make it memorable for you and those who appreciate your creative talents. Enjoy the festive season with a project that fills your home with creativity and warmth!
Additional Tips
- Use Different Textures: Incorporate different textures in your felt turkey for added visual interest. Use smooth felt alongside textured fabrics like wool or fleece.
- Color Harmony: Choose colors that complement your home decor. This will ensure your DIY Felt Turkey looks great wherever you decide to display it.
- Involve Everyone: Encourage family members to bring their own ideas to the project. This can lead to unique and diverse designs that showcase each person’s creativity.
- Craft Circle: Organize a crafting circle with friends or fellow parents. Transform this project into a fun get-together complete with snacks and drinks.
Recipe Variation
There are numerous ways to customize your felt turkey project. Here are a few variations to inspire your creativity:
- Seasonal Variations: Change the design elements with the seasons. For Halloween, you might add spooky features, while in spring, you could create a colorful spring-themed turkey.
- Character Turkeys: Transform your felt turkey into a character by dressing it up. For instance, you could create a pilgrim turkey or a turkey dressed for a festive celebration.
- Miniature Versions: Create smaller versions of your felt turkey to use as place settings at the Thanksgiving dinner table or as gifts for friends.
Freezing and Storage
- Storage: Your DIY Felt Turkey will maintain its charm when stored in a cool, dry place. Use a plastic bin or container to avoid dust and moisture, prolonging its life for future seasons.
- Long-Term Care: If you plan to use your felt turkey for several years, consider labeling the storage container with the year created to keep track of your crafting journey.
Special Equipment
To create your DIY Felt Turkey, here's a list of essential tools and equipment you might find helpful:
- Fabric scissors: For clean and precise cutting of felt pieces.
- Hot glue gun: Ideal for quick assembly and securing embellishments.
- Needle and thread: Useful for making your turkey more durable if you prefer sewing over gluing.
- Craft templates: Pre-made templates can aid you in achieving consistent shapes.
- Ruler: Helpful for measuring and ensuring all pieces are correctly sized.
Frequently Asked Questions
Can I make a DIY Felt Turkey with children?
Absolutely! This is a fantastic project for kids. Just supervise the use of scissors and the hot glue gun for safety.
How long will my felt turkey last?
With proper care, your felt turkey can last for several years. Make sure to store it in a safe place away from direct sunlight to prevent fading.
Is it possible to use other materials besides felt?
While felt is ideal for this project, you can experiment with other fabrics like cotton or even paper if you want a different look.
Can I wash my felt turkey?
Felt is not machine washable. If your turkey gets dirty, spot clean it with a damp cloth to preserve its quality.
Where can I display my DIY Felt Turkey?
You can place your turkey as a centerpiece at the dining table, on a mantel, or anywhere you wish to celebrate the fall season.
Conclusion
Creating a DIY Felt Turkey is not just a crafting project; it’s an experience filled with creativity and joy. This guide has equipped you with all the necessary steps, tips, and ideas to make your crafting adventure enjoyable. Celebrate the Thanksgiving spirit with a charming felt turkey that reflects your personal style and serves as a delightful decoration for years to come.