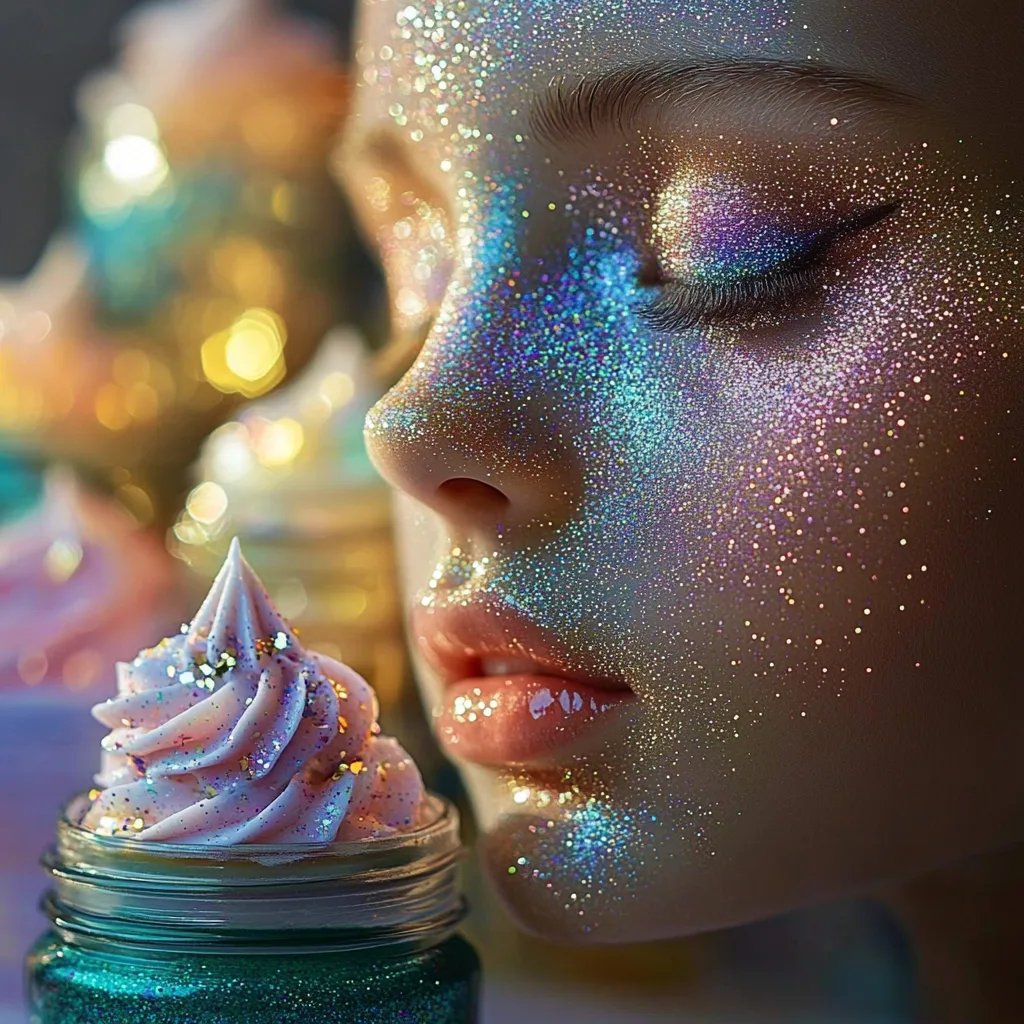
DIY Edible Glitter: An Amazing Ultimate Recipe for Your Desserts
DIY Edible Glitter is an incredible way to elevate your baking and dessert presentation. This dazzling addition not only looks stunning but also adds a playful twist to all your favorite sweet treats. Whether you're making cupcakes, cookies, or even decadent chocolates, incorporating this edible sparkle will impress your guests and add a dash of excitement to any occasion. It's not just for special events; you can make every day a bit brighter and more enticing with this fun DIY project.
If you've ever felt that your desserts needed a little extra flair, then DIY Edible Glitter is your answer. Making it at home is simple and allows you to control the colors and flavors, giving you a unique edge in your culinary creations. Imagine your guests' wonderful expressions as they see a burst of color shining on their slices of cake. It’s easy to understand why this craft is gaining popularity among bakers and party hosts alike.
In this guide, you will learn why making your own edible glitter is both a rewarding and enjoyable experience. From the quick steps to create it, to various serving ideas, this article provides everything you'll need to get started. So, gather your ingredients, unleash your creativity, and let’s dive into the amazing world of DIY Edible Glitter!
Why You’ll Love This Recipe
DIY Edible Glitter stands out for several reasons. Here are a few fantastic reasons that will surely make you fall in love with this recipe:
- Customizable – Create glitter in any color or flavor you desire, matching its sparkle to the theme of your event or personal preference.
- Natural Ingredients – Unlike store-bought versions, you can use natural ingredients, ensuring safety and avoiding artificial additives.
- Simple to Make – With minimal ingredients and easy techniques, crafting your own glitter is not only fun but also achievable for anyone.
- Versatile Use – This glitter can be sprinkled on a variety of desserts, enhancing everything from cakes to ice cream and beyond.
- Cost-Effective – Making your own edible glitter is generally cheaper than purchasing pre-made versions, allowing you to add shimmer without breaking the bank.
- Creative Fun – It’s a wonderful activity to involve kids or friends, turning baking sessions into fun crafting experiences.
With these incredible points, you'll see why DIY Edible Glitter is becoming a staple in every baker’s kitchen!
Preparation and Cooking Time
Getting started on your DIY Edible Glitter will take around 30 minutes from preparation to finish. Here's a quick overview of the time you'll need:
- Preparation Time: 10 minutes
- Cooking Time: 20 minutes
- Cooling Time: None needed; the glitter is used as is!
This simple timeline ensures you can quickly whip up a batch of sparkling goodness whenever the mood strikes.
Ingredients
- 1 cup granulated sugar
- 1 tablespoon water
- Food coloring (of your choice)
- Flavoring extracts (optional, such as vanilla or mint)
Step-by-Step Instructions
Making your own DIY Edible Glitter is straightforward. Follow these steps:
- Preheat your oven to 200°F (95°C).
- In a mixing bowl, combine the granulated sugar and water. Mix until the sugar is slightly wet but not dissolving.
- Add your desired food coloring to the mixture. Stir well until the sugar is evenly colored.
- If desired, add a few drops of flavoring extract to enhance the taste.
- Spread the colored sugar mixture evenly on a parchment-lined baking sheet.
- Place the baking sheet in the preheated oven.
- Bake for about 15-20 minutes, checking frequently to avoid melting the sugar.
- Remove the baking sheet once the sugar is dry and no longer sticky.
- Allow the edible glitter to cool completely on the baking sheet.
- Break up any clumps and transfer the glitter to an airtight container for storage.
These simple steps will lead you to a shiny, edible surprise that’s perfect for your next baking project!
How to Serve
When it comes to making the most of your DIY Edible Glitter, thoughtful presentation can make all the difference. Here are some suggestions on serving effectively:
- Sprinkle Liberally: Use a light hand to dust the glitter atop cupcakes, cookies, or cakes right before serving for the most sparkle.
- Mix with Frosting: Blend some glitter into frosting for an extra magical touch. This works wonderfully for cakes and pastries.
- Decorate Drinks: Consider adding a dash of your DIY Edible Glitter on cocktails, mocktails, or even hot chocolate for a festive flair.
- Themed Parties: Match the color of your glitter with party themes. Pastels for baby showers, vibrant hues for birthdays—be creative!
- Store Properly: Use airtight containers to keep your edible glitter fresh. It can last several months if stored correctly.
Incorporating this dazzling touch into your desserts can enhance both flavor and visual appeal, making your creations unforgettable for those who enjoy them.
Additional Tips
- Experiment with Colors: Don't be afraid to mix different food colorings to create unique hues and shades for your glitter.
- Use a Fine Sifter: If you want extra fine glitter, sift your sugar mixture through a fine sieve after baking for a more delicate texture.
- Use Molds: Shape your glitter into fun shapes by pressing it into cookie cutters before drying. You can customize your tabletop decor with edible art.
Recipe Variation
There are many fun ways to vary your DIY Edible Glitter recipe. Here are a few ideas:
- Citrus Flavored Sparkle: Add citrus zest from lemons or oranges to your sugar mixture for a refreshing flavor twist.
- Spiced Sugar: Mix in spices like cinnamon or nutmeg for a seasonal twist on your edible glitter; it's perfect for holiday treats.
- Herb Infused: Use dried herbs like lavender or mint to create floral or minty flavored glitter, which pairs well with desserts needing a fresh touch.
Freezing and Storage
- Storage: Keep your DIY Edible Glitter in an airtight container in a cool, dry place. It should last for up to 6 months without losing its sparkle.
- Freezing: It's not recommended to freeze DIY Edible Glitter, as moisture can cause it to clump. Store it at room temperature for the best quality.
Special Equipment
You won't need much to get started, but having the right tools makes the process easier:
- Mixing Bowls: For combining your ingredients.
- Baking Sheet: Use a standard baking sheet lined with parchment paper.
- Parchment Paper: Prevents sticking and makes cleanup easy.
- Fine Sifter: Helps create a smoother glitter texture.
Frequently Asked Questions
Can I use gel food coloring instead of liquid?
Yes, gel food coloring works great! It can give your glitter a brighter and more vivid color.
Is DIY Edible Glitter safe for kids?
Absolutely! Since it’s made from sugar and food colorings, it’s safe and fun for kids to use in their own baking projects.
How do I make the glitter more vibrant?
Simply apply more food coloring to your sugar mixture. Just remember to balance the amount of extracted flavor.
Can I use this glitter on savory dishes?
While it's designed for sweet treats, feel free to use it to add flair to savory dishes or cocktails for a creative touch!
How do I keep my edible glitter from clumping together?
Make sure your sugar mixture is properly dried and that you store it in a cool, dry environment.
Conclusion
Creating your own DIY Edible Glitter is not just a fun project; it's also a great way to enhance your desserts with stunning visual appeal. The ability to customize colors and flavors means you can cater the glitter to suit any event or personal preference. With minimal effort and ingredients, you can transform ordinary treats into show-stopping masterpieces. So, roll up your sleeves, unleash your creativity, and let your desserts shine with your handmade edible glitter!