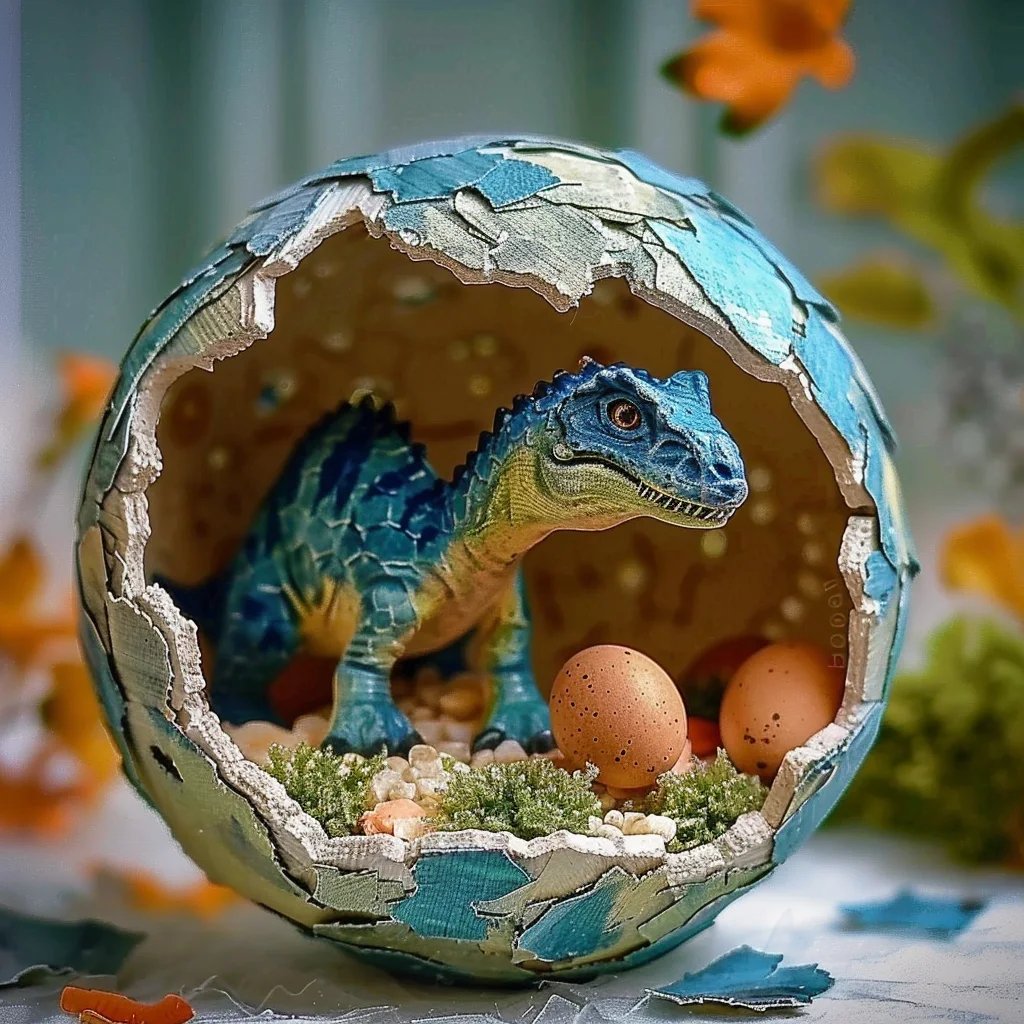
DIY Dino Egg Piñata: An Amazing Ultimate Guide with 1 Fun Step
DIY Dino Egg Piñata is a fantastic project that will unleash creativity in both kids and adults. This fun and colorful craft will not only surprise party guests but also create a delightful experience during any dinosaur-themed celebration. Imagine the joy on children's faces as they smash open the piñata to reveal an assortment of candy and treats! This DIY activity is perfect for birthdays, playdates, or just for some creative family bonding time.
Making a Dino Egg Piñata is not just about the end product; it's a creative journey. You get to mold, paint, and customize your piñata exactly to your liking. The tactile experience of crafting something with your hands creates lasting memories. So, gather the family and dive into this creative adventure as we explore the process of making your very own DIY Dino Egg Piñata.
In this informative guide, you'll learn about all the essentials you need, why this project is so enjoyable, and step-by-step instructions to create a spectacular piñata. Whether you’re a seasoned crafter or just trying your hand at something new, this fun craft will surely spark joy and imagination!
Why You’ll Love This Recipe
Creating your own DIY Dino Egg Piñata comes with many exciting benefits. Here are some reasons why this project will capture your heart:
- Creative Freedom – You can choose the colors, patterns, and sizes to match your unique vision or party theme.
- Fun for Everyone – Family members of all ages can join in—kids love crafting, and adults can help guide the creative process.
- Budget-Friendly – Making a piñata at home is often less expensive than buying one pre-made at the store.
- Memorable Experience – Build excitement leading up to the party as children anticipate smashing the piñata.
- Personal Touch – A homemade piñata adds an individualized touch to your celebration, making it more special.
- Festive Decoration – After completion, the colorful piñata can serve as an awesome decoration until it’s time to break it open.
These factors make the DIY Dino Egg Piñata an unforgettable project that ensures everyone will have a blast creating and enjoying it together!
Preparation and Cooking Time
Making your DIY Dino Egg Piñata doesn't have to take all day! Here's how long you can expect to spend on preparation and crafting:
- Preparation Time: 30 minutes
- Crafting Time: 2-3 hours (including dry time)
- Total Time: 2.5 to 3.5 hours
Keep in mind that the crafting time may vary based on your experience level and the drying time of the materials used.
Ingredients
- 1 balloon (large size)
- Newspaper (cut into strips)
- White glue or flour and water (for the paste)
- Acrylic paint (various colors for decorating)
- Paintbrushes
- Craft knife or scissors
- Plastic wrap (optional)
- String or yarn (for hanging the piñata)
- Candy and small toys (for filling)
- Cardboard (for additional decorations if desired)
Step-by-Step Instructions
To make your DIY Dino Egg Piñata, follow these easy steps:
- Prepare Your Workspace: Cover the surface you’ll be working on with old newspapers or a plastic tablecloth to make cleanup easier.
- Create the Paste: Mix equal parts of white glue and water, or create a flour-water paste (1 part flour to 2 parts water) until you achieve a smooth, glue-like consistency.
- Inflate the Balloon: Inflate the balloon to your desired size for your dino egg. Tie it off when finished.
- Apply the Newspaper Strips: Dip the newspaper strips in the paste, ensuring they're coated. Lay them over the inflated balloon, overlapping the strips as you go. Add at least 3-4 layers, allowing each layer to dry before adding the next.
- Let it Dry: Allow the balloon to dry for several hours or overnight until it is hard and fully set.
- Pop the Balloon: Once dry, carefully pop the balloon and remove it from the piñata shell. You will now have a hollow egg-shaped shell.
- Create an Opening: Use the craft knife to cut a small hole in the top of the egg (or the side) to insert candy and toys.
- Fill It Up: Fill the inside of the shell with your candy and small toys—imagine the delight as the treasures tumble out during the party!
- Close the Opening: Use tape or additional strips of newspaper to cover the hole, ensuring the contents stay inside.
- Decorate Your Egg: Paint the exterior in bright colors and patterns to resemble a dino egg. This is where you can let your creativity shine!
- Add Hanging String: Attach a piece of string to the top of your piñata for easy hanging. Secure it by taping or gluing it to the shell.
- Display the Piñata: Hang your completed DIY Dino Egg Piñata as a centerpiece for your party!
Following these steps guarantees a fun crafting experience that everyone can enjoy, and the unique personality of your piñata will surely capture the excitement of your party!
How to Serve
To ensure the best experience while interacting with your DIY Dino Egg Piñata, follow these tips:
- Plan Your Timing: Choose the right moment in your party to unveil the piñata. This often works well as a grand finale.
- Create a Safe Area: Make sure there is plenty of space for kids to swing and smash the piñata safely.
- Engage Everyone: Encourage all the kids to take turns if several guests are present. This helps maintain excitement levels and ensures fairness.
- Set Up a Collection Area: Have bags or containers ready so that children can gather the candies and toys as they fall out.
- Capture the Moment: Have a camera ready to capture their joyful reactions as they break the piñata and collect the treats.
By following these serving tips, you’ll make the experience of enjoying your DIY Dino Egg Piñata even more memorable for everyone involved!
Now go ahead and unleash your creativity! Happy crafting!
Additional Tips
- Get Creative with Colors: Use a variety of color combinations to make your DIY Dino Egg Piñata stand out. Consider using metallic paints or glitter for added sparkle.
- Involve Everyone: Engage family members by assigning different tasks according to their skills. Kids can paint while adults manage the construction.
- Add Textures: For a more realistic look, incorporate materials like tissue paper or fabric scraps into the design for texture variation.
- Prepare for the Party Early: Finish the piñata a few days before the celebration. This gives you time to perfect the details and reduces party day stress.
Recipe Variation
Feel free to experiment with various designs for your Dino Egg Piñata! Here are some fun variations:
- Different Shapes: Instead of an egg, you could create a classic dinosaur shape. Use the same basic instructions but modify the balloon's form.
- Mix Color Palettes: Choose pastel colors for a softer look or bright colors for a more vibrant theme.
- Incorporate Themes: Customize your piñata based on favorite dinosaurs. Consider painting it to resemble a T-Rex or Triceratops.
Freezing and Storage
- Storage Options: If you're not using the piñata right away, store it in a cool, dry place away from direct sunlight to keep the colors vibrant and the structure intact.
- Preserving Candy: If you fill the piñata in advance, make sure to use candy that won’t melt or spoil quickly.
Special Equipment
You’ll need a few specialized tools to make the process smoother:
- Mixing Bowls: For mixing glue and water or flour.
- Latex Gloves: If you're concerned about mess, use gloves while applying paste.
- Paint Palette: To hold and mix your paint colors.
- Scissors: For trimming newspaper strips and other materials accurately.
Frequently Asked Questions
Can I make the piñata in advance?
Yes, making the piñata a few days before your event is ideal. Just ensure it is stored properly.
What type of balloon should I use?
Using a large balloon is recommended. A quality latex balloon will hold up better during the crafting process.
Can I use other types of glue?
Absolutely! You can use craft glue, but ensure it dries clear if you're concerned about the finished look.
How can I reinforce my piñata?
Add additional layers of paper for extra strength, especially if you’re adding heavy items inside.
Is it safe for kids?
As long as adult supervision is provided during the construction and breaking of the piñata, it is a fun and safe activity for children.
Conclusion
Crafting your DIY Dino Egg Piñata can be a fun and engaging experience for all ages. This project not only fosters creativity but also provides an exciting activity for your next dinosaur-themed party. With a little planning and imagination, you can create a fantastic piñata that entertains and delights everyone. Enjoy this creative journey, and watch happiness unfold when it’s time to smash open the piñata for the treats inside!