DIY Colorful Window Clings: An Amazing Ultimate Guide
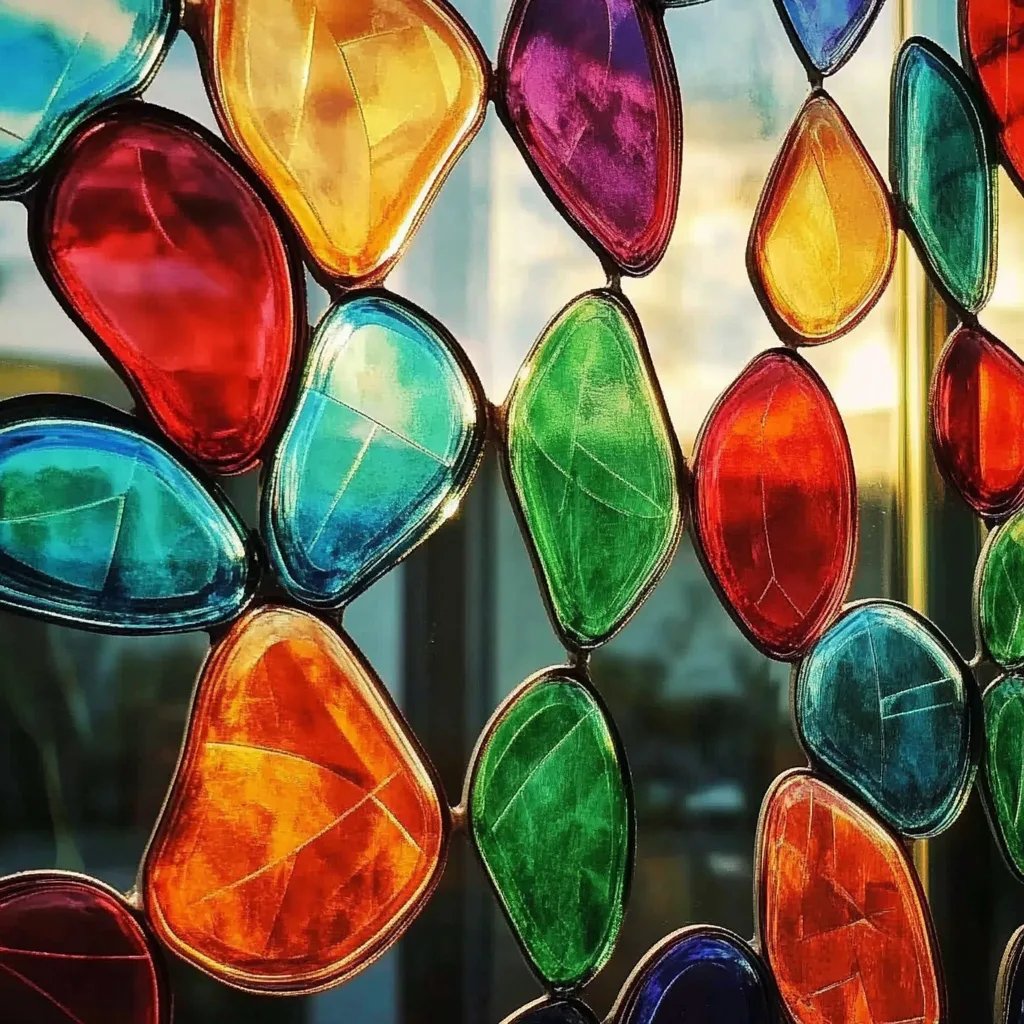
DIY Colorful Window Clings are an incredibly fun and creative way to brighten any space. Whether you want to add a splash of color to your children’s room or create an eye-catching design in your living space, these clings allow you to express your artistic side. The process is straightforward, and the results can be simply stunning. You can transform plain glass windows into vibrant masterpieces, making your home feel more inviting and cheerful.
Imagine waking up to a burst of colors on your windows. It’s not just about decoration; it’s about creating a warm and welcoming ambiance. The best part is that DIY Colorful Window Clings are easy to make, affordable, and bring a sense of accomplishment. This guide will show you the ins and outs of crafting your own window clings, ensuring you can personalize them according to your style or seasonal themes. Let’s dive into the exciting world of window clings and see how they can brighten your life!
Why might you be eager to start this delightful project? Not only does it allow for creativity, but it also provides a perfect opportunity to bond with friends or family. Each cling can tell a story or reflect a personal touch, making it a project that's suitable for all ages. So gather your supplies, unleash your creativity, and let's explore how to make these amazing DIY Colorful Window Clings!
Why You’ll Love DIY Colorful Window Clings
DIY Colorful Window Clings have numerous benefits that make them appealing to anyone looking to enhance their space. Here are several reasons why you will fall in love with this project:
- Endless Creativity: You can design clings in countless shapes, colors, and themes.
- Budget-Friendly: Most materials are inexpensive or readily available at home.
- Easy to Make: The process is simple enough for children and adults alike.
- Seasonal Décor: You can quickly change your design to match different seasons or holidays.
- Non-Permanent: They can be easily removed and replaced without damage to your windows.
- Interactive Art: Creating window clings can be a social activity, perfect for parties or family gatherings.
Considering these factors, it's no wonder that DIY Colorful Window Clings have become a popular choice for home decorators and creative souls alike. They provide a unique way to express personality and style, making your space feel more like home.
Preparation and Cooking Time
Before diving into the making of your DIY Colorful Window Clings, it’s essential to understand the time you’ll need to dedicate to this project:
- Preparation Time: 15 minutes (Gathering materials and setting up your workspace)
- Creation Time: 30-60 minutes (Depends on the complexity of your designs)
- Drying Time: 24 hours (For best results, let your clings dry overnight)
These times can vary based on your skill level and the number of designs you choose to create. However, this framework provides a good estimate to ensure you’re well-prepared!
Ingredients
To create your DIY Colorful Window Clings, you will need the following materials:
- Liquid starch (1 cup)
- Corn syrup (2 tablespoons)
- Food coloring or liquid watercolors
- Wax paper (or parchment paper)
- Mixing bowl
- Craft supplies (e.g. brushes, sponges, or squeeze bottles)
- Scissors
- Plastic wrap (for storage)
This simple list of ingredients will allow you to start your crafting journey with ease!
Step-by-Step Instructions
Follow these easy steps to create your own DIY Colorful Window Clings:
- Mix the Base: In a mixing bowl, combine 1 cup of liquid starch and 2 tablespoons of corn syrup. Stir until well blended.
- Add Color: Divide the mixture into separate containers if using different colors. Add food coloring or liquid watercolors to achieve your desired shades. Mix thoroughly.
- Prepare Your Surface: On a flat surface, lay down sheets of wax paper or parchment paper. This will be the foundation for your clings.
- Create Designs: Using a paintbrush, sponge, or squeeze bottle, draw your designs directly onto the wax paper. You can create shapes, characters, or abstract art, depending on your preference.
- Drying the Clings: Allow the designs to dry for 24 hours. They need to harden properly to make them easy to peel off later.
- Peel Off: Once fully dried, carefully peel the colorful clings off the wax paper. They should come off easily without any residue.
- Display: Finally, place your DIY Colorful Window Clings onto clean glass surfaces. They will adhere without the need for tape or glue.
These steps make creating your own window clings simple, enjoyable, and rewarding!
How to Serve
To display your amazing DIY Colorful Window Clings effectively, consider the following tips:
- Strategic Placement: Position your clings at varying heights to create an eye-catching effect. Smaller designs can be placed closer to the ground, while larger designs can dominate the upper sections of the window.
- Seasonal Rotations: Change your window clings every season or holiday to keep your decor fresh. For instance, use fall colors in October and vibrant pastels in spring.
- Create Scenes: Combine multiple clings to create a cohesive scene, like a winter wonderland or a summer garden.
- Lighting: Optimize natural light; clings look especially bright and cheerful when sunlight rays shine through them.
- Interactive Displays: Engage family members and guests by allowing them to help create or rearrange clings. This makes for a fun activity and encourages creativity.
By following these helpful serving suggestions, you can ensure that your DIY Colorful Window Clings not only enhance your space but also become a delightful conversation starter!
Additional Tips
- Use High-Quality Starch: For the best results, opt for a good quality liquid starch. This ensures that your window clings are vibrant and stick well to the glass.
- Experiment with Colors: Don't hesitate to mix different colors together to create unique shades. This will help add depth and personality to your designs.
- Plan Your Designs: Before starting, sketch out your designs on paper. This will save time and ensure you achieve the look you want for your window clings.
- Try Different Shapes: Go beyond traditional shapes by creating whimsical characters or seasonal images. Creativity has no limits!
- Consider Texture: You can use a sponge to dab different textures onto your clings. This adds another layer of visual interest.
Recipe Variation
You can tailor your DIY Colorful Window Clings in various ways:
- Glow-in-the-Dark Clings: Add a little glow-in-the-dark paint to your mixture for nighttime fun. The kids will love it!
- Metallic Colors: Use metallic food coloring for a luxurious touch, perfect for holiday decorations.
- Layered Designs: Experiment with layering colors by allowing one layer to dry before adding another. This can create stunning effects.
- Temporary Tattoos: You can use temporary tattoo paper in place of wax paper for a different application method.
- Patterned Clings: Utilize stencils to create patterned designs, such as polka dots, stripes, or even floral patterns.
Freezing and Storage
- Storage: Keep your window clings in a cool, dry place. Use plastic wrap to cover them and prevent dust from collecting.
- Lifespan: They last for several weeks when stored properly. If they get dusty, simply rinse them under cold water and let them air dry.
- Freezing: While it's not necessary to freeze window clings, you can keep them in the freezer if you want to preserve their freshness for longer periods.
Special Equipment
You will need a few essential tools to make your DIY Colorful Window Clings successfully:
- Measuring Cups: For accurately measuring ingredients.
- Mixing Bowls: To combine your starch and colors.
- Paintbrushes and Squeeze Bottles: These help in applying your designs with precision.
- Wax or Parchment Paper: Essential for creating your cling surface.
- Scissors: For trimming your clings as desired.
Frequently Asked Questions
Can I use other types of glue instead of liquid starch?
While liquid starch works best for window clings, other glue-based alternatives may not adhere as well or may leave a residue.
How do I remove the clings from the window?
Simply peel them off gently. If they seem stubborn, a light mist of water can help loosen them.
Can these clings be used on surfaces other than windows?
Yes, they can also adhere to mirrors, glass doors, and even tiles.
Is this project suitable for younger children?
Definitely! With supervision, younger kids can participate in every step, allowing for a fun family activity.
What if my window clings don’t stick?
Ensure your glass surface is clean and free from any residues like dust or grease before application.
Conclusion
DIY Colorful Window Clings are a fantastic way to bring creativity and color into your home. This project not only offers a fun hands-on activity for individuals and families, but it also allows for personal expression. By following the steps outlined in this guide, you can create beautiful window decorations that are both temporary and stylish. Embrace the joy of crafting and enhance your space with vibrant designs that brighten your atmosphere year-round!