DIY Calm-Down Bottles: An Incredible Ultimate Guide with 5 Amazing Ideas
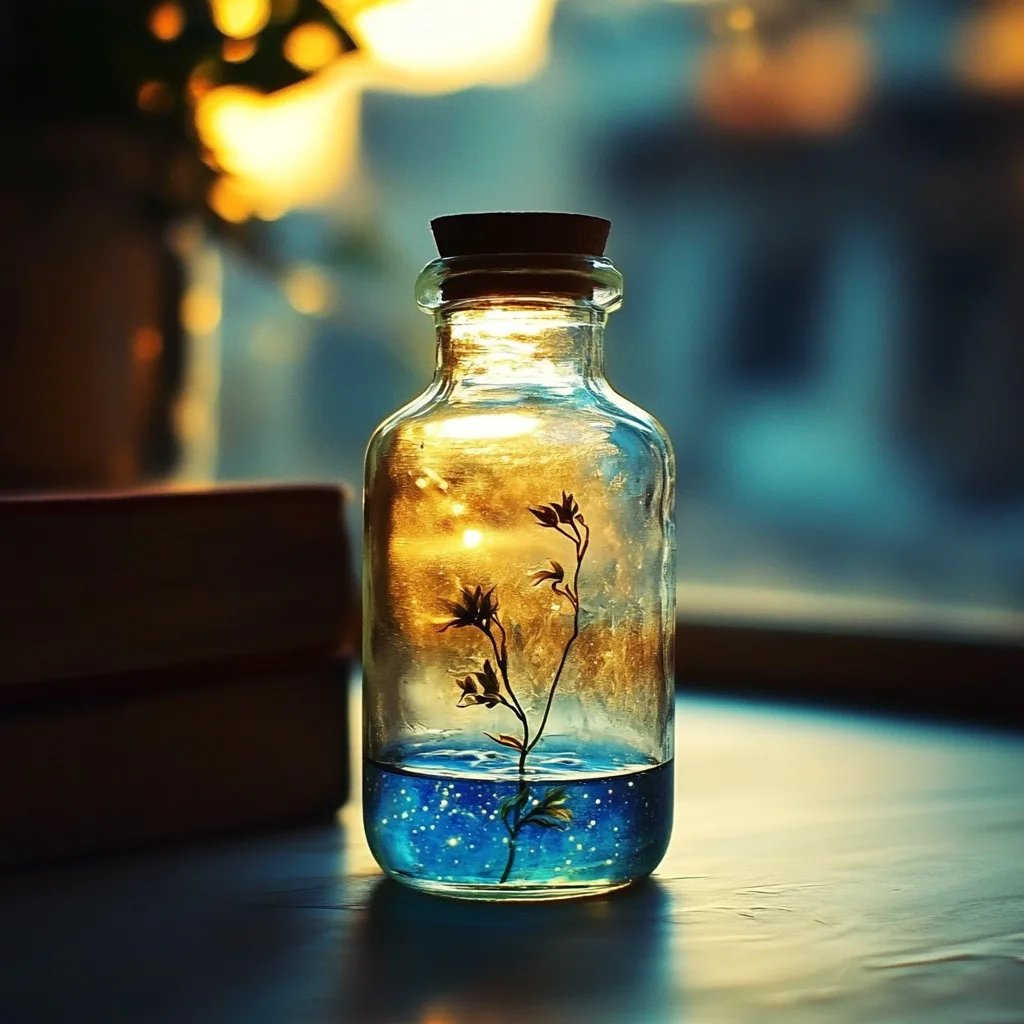
DIY Calm-Down Bottles are a wonderful tool to help manage emotions and promote relaxation. These bottles serve as visual aids that can be incredibly effective for both children and adults in times of stress, anxiety, or overwhelming feelings. The mesmerizing effects of the swirling contents can easily capture attention and provide a sense of calm.
Creating these bottles is not just a craft project; it’s a wonderful process that encourages creativity, mindfulness, and a greater understanding of emotions. As you watch the glitter float and settle, you develop a moment of peace, allowing yourself to step away from life’s chaos. Plus, it's a fun activity you can do with your kids, giving them a sense of ownership and responsibility in managing their emotions.
In this guide, you will discover why DIY Calm-Down Bottles are essential for emotional regulation, how to make them, and different creative ideas for personalizing your own bottles. Whether you’re a parent looking to help your kids, an educator seeking classroom tools, or someone wanting a personal relaxation method, these bottles are a practical solution.
Why You’ll Love This Recipe
DIY Calm-Down Bottles offer countless benefits that make them a fantastic addition to anyone’s stress-relief toolkit. Here are some reasons why you'll appreciate these incredible creations:
- Affordable Materials: Most ingredients can be found around your home or at local craft stores, making this an economical project.
- Customizable Designs: You have the freedom to personalize your bottle with colors, shapes, and themes that resonate with you or your child.
- Sensory Experience: The visual feedback and gentle movement of materials provide a calming sensory experience that is both engaging and soothing.
- Encourages Mindfulness: Using these bottles encourages reflection on feelings, promoting mindfulness and emotional awareness.
- Great for All Ages: DIY Calm-Down Bottles can be beneficial for toddlers, school-age children, and even adults, making them a versatile tool.
- Fun Family Activity: Making these bottles can be a joyful family bonding experience that instills valuable lessons about managing emotions.
With these advantages, it’s clear why DIY Calm-Down Bottles are so favored among parents, teachers, and mental health professionals. Each bottle can act as a gentle reminder of the importance of emotional well-being.
Preparation and Cooking Time
Preparing DIY Calm-Down Bottles is quick and straightforward. You can make them in about 30 minutes, especially if you have all materials ready. Here's a breakdown of the time you might need:
- Preparation Time: About 15 minutes to gather materials and set up.
- Assembly Time: Once you start, it takes about 15 minutes to assemble and decorate the bottles.
This means you can enjoy a creative and relaxing session without dedicating too much time!
Ingredients
- Clear plastic bottles (empty water or soda bottles work well)
- Water
- Clear glue or liquid glycerin
- Glitter (various colors)
- Food coloring (optional)
- Small beads or sequins (optional)
- Funnel (optional)
- Hot glue (for sealing the bottle)
- Decorative materials (stickers, ribbons, etc.)
Step-by-Step Instructions
Making DIY Calm-Down Bottles involves a few easy steps. Follow these simple instructions to create your own:
- Gather Materials: Collect all your ingredients and materials on a clean workspace.
- Prepare the Bottle: Remove labels from your bottle and clean them thoroughly.
- Fill the Bottle: Using a funnel, fill the bottle about one-third full with water.
- Add Glue: Add a few tablespoons of clear glue or liquid glycerin to the water for thicker movement of glitter.
- Incorporate Glitter: Sprinkle in some glitter. You can mix different colors for extra visual interest.
- Optional Add-Ins: Personalize with small beads, sequins, or even tiny toys that can float.
- Color it Up: If desired, add drops of food coloring for a burst of color. Be careful to not use too much.
- Fill the Rest with Water: Add more water until the bottle is almost full, leaving a little space for air.
- Seal the Bottle: Use hot glue to secure the lid to prevent spills.
- Decorate: Add stickers, ribbons, or any design elements you like to personalize your Calm-Down Bottle.
These steps will guide you to successfully create a visually stunning and functional Calm-Down Bottle!
How to Serve
To maximize the benefits of your DIY Calm-Down Bottles, consider the following tips on how to use them effectively:
- Introduce Calm-Down Bottles: Teach your children (or yourself) how to use the bottles during moments of stress or anxiety. Explain the process of watching the glitter settle as a calming exercise.
- Create a Calm-Down Corner: Designate a quiet space in your home or classroom where these bottles can be kept. This becomes a special area for relaxation.
- Incorporate Breathing Techniques: While using the bottle, practice deep breathing. Inhale as you shake the bottle, and exhale as you watch the glitter settle.
- Reinforce Emotional Awareness: Encourage conversations about feelings and emotions. Discuss when it’s appropriate to use the bottle and reflect on emotions afterwards.
- Use as a Visual Break: Remind users that it's okay to take breaks; the bottles can serve as a powerful reminder to slow down and breathe.
By implementing these practices, your DIY Calm-Down Bottles will not only serve a decorative purpose but will also play a crucial role in promoting emotional health and well-being.
Additional Tips
- Use Clear Bottles: Choose clear plastic bottles, as they allow for the best visual effect when the contents swirl.
- Experiment with Colors: Mixing different colors of glitter can create a stunning visual impact. Encourage kids to choose their favorite colors.
- Seal Properly: Ensure the lid is sealed tightly with hot glue to avoid any spills, especially if the bottle will be used by younger children.
- Introduce Guided Use: Teach children a specific routine for using the bottles, such as a moment of silence while observing their movement.
- Make It a Ritual: Regular use of the bottles can help establish a calming routine. Consider a few minutes of using the bottles each day to promote emotional regulation.
Recipe Variation
Consider these fun variations to make your DIY Calm-Down Bottles even more engaging:
- Theme-Based Bottles: Create bottles based on themes, such as ocean, space, or forest. Use colored water and specific decorations to enhance the theme.
- Seasonal Colors: Change the colors of the glitter and food coloring to reflect the seasons. For instance, use pastel colors for spring or deep colors for autumn.
- Scented Options: Add a few drops of essential oils to the water for a soothing scent. Scents like lavender or chamomile can enhance the calming effect.
- Sound Enhancements: Include small bells or dry rice in the bottle for an auditory element. The sound can be another calming aspect to engage multi-sensory relaxation.
Freezing and Storage
As DIY Calm-Down Bottles contain water and other materials, freezing is not applicable. However, proper storage is essential to maintain their longevity:
- Storage: Keep your bottles in a cool, dry place away from direct sunlight. This will prevent the colors from fading and maintain the clarity of the water.
- Clean Up: If you notice any residue or dirt on the bottles, gently wash them with warm soapy water. Ensure they are fully dried before refilling.
Special Equipment
You don’t need a lot of special equipment for this project, but here are some useful tools:
- Funnel: Helps pour water and other materials easily without spills.
- Hot Glue Gun: Essential for sealing the bottle lid once it's filled.
- Measuring Cups: Useful for ensuring the right amounts of glue and water are added.
- Crafting Scissors: For cutting decorative materials to size.
Frequently Asked Questions
Can I use glass bottles instead of plastic?
While glass bottles may provide a more elegant look, plastic is safer, especially for children. If using glass, ensure they are very durable.
What should I do if my glitter clumps together?
If the glitter seems to clump, consider adding a bit more clear glue to help it spread out better as it moves.
How often should I encourage my child to use their Calm-Down Bottle?
It's beneficial to have your child use the bottle whenever they feel overwhelmed. Regular usage can help them develop coping skills over time.
Can older children make their own Calm-Down Bottles?
Absolutely! Encourage older children to create their own bottles as a way to express their emotions and personalize their calming tools.
What signs indicate that a Calm-Down Bottle needs to be refreshed?
If the water becomes murky or the contents lose their effect, it may be time to refresh by adding new ingredients or starting fresh.
Conclusion
DIY Calm-Down Bottles are more than just a fun craft—they provide significant emotional support and relaxation for both children and adults. By creating personalized bottles, individuals can find a unique method to navigate stress and anxiety. These bottles encourage mindfulness and emotional awareness, making them a valuable tool in any household or classroom.
With the ideas and variations provided in this guide, you are now well-equipped to create, personalize, and utilize your very own Calm-Down Bottles. Enjoy this creative process and the peace it brings!