DIY Blue Suncatchers: A Comprehensive Guide to Crafting Beautiful Glass Art
Picture this: it’s a sunny afternoon, and as the light streams through your window, you notice delightful splashes of blue dazzling across your living room walls—thanks to the lovely blue suncatchers you've created yourself! Suncatchers are a beautiful way to introduce color and light into your space, making them popular among crafters of all ages and skills. Not only do they add a touch of elegance and creativity to your home decor, but they also provide an enjoyable crafting experience. I’ve been making suncatchers for years, and today, I’m excited to share my step-by-step guide on creating stunning DIY blue suncatchers that will leave you inspired and ready to get started!
Why Make a Blue Suncatcher?
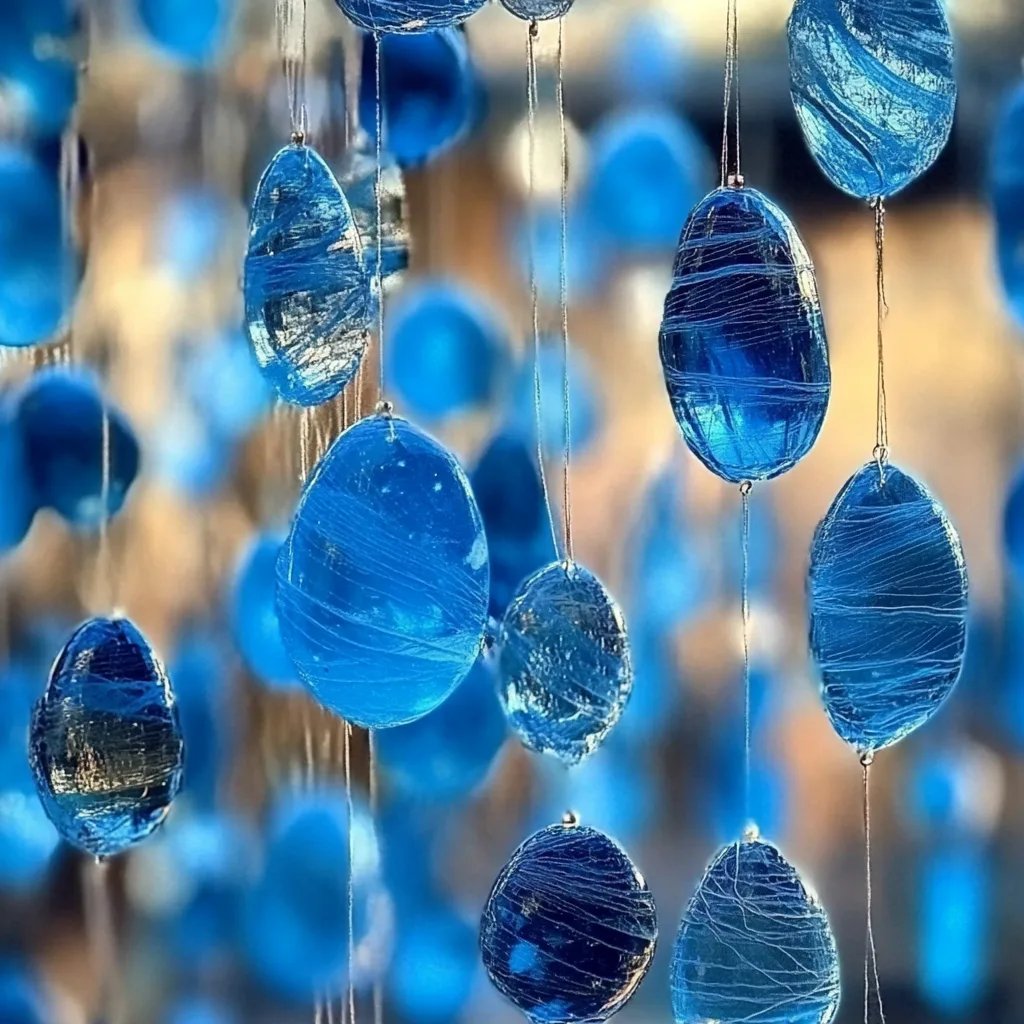
Blue suncatchers are particularly captivating—they evoke feelings of serenity, tranquility, and calmness, thanks to the beautiful hues reminiscent of the ocean and sky. These enchanting decorations can be hung in windows, gardens, or even used as gifts for friends and family. The soft light that filters through the crystals creates a kaleidoscope of colors, making any space feel vibrant and alive.
Materials You’ll Need
Before we dive into the tutorial, let’s gather the materials. Here is a comprehensive list to ensure you have everything at hand:
- Clear Plastic Sheets (or Gel): These will form the base of your suncatcher.
- Blue Food Coloring: This will give your suncatcher its signature hue!
- Craft Glue: A strong, clear-drying glue is ideal.
- A Baking Tray or Wooden Board: To set your suncatcher while it dries.
- Optional: Glitter, Sequins, or Small Beads: These can be added for extra flair.
- Scissors: For cutting your shapes.
- Optional: String or Fishing Line: For hanging your completed suncatcher.
- Paintbrush: For spreading glue if using a large surface.
- Protective Surface Covering: To keep your working area tidy.
Step-by-Step Guide to Making Blue Suncatchers
Step 1: Prepare Your Work Area
Creating suncatchers can get messy, so I always lay down a drop cloth or some old newspapers to protect my workspace. This will make clean-up a breeze afterward. Don’t skip this part; I learned the hard way!
Step 2: Decide on Your Design
You can create any shape you like—a classic circle, a whimsical star, or even a simple heart. If you’re feeling adventurous, try combining several shapes to make a more intricate design. Here’s a tip: sketch your design on a piece of paper to visualize how your colored suncatcher will turn out.
Step 3: Cut the Plastic Sheets
Using scissors, cut the clear plastic sheets into your desired shapes. Keep in mind that the size should be manageable, as smaller suncatchers are easier to hang and tend to catch light better.
Tip: If you want a more defined edge, use a craft knife and a cutting mat.
Step 4: Mix Your Color
In a small bowl, mix a few drops of blue food coloring with your craft glue. The ratio can vary, but I usually aim for a deep blue hue while ensuring the glue remains transparent once dried. Play around with the amount of coloring until you find an intensity that you love.
Step 5: Apply the Colored Glue
Using the paintbrush, cover one side of your plastic shape with the colored glue mixture. Ensure an even coat, as this will affect how the light passes through later. At this stage, if you want to add sequins or glitter for extra sparkle, sprinkle them over the wet glue.
Note: If you notice that the glue is pooling too much in certain areas, gently spread it out to achieve a more even finish.
Step 6: Let It Dry
Once you’ve coated your shapes, place them on the baking tray or wooden board and allow them to dry completely. This process may take several hours, depending on the thickness of your glue coat. I typically leave mine out overnight for best results.
Troubleshooting Tips
- Too Much Color: If you added too much blue and the glue appears cloudy, don’t worry! You can always scrape off a layer of glue with a spatula or knife and reapply a thinner coat.
- Uneven Texture: If the surface feels too bumpy or chunky as it dries, you can sand it lightly once cured to achieve a smooth finish.
Step 7: Creating the Hanging Mechanism
Once your suncatchers are fully dried, create a small hole at the top of each shape and thread a piece of string or fishing line through it. Tie a knot to secure it, allowing for easy hanging.
Creative Variations
While blue is always beautiful, consider mixing different shades of blue or incorporating other colors into a gradient effect. You can also experiment with layering different shapes. For instance, a smaller blue heart layered on top of a larger blue circle creates a delightful 3D effect.
Safety Precautions
- Always work in a well-ventilated area, especially when using craft glue.
- If you’re crafting with kids, supervise them to ensure they don’t use sharp objects unsafely.
Conclusion
Creating DIY blue suncatchers is a fun and rewarding experience that can brighten up your space and your mood. Whether you hang them by your windows to catch the morning light or offer them as heartfelt gifts, these delicate creations are sure to delight. I hope my step-by-step guide inspires you to embark on your own crafting adventure, and remember, the beauty of DIY lies in the personal touches you make along the way.
Happy crafting! I can’t wait to hear about your suncatcher creations. Don’t hesitate to drop a line with photos of your work or any questions along the way!