DIY Aroma Stones: Crafting Your Own Scented Wonders
As an avid crafter with a passion for aromatherapy, I’ve discovered the joys of creating DIY Aroma Stones, a simple yet delightful way to infuse my living space with soothing scents. These charming little stones not only serve as beautiful decorative elements but also as functional tools for improving your overall well-being at home.
In recent years, Aroma Stones have gained tremendous popularity among crafters and wellness enthusiasts alike. Unlike traditional candles or incense sticks, these stones are safe, long-lasting, and can be customized to suit your scent preferences. Whether you're looking to relax after a long day or energize your morning routine, these homemade treasures can elevate any atmosphere.
—
What are Aroma Stones?
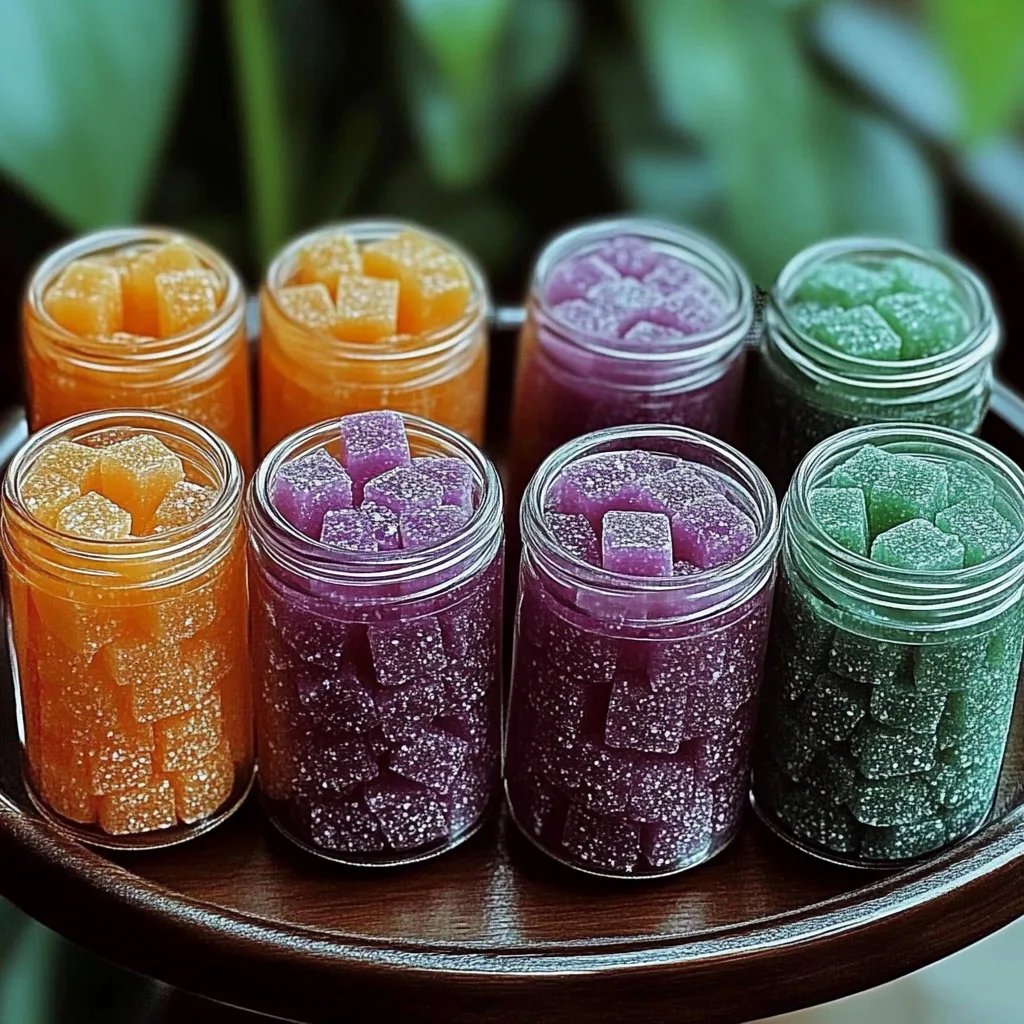
Aroma Stones are porous, often colorful stones made from natural ingredients that absorb essential oils, releasing their fragrance slowly into the air. They are popular for their versatility—perfect for placing in your home, office, or even in your car. Whether you’re entertaining guests, meditating, or simply enjoying a cozy night in, Aroma Stones are the perfect companions.
—
Materials Needed
Before we dive into the crafting process, let’s gather everything we need:
- 2 cups of baking soda: This will be the primary ingredient that forms the base of the stones. It’s safe and wonderful for absorbing scents.
- ½ cup of corn starch: Helps to bind the mixture together and create a smoother texture.
- 1 cup of water: Essential for creating the right consistency.
- Essential oils: Your favorite scents—lavender, eucalyptus, citrus, or a blend!
- Silicone molds: You can choose fun shapes like hearts, stars, or simple rounds.
- Mixing bowl and spoon: For combining your ingredients.
- Measuring cups: Precision is key in crafting.
- Baking sheet (if you plan to bake the stones for quicker drying): Optional, but it can speed up the process.
—
Step-by-Step Guide to Making DIY Aroma Stones
Step 1: Prepare Your Materials
Gather all your materials and arrange them on your workspace. It's essential to have everything organized, as it makes the crafting process smoother and more enjoyable.
Step 2: Mix the Dry Ingredients
In a mixing bowl, combine 2 cups of baking soda and ½ cup of corn starch. This step is crucial because the ratio of these ingredients directly affects the absorption of the essential oils and the final texture of the Aroma Stones. A well-mixed powder will lead to evenly distributed scents.
Step 3: Add Water Gradually
Slowly pour in 1 cup of water into the dry mixture, stirring as you go. You want a thick, dough-like consistency, so if you find the mixture too wet, don’t panic! Just sprinkle in a little more baking soda. If it’s too dry, add a touch more water.
Step 4: Incorporate Essential Oils
Here comes the fun part! Add your chosen essential oils. I usually start with about 20–30 drops, but you can adjust this based on your scent strength preference. Mix thoroughly until the oils are well distributed. The essential oils are what will give your Aroma Stones their unique scent, so don't hesitate to experiment!
Step 5: Mold the Mixture
Now it's time to shape the mixture. Press it firmly into your silicone molds, smoothing the tops with your fingers. This step is important; any gaps or bubbles can negatively impact how the stones release fragrance later.
Step 6: Drying
You can either air-dry your Aroma Stones for 24-48 hours or place them in the oven at a low temperature (around 200°F) for about 1–2 hours. Personally, I prefer air-drying as it allows the stones to mature slowly, fostering a richer scent retention.
Step 7: Removal and Finishing Touches
Once dried, carefully pop the Aroma Stones out of the molds. If you notice any rough edges, you can lightly sand them down with fine sandpaper. This also gives the stones a more polished appearance.
Step 8: Charge Your Stones
To maximize scent release, I like to "charge" my stones by adding a few more drops of essential oils on the surface before placing them out in the open. This is especially useful if you feel the scent has become faint after some time.
—
Troubleshooting Common Issues
- Stones Cracking: If your Aroma Stones crack during drying, it may be due to too fast drying, especially in the oven. Try lowering the temperature next time or increase water content slightly.
- Scent Fading: If the aroma diminishes quickly, consider adding more essential oil at the beginning or try mixing in a bit of Epsom salt, which can help prolong the scent.
- Difficult to Remove from Molds: Coating the molds with a little vegetable oil can help prevent sticking in future batches.
—
Tips and Variations
- Personalize Your Scents: Combine different essential oils to create unique blends. Some popular combinations include lavender and chamomile for relaxation or eucalyptus and lemon for a refreshing twist.
- Add Color: You can experiment with food coloring to give your Aroma Stones a vibrant look. Just a few drops in the mixture can create a stunning effect.
- Decorative Finishes: After your stones have dried, consider painting or decorating them with non-toxic paints for a personalized touch.
- Gifting Ideas: Handmade Aroma Stones make excellent gifts. Pack them in small drawstring bags with a label of the scent and its benefits.
—
Safety Warnings
- Always make sure to use pure essential oils without additives or fillers. This ensures safety, especially if you have pets or allergies.
- When working with food coloring, ensure it's non-toxic and safe for use in crafts.
—
Conclusion: Craft with Love
Creating DIY Aroma Stones is not just a crafting project; it’s a way to infuse your life with calming scents and personal creativity. I hope this guide helps you dive into your own aromatic adventure, and perhaps you'll find as much joy as I have in watching the colors and scents transform your space.
Remember to embrace the process—crafting should be fun and fulfilling. Whether you’re a seasoned crafter or just starting, I encourage you to try making Aroma Stones. You’ll soon find them enhancing your environment and wellness, making every breath a little bit sweeter. Happy crafting!