Discovering the Joy of Fizzy Art: A Step-by-Step Guide
Introduction to Fizzy Art
Hello, fellow crafters! Today, I’m thrilled to share with you an exciting and delightful project that has enchanted both kids and adults alike – Fizzy Art! Not only is this fizzy painting a sensory delight, but it also serves as an engaging educational experience for children, teaching them about chemical reactions in a fun way. Whether you’re looking to keep your kids entertained on a rainy day, create a unique piece of artwork, or explore science through crafts, Fizzy Art is perfect for all occasions!
What’s driving the popularity of Fizzy Art? It’s an innovative way to blend art and science, allowing creativity to blossom while incorporating an element of surprise with every colorful fizz. The vibrant visuals and satisfying bubbling effect captivate the imagination. I often use it at birthday parties, school projects, family gatherings, or simply as a creative outlet at home. It’s a wonderful way to bond with family and friends, all while indulging in our inner artists.
So, are you ready to dive into this bubbly adventure? Let’s gather our supplies and get started!
Materials You’ll Need
To ensure our Fizzy Art project goes off without a hitch, let’s gather the following materials:
Essential Ingredients:
- Baking Soda – This is the star ingredient that creates the fizz.
- White Vinegar – This acid interacts with baking soda, producing the bubbly reaction.
- Food Coloring – Choose your favorite colors to make your art vibrant.
- Dish Soap (optional) – Adding a tiny bit can make for extra bubbles.
- Water – To mix with the baking soda for a paintable texture.
Equipment:
- Mixing Bowls – For combining the materials.
- Whisk or Spoon – To mix everything together.
- Dropper or Squeeze Bottles – For applying your fizzy paint.
- Canvas or Thick Paper – As your base to create your artwork. Watercolor paper works beautifully.
- Plastic Tablecloth or Old Newspapers – To protect your workspace.
Optional Extras:
- Cookie Cutters – For fun shapes in the art.
- Stencils – For creating specific designs.
Step-by-Step Tutorial
Step 1: Prepare Your Workspace
Start by finding a flat surface that you can easily clean afterward. Lay down a plastic tablecloth or some old newspapers. This is going to get a little messy, and trust me – it’s better to be safe than sorry!
Step 2: Create the Fizzy Paint
Mix the baking soda and water to form a thick paste. I like to use about 1 cup of baking soda combined with 1/4 cup of water, adjusting the water until it reaches a smooth, paintable consistency. Remember, it shouldn’t be too runny – we want it to stick to the canvas!
Step 3: Add the Color
Now comes the fun part! Divide your baking soda mixture into smaller bowls (about 2-4, depending on how many colors you want). Add food coloring to each bowl, starting with a few drops and mixing until you achieve the desired shade. Be cautious with darker colors as they might overwhelm the fizzing effect.
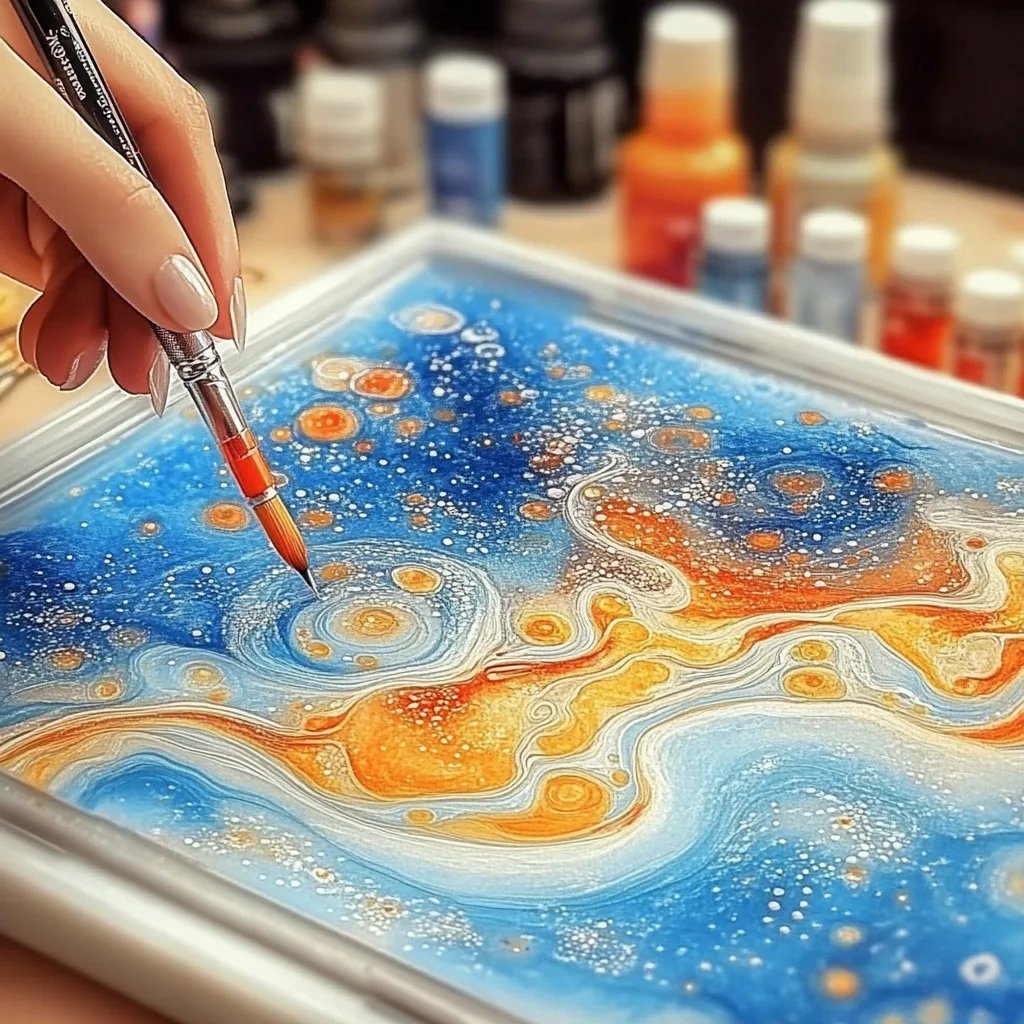
Step 4: Apply the Fizzy Paint
With your dropper or squeeze bottles, carefully squirt or drop the fizzling paints onto your canvas in any design you like. You can make swirls, patterns, or even shapes using cookie cutters as forms to fill in. Let your imagination run wild!
Step 5: The Magic Moment
Here's where the science kicks in! Once you’ve created your masterpiece, drizzle white vinegar over the painted surface using a dropper or pour gently from a small cup. The chemical reaction will create delightful fizzing bubbles, transforming your artwork into a colorful spectacle! Watch as the bubbles rise and the paint blend. This moment of excitement is what makes Fizzy Art so worthwhile!
Step 6: Let it Dry
Once the fizzing has calmed down, allow your artwork to dry completely. Since the mixture will stiffen as it dries, you might want to leave it in a warm, dry place for at least 24 hours. The waiting can be hard, but it’ll be worth it when you see the final result!
Troubleshooting Common Issues
Too Runny?
If your paint is too watery, add more baking soda a teaspoon at a time to reach a thicker consistency.
Not Enough Fizz?
Ensure you’re using fresh baking soda and vinegar; age can dull their fizzing reactiveness. Also, consider adding a touch of dish soap to enhance the bubbly effect.
Color Mixing
If the colors are too muddy after fizzing, try using separate sections of your canvas for each color to keep them from blending too much.
Creative Variations
Fizzy Art can easily be adapted! Here are a few fun ideas to keep things fresh:
- Seasonal Themes: Use colors and shapes that reflect holidays (red and green for Christmas, pastels for Easter).
- Glow-In-The-Dark Variants: If available, use glow-in-the-dark paint to create an exciting nighttime effect.
- Fizzy Scented Paint: Add a few drops of essential oils to create scented art pieces that smell wonderful as well as look beautiful.
Safety Tips
While the materials we’re using are generally safe, always supervise children during this project. Avoid eye contact with vinegar, and make sure to wash hands thoroughly after crafting. Consider wearing old clothes or an apron since the coloring can stain.
Conclusion
Embarking on this Fizzy Art journey has been one of my favorite crafting experiences, and I hope it becomes a cherished activity for you, too! This engaging project fuses creativity with scientific understanding, making it perfect for family fun, educational moments, or a cozy night in with friends. Remember, crafting is all about exploring and experimenting, so let your imagination take flight!
I can’t wait for you to try this incredible art form and share your experiences. Happy crafting!