Discover the Magic of Homemade Pink Salt Scrub: A Step-by-Step Guide
As an avid crafter and self-care enthusiast, I’ve found that creating my own beauty products is not only therapeutic but also incredibly rewarding. Among my favorite concoctions is a delightful Pink Salt Scrub. This luxurious scrub has gained immense popularity, and for good reason! Not only does it exfoliate and soften the skin, but it also provides a mini spa experience right in your own home. Today, I’m excited to share my personal journey of crafting this scrub, including tips, variations, and insights that will help you create your own.
What is Pink Salt Scrub and Why is it Popular?
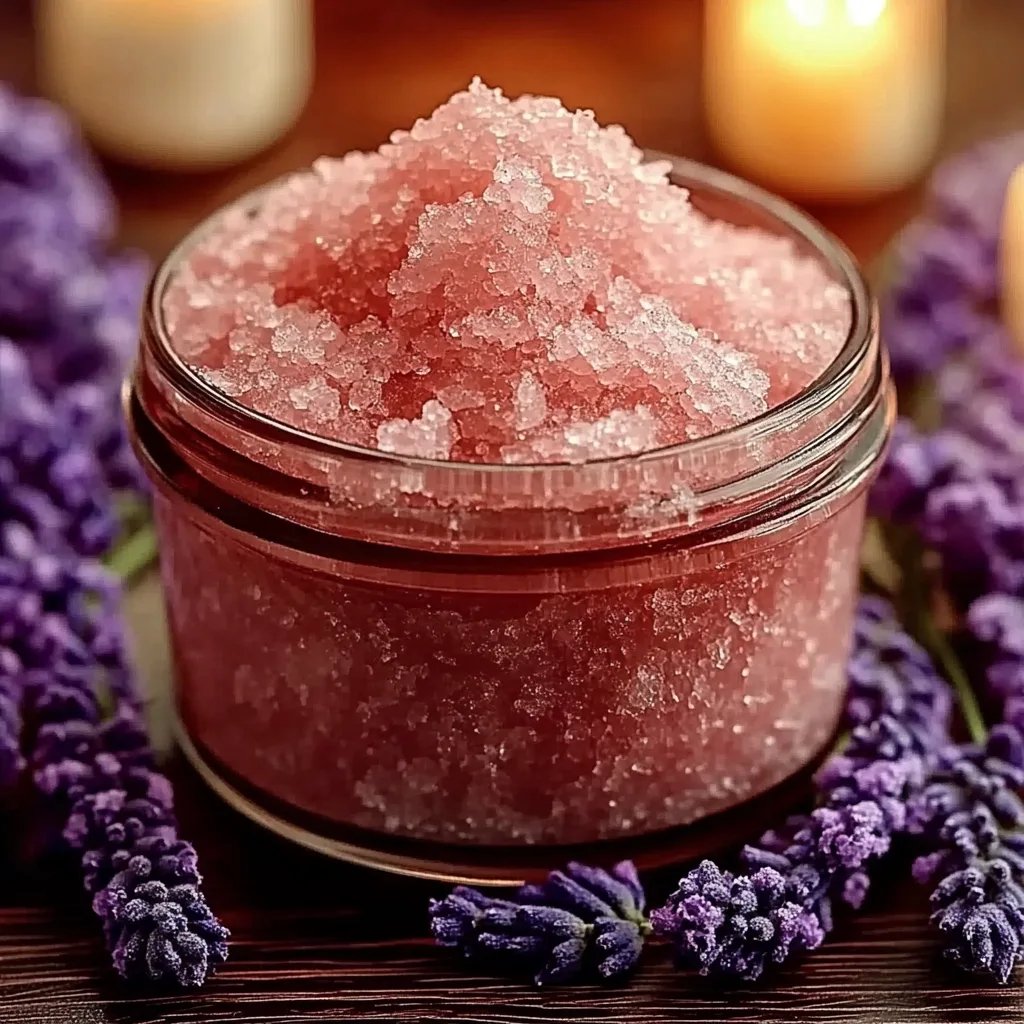
Pink salt scrub, made primarily with Himalayan pink salt, is celebrated for its natural mineral content and its gentle exfoliating properties. Unlike regular table salt, pink salt is rich in over 80 trace minerals, which can benefit the skin by promoting hydration, reducing inflammation, and helping to detoxify. The scrub’s popularity has soared, especially among those looking for natural skincare solutions without harmful ingredients.
You can use pink salt scrub in various ways:
- As a Body Exfoliant: Use it while showering to slough off dead skin cells.
- Hand Treatment: It works wonders on rough hands, especially after gardening or crafting.
- Pedicure Essential: Perfect for softening feet and removing calluses.
- Self-Care Ritual: Treat yourself after a long day to unwind and rejuvenate.
My Personal Creation Journey
When I first started making pink salt scrub, I was a bit intimidated at the thought of mixing oils and salts. But once I gathered the ingredients and followed the process, I realized it was incredibly simple and satisfying. Let me take you through the steps to help you craft your own beautiful batch!
Step-by-Step Tutorial to Make Pink Salt Scrub
Materials You’ll Need:
- 1 cup Himalayan pink salt (finely ground for smoother texture)
- ½ cup carrier oil (like coconut, olive, or almond oil)
- Optional: 10-15 drops of essential oil (lavender, eucalyptus, or any scent you love)
- Mixing bowl
- Glass or plastic jar with a lid for storage
- Spoon or spatula for mixing
- Optional: Food coloring (pink or any preferred color) for flair
Step 1: Gather Your Ingredients
Having all your ingredients prepped and ready is crucial. Not only does it streamline the process, but it also ensures that you won’t forget anything. I love to set up my workspace with everything laid out, giving me room to create without interruption.
Step 2: Mixing the Salt and Oil
- In your mixing bowl, combine 1 cup of pink salt with ½ cup of the chosen carrier oil.
- Why this matters: The salt acts as the exfoliant, while the oil hydrates and nourishes your skin.
- What could go wrong: If you add too much oil, the scrub may become too oily, making it ineffective for exfoliation.
- Correction tip: If this happens, just add another ¼ cup of pink salt to balance it out.
- Use your spoon or spatula to mix thoroughly until the salt is evenly coated with the oil.
Step 3: Adding Scents (Optional)
- If you’d like to infuse your scrub with fragrance, now’s the time to add 10-15 drops of essential oil.
- Why this matters: Aromatherapy can enhance your bathing experience, promoting relaxation and mood-lifting effects.
- Tip: Test your essential oils on a small area of skin prior to use to ensure you don’t have an allergic reaction.
- Mix well to incorporate the essential oil into the salt and oil mixture.
Step 4: Optional Coloring
For a playful twist, you can add a few drops of food coloring at this stage. I often go for a light pink to match the scrub's aesthetic, but feel free to get creative!
Step 5: Packaging Your Scrub
- Carefully transfer the mixture into your glass or plastic jar.
- Why this matters: Proper storage preserves the quality and longevity of the scrub.
- Personal anecdote: I’ve at times reused old jars from store-bought scrubs, giving them new life and reducing waste!
- Seal the jar tightly.
Step 6: Labeling
Consider labeling your scrub with the date and ingredients for future reference. It's a lovely touch, especially if you plan to gift it.
Tips for Optimal Use
- Storage: Keep your pink salt scrub in a cool, dry place. It should last for several weeks.
- Application: Use the scrub in the shower, massaging it onto damp skin in circular motions. Rinse well to reveal your soft, rejuvenated skin!
- Frequency: I recommend using the scrub 1-2 times a week for best results.
Safety Warnings
- Always do a patch test before using any new body product to avoid allergic reactions.
- Avoid using the scrub on broken or sensitive skin to prevent irritation.
- Be cautious when using scrubs in the shower, as the oil may make surfaces slippery.
Alternative Methods and Ingredient Substitutions
If you’re vegan or allergic to certain oils, consider these substitutions:
- Carrier Oil: Substitute coconut oil with jojoba oil or grapeseed oil.
- Essential Oils: Instead of lavender, try citrus scents like lemon or orange for an energizing boost.
Creative Variations
Here are a few variations I love experimenting with:
- Coffee Pink Salt Scrub: Add ½ cup of used coffee grounds for an energizing scrubbing experience.
- Citrus Zest Scrub: Grate lemon or orange peel into the mix for a zesty twist.
- Herbal Infusion: Add dried rosemary or lavender flowers for texture and benefits.
Conclusion
Making your own pink salt scrub is not just about skimping on store-bought items—it’s about creating something tailored to your needs and preferences. As you embark on this DIY journey, remember that the process is just as enjoyable as the product itself. Your skin will thank you for this lovely treat, and who knows, maybe you’ll inspire others to join in on the crafting fun.
So gather your materials, tune into your favorite playlist, and let the magic happen! Happy scrubbing!