Discover the Joy of Ice Painting: A Step-by-Step Guide to a Colorful Winter Adventure!
Hello, fellow crafters! Today, I'm thrilled to take you on a colorful journey into the enchanting world of Ice Painting. As someone who dabbles in all things crafty, I can tell you that this activity is an absolute delight for both children and adults alike. Not only does it spark creativity, but it also offers a unique way to embrace the colder months by turning ice and snow into vibrant canvases. Whether you're a teacher looking for a fun classroom activity or a parent keen to engage your kids in creative play, Ice Painting is a hit!
What is Ice Painting?
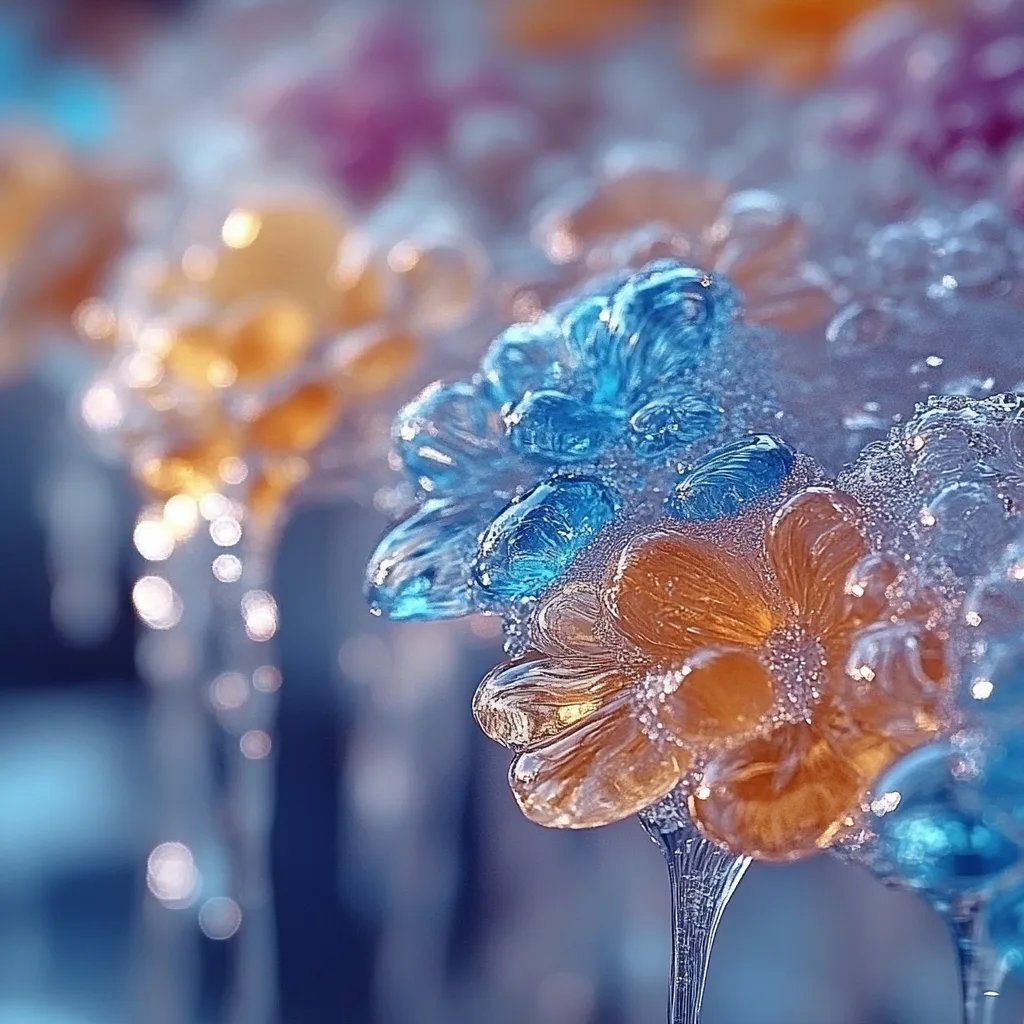
Ice Painting is an innovative outdoor art activity that involves mixing water or ice with food coloring to create beautiful, colorful designs on snow or ice surfaces. This activity has gained popularity because it’s not only fun but also educational, incorporating elements of science (like freezing and melting), creativity, and sensory exploration. It’s perfect for chilly days when you and your loved ones are looking for a new way to enjoy the outdoors.
When and How to Use Ice Painting
Ice Painting is perfect for:
- Winter Playdates: A fantastic way to keep kids entertained outdoors.
- Classroom Activities: Engaging students in a hands-on art project.
- Birthday Parties: Create a unique and memorable art experience.
- Family Bonding: An enjoyable way to spend precious time with loved ones creating colorful masterpieces.
Let’s dive into the step-by-step process of making your Ice Painting supplies!
Materials You'll Need
- Water: The base for your ice paints.
- Food Coloring: To give your ice its vibrant hues; feel free to experiment with different colors!
- Ice Cube Trays or Concrete Molds: To freeze and shape your colored ice.
- Paintbrushes or Squeeze Bottles: For painting on snow or ice.
- A Surface: Fresh snow or a solid ice surface provides the perfect canvas.
- Salt (optional): To create interesting patterns when sprinkled on the ice.
Step-by-Step Tutorial
Step 1: Prepare Your Ice Paints
- Mix Your Colors: In small bowls, combine water with a few drops of food coloring.
- Why It Matters: This step allows you to control the intensity of the colors. More drops mean bolder colors!
- Common Pitfall: Overusing food coloring can lead to messy hands and surfaces. Start with just a few drops and adjust as needed.
- Pour into Molds: Carefully pour your colored mixtures into the ice cube trays or molds.
- Tip: Use a funnel to avoid spills!
- Freeze: Place the molds in the freezer for at least 4 hours, or until completely frozen.
- Important Note: If your house is warm, you might want to check the ice regularly to ensure it doesn’t melt before you can use it.
Step 2: Setting Up Your Painting Area
- Choose Your Canvas: Head outside and find a patch of fresh snow or ice where your designs will stand out.
- Why This Matters: A solid surface will ensure the best painting experience. Snow that’s too soft may not hold the paint well.
- Gather Your Tools: Bring out the paintbrushes or squeeze bottles you'll use to apply the ice paints.
- Optional Add-on: If you want to create intricate designs, consider taking along some salt for extra texture and patterns.
Step 3: Painting with Ice
- Remove Ice from Molds: Gently twist and pop out your colored ice cubes.
- Common Issue: If ice sticks, run warm water over the outside of the mold to loosen it.
- Start Painting: Hold the ice cube in your hand and begin to draw or write in the snow/ice, or use the brushes or squeeze bottles to drip or spread the color.
- Personal Tip: As the ice melts, it will create beautiful blends of color. Don’t be afraid to experiment!
- Create Unique Patterns: Try using the salt technique to sprinkle salt over your painted areas. The salt causes the ice to melt in interesting patterns, creating a whole new visual effect.
- Safety Warning: Ensure that the area is safe and that the salt won’t be ingested by pets.
Step 4: Enjoy Your Artwork
- Admire Your Creation: Step back and enjoy your colorful designs! Take pictures, and share your art with friends and family.
- Clean-Up: When finished, remember that this activity can be done in a circular area, so any messes will be snow or ice that will naturally melt away.
- Experiment and Evolve: Don’t hesitate to try out new techniques! Mixing colors, using different tools, or even combining the paints with other materials can lead to even more stunning results.
Variations and Extensions
- Frozen Shapes: Instead of cubes, try freezing water in different shape molds—like animals or letters—for a playful twist.
- Nature Elements: Incorporate natural elements like leaves, twigs, or pebbles into your pictures by pressing them into the snow or using them as tools.
- Daytime vs. Nighttime: Try Ice Painting during the evening with the addition of glow-in-the-dark paint mixed in!
Personal Anecdotes
I remember the first time I tried Ice Painting; my kids and I bundled up in our winter gear, excited to see what we could create. We spent hours laughing and experimenting, turning our backyard into a vibrant winter wonderland! Watching their faces light up as they created colorful masterpieces was truly priceless. The memories we made that day were as beautiful as the art we created.
Final Thoughts
Ice Painting is more than just an art activity—it’s a wonderful way to explore creativity, have fun outdoors, and make lasting memories with loved ones. I encourage you to try it out and see where your imagination leads you. And remember, the process is just as important as the final product—so embrace the mess, enjoy the colors, and let your creativity shine!
Now go grab your supplies, embrace the cold, and let your artistic spirit soar! Happy Ice Painting!