Creating the Rainbow Ice Experiment: A Step-by-Step Guide to Fun and Creativity
Hello fellow crafters! Today, I’m thrilled to share with you an exciting and visually stunning project that’s sure to capture the hearts of both kids and adults alike: the Rainbow Ice Experiment. This delightful craft combines the wonders of color mixing with the sheer joy of watching ice melt in vibrant hues. It's a fantastic activity that can be used for educational purposes, a colorful centerpiece for parties, or simply as a fun afternoon project with your children.
What is the Rainbow Ice Experiment?
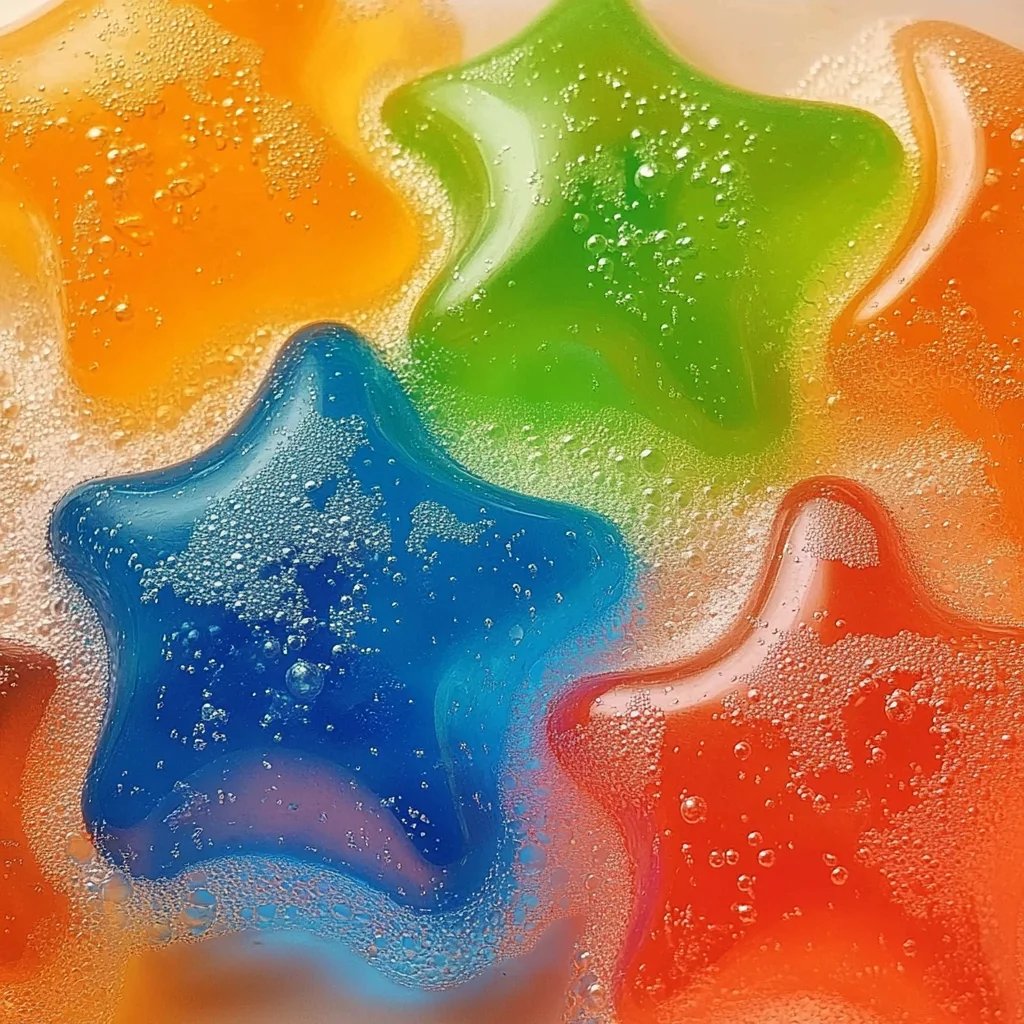
The Rainbow Ice Experiment involves creating colorful ice cubes using food coloring and water, then using salt to watch these colorful creations melt and interact in a spectacular display of colors. It’s a fun and hands-on science experiment that allows for creativity, learning about color mixing, and basic chemistry reactions right at home.
Why is it Popular?
This project has gained popularity for a multitude of reasons. Firstly, it's visually stunning and captivating as the colors blend and swirl together. Secondly, it offers educational benefits, making it an excellent tool for teaching children about color theory and the science of melting ice. Finally, it’s incredibly easy to set up, inexpensive, and can be customized in a multitude of ways, making it adaptable for various occasions and creative minds.
When and How to Use it?
The Rainbow Ice Experiment is perfect for family gatherings, birthday parties, science fairs, or as a unique art project at home. Even if you're not having a specific event, this colorful ice experiment offers a delightful way to learn through play!
—
Gather Your Materials
Before we dive into the step-by-step tutorial, let’s gather all the materials you’ll need:
- Water: Enough to fill your ice cube trays.
- Food Coloring: Red, blue, yellow, green, and purple are great choices for vibrant results.
- Ice Cube Trays: Silicone trays work best for easy release.
- Salt: Table salt works perfectly; it’ll help you create the melting effect.
- Pans or Trays: To catch the melting ice and collect the dripping colors.
- Optional Tools: Tweezers or droppers can be helpful for adding salt selectively. For younger kids, you may opt for using your hands.
Step-by-Step Tutorial
Now that we have everything we need, let’s get started!
Step 1: Create Your Colored Ice
- Mix Water and Food Coloring: For each color you want to create, take a separate cup and add about 1 cup of water. Add food coloring to create your desired hue. I typically start with about 5-10 drops, but feel free to adjust based on your color preference.
*Why it Matters*: The intensity of the color depends on how much food coloring you add, so be curious! Experiment with different amounts to see what you can create.
- Pour into Ice Cube Trays: Carefully pour each colored mixture into the ice cube compartments of your trays. I like to create a color scheme, layering colors next to one another in a rainbow fashion.
- Freeze: Place the trays in the freezer for at least 4-6 hours or, for best results, overnight.
*Potential Issues*: If the ice isn't freezing fast enough, ensure your freezer is at the correct temperature. Avoid opening the freezer frequently during this process to maintain a consistent freezing environment.
Step 2: Prepare for the Experiment
- Setup: Once your colored ice is completely frozen, gather your pans or trays. This step is crucial, as it will catch any melting water and keep your area tidy.
- Take Out Your Ice: Remove the ice cubes from the trays. To easily release them, gently twist the silicone mold or run a little warm water over the bottom of the trays.
- Arrange Your Ice: Place the colored ice cubes onto the pans, arranging them in a way that looks visually appealing. It’s a rainbow explosion waiting to happen!
Step 3: The Melting Magic
- Sprinkle with Salt: Now comes the thrilling part! Generously sprinkle salt over the ice cubes. You can use your fingers or even a spoon for a fun, tactile experience. Adding salt will lower the melting point of the ice, and you’ll see the magic begin to unfold.
*Why Salt?* Salt acts as an agent that speeds up the melting process and creates beautiful, running colors as the ice slides down into the pan or tray.
- Watch and Observe: Grab your tweezers or droppers, and you can add more salt selectively on certain cubes to observe how different amounts of salt affect the melting speed.
*Troubleshooting*: If nothing seems to be happening, ensure the ice is cold enough and you're using enough salt. More salt usually means more dramatic melting!
Tips and Creative Variations
- Color Layers: Consider layering your colored water into the ice cube trays to create stripes or ombre effects.
- Add Glitter: For extra pizzazz, add edible glitter or sequins to the water before freezing for dazzling ice cubes.
- Experiment with Flavors: For a fun twist, try using flavored drinks (like Kool-Aid) instead of water to create scented and colored ice cubes.
- Using Alternative Colors: Don’t just stick with primary colors; explore mixing colors by combining red and blue for purple, or yellow and red for orange.
Safety Warnings
- Supervision: If you’re doing this project with children, supervise them during the salt part, as ingesting too much salt is not safe.
- Cleaning: Be sure to clean up any spills immediately, as colored frosting can stain surfaces.
Personal Anecdote
I remember doing the Rainbow Ice Experiment with my daughter during a hot summer afternoon. The joy on her face as she watched the colors run and blend together was absolutely priceless. We learned about color mixing, and after the experiment, we enjoyed some flavored ice pops made from the leftover juices! Projects like this not only spark creativity but also create cherished memories.
—
Conclusion
The Rainbow Ice Experiment is a delightful blend of art, science, and discovery that I wholeheartedly recommend for any budding artist or little scientist in your life. It not only promotes creativity and critical thinking but also creates a magical, vibrant experience that teaches valuable lessons in color mixing and chemical reactions. So gather your materials, let your imagination run wild, and most importantly, have fun experimenting with colors! I can’t wait to see what you create. Happy crafting! 🎨🌈