Creating Stained Glass Snowflake Suncatchers: A Step-by-Step Guide
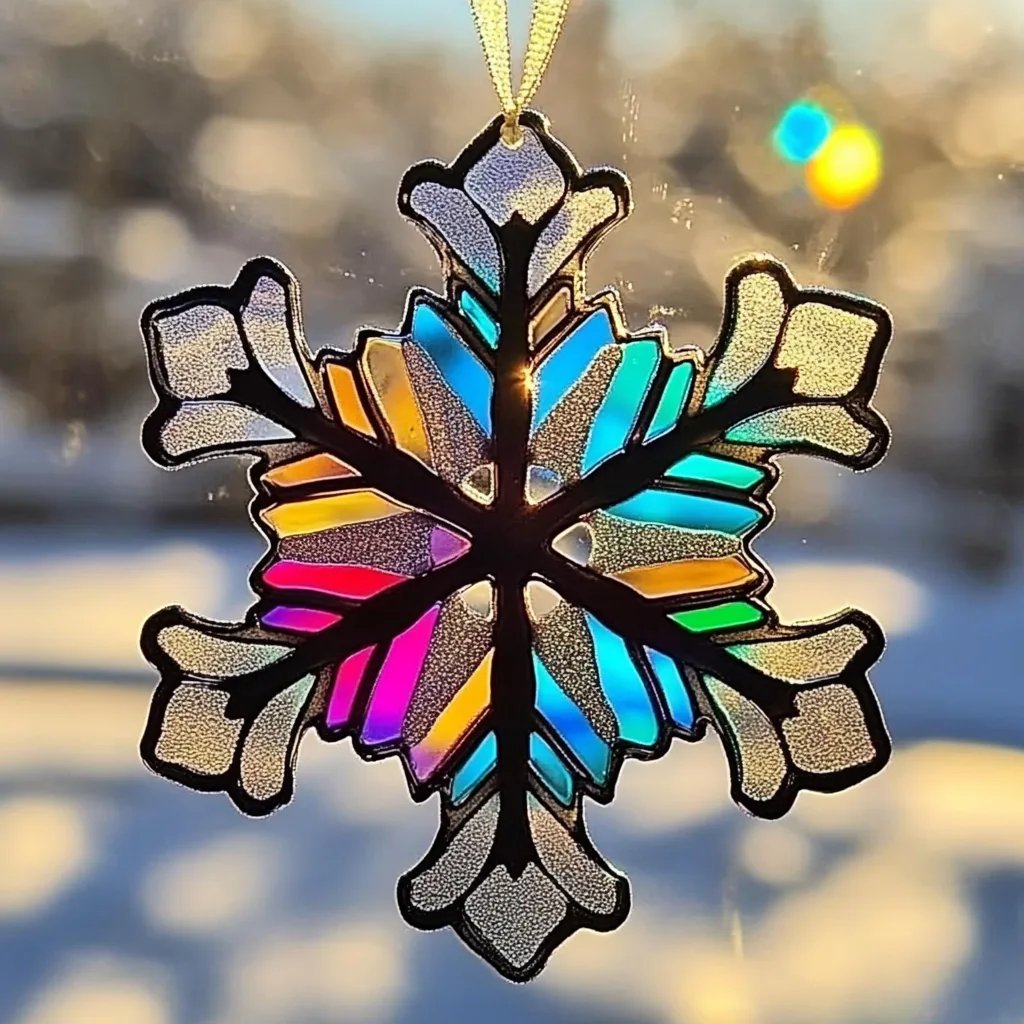
As the winter chill envelops the world outside, there's a special kind of beauty that comes with the season. One of my all-time favorite crafts to embrace this time of year is making stained glass snowflake suncatchers. These sparkling, colorful pieces not only catch the light beautifully but also add an enchanting touch to any space. Whether you hang them in your window or give them as gifts, these suncatchers are bound to bring a smile to anyone's face.
Why You’ll Love Making Stained Glass Snowflake Suncatchers
Suncatchers are incredibly versatile and can brighten up any room, even during the dreariest of winter days. The way sunlight filters through the colored glass brings vibrant colors dancing around your space, creating a cheerful ambiance. Plus, these DIY snowflake suncatchers can be personalized for holidays or simply to celebrate the beauty of winter. They make for wonderful gifts, are a fun family project, or can serve as delightful decorations for your own home.
What You’ll Need
Before we dive into the fun part, let’s gather our supplies. The materials are relatively simple and accessible, making this project perfect for crafters of all skill levels.
Materials
- Transparent Colored Plastic Sheets (or old CD/DVDs for an alternative)
- Black Construction Paper (or adhesive foil)
- Scissors
- Craft Knife (if using foam or thicker materials)
- Glue (like Mod Podge or a strong craft glue)
- Hanging String (fishing line or decorative ribbon)
- Pencil
- Ruler (optional but helpful for precision)
- A Light Source (like a window or a bright lamp)
Safety Gear
- Protective Eyewear: If you’re using sharp tools or crafting with glass, a pair of protective goggles is a must.
- Work Gloves: Use these when handling sharp edges and tools for added safety.
Step-by-Step Tutorial
Step 1: Design Your Snowflake
To kick off the project, grab a piece of paper and draw your snowflake design. Remember, snowflakes are unique and symmetrical. You can create a simple six-pointed design by folding your paper into sixths and drawing one section.
Tip: Keep your design balanced and consider the size of your window to ensure the suncatcher fits perfectly.
Step 2: Cut Out the Design
Once you’re happy with your design, carefully cut it out. Use this cut-out as a template for your stained glass pieces.
Why This Matters: The precision of your cut will affect how your suncatcher looks once completed. A clean, accurate cut will ensure a neater final product.
Common Pitfall: If you cut too messily, it could ruin the overall aesthetics. To avoid this, take your time and use sharp scissors or a craft knife for clean lines.
Step 3: Trace Your Design on the Plastic Sheets
Lay your chosen colored plastic sheets flat and place your cut-out template on top. Using a pencil, trace around the edges of your design. The colors you choose will affect the overall look of your suncatcher, so have fun with combinations!
A Personal Anecdote: I love using shades of blue and purple for a frosty feel, while lighter shades can evoke a more whimsical effect.
Step 4: Cut Out the Plastic Shapes
Now, it’s time to carefully cut out the shapes you just traced on the plastic sheets. This is where your design comes alive!
Safety Warning: Be cautious with sharp scissors or craft knives. If working with kids, supervise closely.
Tip for Beginners: Consider starting out with simple shapes before attempting intricate designs. This will build your confidence and skill.
Step 5: Assemble Your Suncatcher
Next, it’s time to glue your shapes onto the black construction paper or adhesive foil backing. Arrange them according to your design, and once satisfied with the layout, apply a thin layer of glue to the edges of each piece.
Why This Step Matters: This will provide support and also create a beautiful contrast with the colored plastic.
Potential Issue: Make sure you’re applying the right amount of glue; too much can make it messy. A little goes a long way!
Step 6: Allow to Dry
Once everything is glued in place, let your suncatcher dry completely. Depending on the glue used, this could take a couple of hours.
Tip: If you’re eager to see your creation, consider placing it near a heat source like a radiator (but not too close!).
Step 7: Attach the Hanging String
Once dry, take your suncatcher and carefully cut a length of your hanging string. Use a small hole punch or a craft knife to create a small hole at the top of the suncatcher and thread your string through.
Why This is Key: A sturdy string will ensure that your suncatcher hangs nicely without any risk of falling.
Step 8: Hang and Enjoy!
Finally, find the perfect spot to display your new creation! Hang it in a window where sunlight can bask through the colored plastic, illuminating the unique patterns of light that dance around your space.
Creative Variations
Feeling extra creative? Consider these variations to personalize your suncatchers:
- Mix and Match Colors: Blend different colors to create a gradient effect.
- Add Glitter: For an extra sparkle, sprinkle some glitter onto the glue before it fully dries.
- Nature-Inspired Elements: Incorporate leaves or small twigs into your design for a more organic feel.
Closing Thoughts
As you sit back and admire your stunning stained glass snowflake suncatcher, I hope you feel a sense of pride in your craftsmanship. Crafting is not just about the end product; it's about the joy and satisfaction in the process itself.
The beauty of creating these suncatchers is that there’s no right or wrong way to approach it. Each piece becomes a reflection of your artistic spirit and creativity. So grab your materials, let your imagination run wild, and most importantly, enjoy every moment of your crafting journey!
Remember the warmth of your creativity can truly brighten up the cold winter days ahead. Happy crafting!