**Creating Magical Glue Suncatchers: A Step-by-Step Guide**
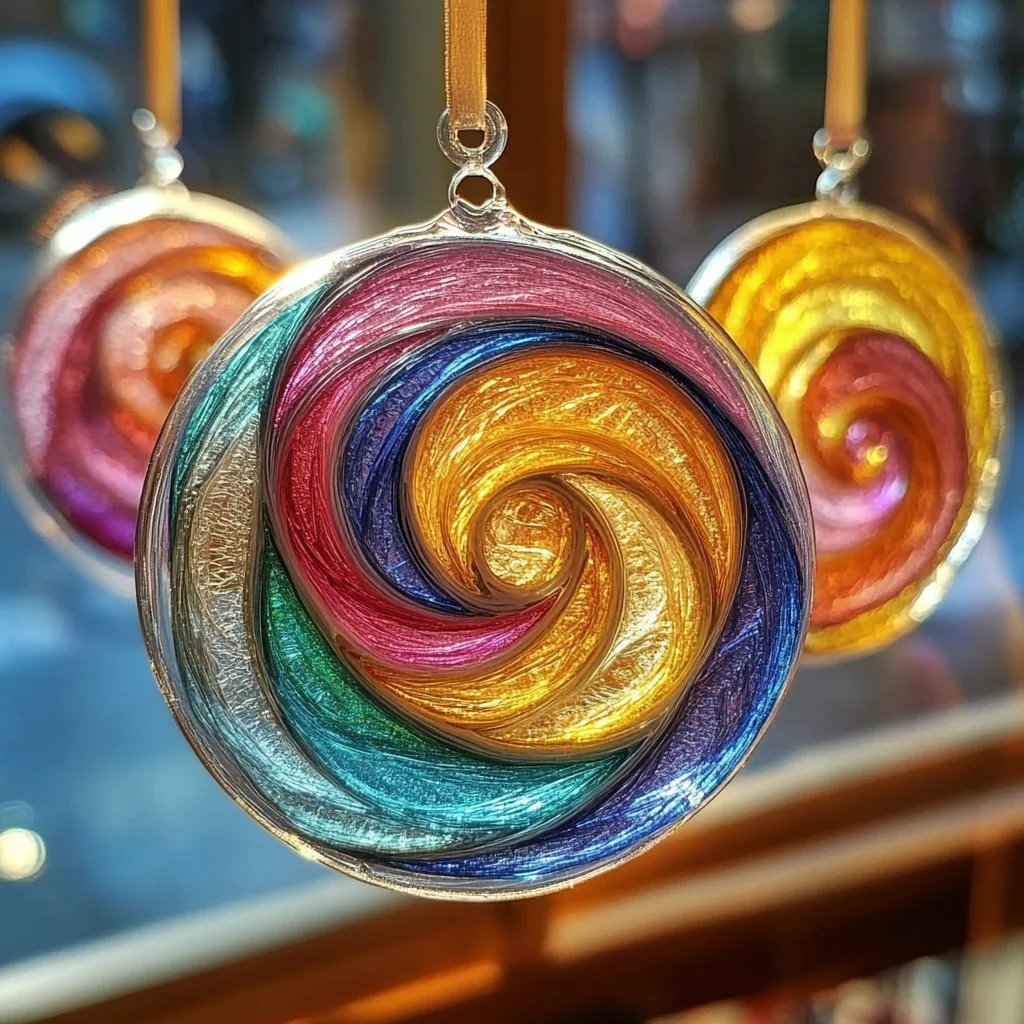
Hello, fellow crafters! Today, I’m excited to share one of my all-time favorite crafty projects: making glue suncatchers. If you’ve ever marveled at how sunlight can dance through stained glass, you’ll love how these vibrant creations can brighten your windows. Not only are glue suncatchers aesthetically pleasing, but they also make for wonderful decorations during various seasons, playful gifts for friends or neighbors, or a fun afternoon project with kids.
Why are glue suncatchers so popular? Well, they’re simple to make, allow for a ton of creativity, and require minimal materials. Plus, the materials are typically things you might already have around the house! Whether you’re in the midst of a cozy winter, the blooming freshness of spring, or the sun-drenched days of summer, these suncatchers serve as a vibrant reminder of the beauty of each season.
What You’ll Need
Before we jump into making our glue suncatchers, let’s gather everything you’ll need:
- White school glue: It’s affordable, readily available, and dries clear, making it perfect for our project.
- Colorful tissue paper: Choose a bouquet of colors! You can also use cellophane or other thin paper, depending on your preferences.
- Wax paper or plastic wrap: This will act as your working surface, preventing sticky situations.
- Scissors: For cutting your tissue into fun shapes.
- Paintbrush or sponge brush: To spread the glue over your tissue paper.
- A bowl for mixing glue (optional): You might want to mix your glue with a little water for a smoother application.
- Optional decorative elements: Glitter, sequins, or beads can add an extra spark of magic!
Step 1: Prepare Your Material
Why It Matters: Organization helps everything flow smoothly.
First, lay down your wax paper or plastic wrap on a clean, flat surface. This is where you’ll create your masterpieces!
What Could Go Wrong: If you skip this step and skip using a protective layer, your sticky creations might end up glued to the table, which can be quite messy!
Step 2: Cut Your Tissue Paper
Next, grab your scissors and start cutting the tissue paper into fun shapes and sizes. Geometric shapes, leaves, or even flowers are fantastic! I often create a stack of different colors and shapes to mix and match later on.
Why It Matters: The variety of shapes and colors will create a visually stimulating and captivating design.
Personal Anecdote: I remember the first time my little cousin and I made these on a rainy afternoon. We spent hours snipping away, giggling over our quirky designs.
Step 3: Mix Your Glue (If Desired)
If you want a smoother application, consider mixing your white school glue with a few drops of water in a bowl. This will help the glue spread more easily.
Tip: Ensure the mixture isn’t too runny, or it may not hold your tissue shapes in place.
Safety Warning: Although white school glue is non-toxic, avoid ingesting any materials. Keep this project supervised with younger children.
Step 4: Create Your Design
Now for the fun part! Use your paintbrush or sponge brush to apply a thin layer of glue onto your wax paper or plastic wrap. Place your tissue pieces on top, layering them as you go. Add some additional glue on top of the tissue pieces—we want to seal them in!
Why It Matters: A thin layer of glue will dry clear and allow the colors to pop wonderfully in the sun.
Step 5: Enhance Your Creation
At this point, you can go a step further and sprinkle some glitter, sequins, or beads onto your suncatcher before it dries. This adds an extra layer of whimsy and sparkle!
Creative Variation: Try creating seasonal suncatchers—like leaves for fall, snowflakes for winter, or flowers for spring.
Step 6: Drying Time
Allow your suncatcher to dry completely. Depending on humidity and thickness, this could take anywhere from a few hours to overnight. Be patient, as moving them before they dry could ruin your design.
Tip: To avoid dust settling on your wet project, place it in a safe area away from foot traffic.
Step 7: Peel and Display
Once fully dry, gently peel your suncatcher off the wax paper or plastic wrap. You can trim any loose edges for a cleaner look. Then, hang your masterpiece in a sunny window where it can catch the light beautifully!
What Could Go Wrong: If pulling off the suncatcher causes it to tear, don’t panic! You can always create a new piece or try to patch it up with more glue.
Conclusion
And there you have it—your very own glue suncatcher to fill your home with color and cheer! Naturally, as with any crafty endeavor, there are endless variations and opportunities for creativity. Don’t hesitate to experiment with different shapes, materials, and colors.
Final Tips
- Alternate Ingredients: If you don’t have tissue paper, try using shredded paper, magazine pages, or even fabric scraps!
- Storage: Keep your suncatchers in a safe, dry place to protect them from damage.
- Experiment: For older children or adults, try introducing paint or markers to add more depth to your designs.
- Make it a Family Affair: Gather your family for a crafting day! It’s a perfect way to bond and unleash creativity.
So go ahead—gather those supplies, channel your inner artist, and create something beautiful that captures the magic of sunlight. Happy crafting!