Creating Magical Bubble Dough: A Step-by-Step Guide to Crafting Your Own Sensory Delight
Welcome, fellow crafters! Today, I'm thrilled to share one of my absolute favorite crafting projects: Magical Bubble Dough. This captivating concoction combines the tactile joy of dough with the fun of bubbles, making it an enchanting activity for kids and adults alike. Whether you’re planning a fun playdate, a rainy day activity, or simply want to indulge in some creative self-care, this dough is perfect for all occasions.
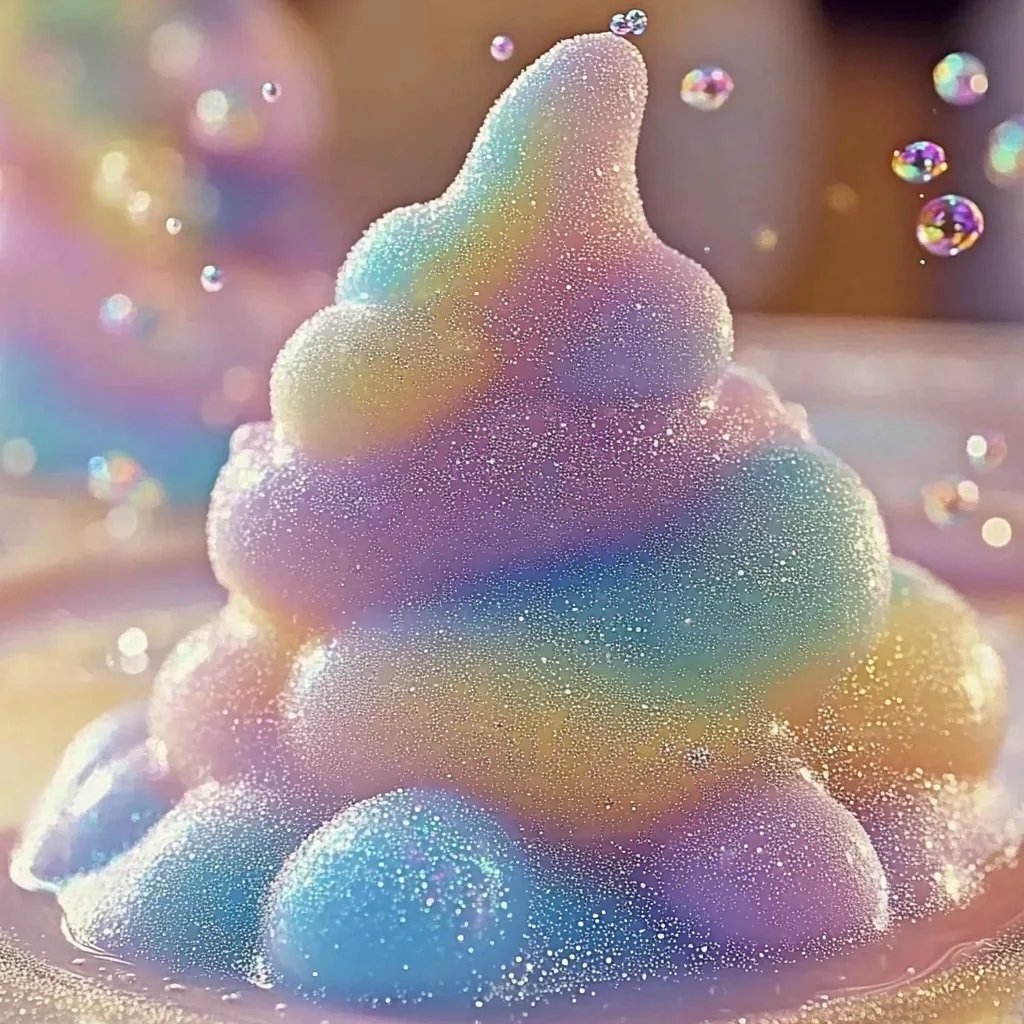
What is Magical Bubble Dough?
Magical Bubble Dough is a unique blend of dough and bubble solutions that allows you to create fluffy, stretchable bubbles with a delightful texture. It’s perfect for sensory play, and I can assure you, it’ll provide hours of fun. The popularity of this dough can be attributed to its versatility—kids love it, but even adults find it therapeutic! Plus, it’s super easy to make at home using simple ingredients you likely already have on hand.
When and How to Use Magical Bubble Dough
I often use Magical Bubble Dough during parties, educational play sessions, and relaxing afternoons at home. It engages the senses and can be a fantastic tool for teaching concepts like textures, colors, and even science (in terms of bubbles and air). I also love using it for stress relief, especially after a long week. The act of kneading and stretching the dough is grounding and provides an excellent opportunity for mindfulness.
Let's Gather Our Ingredients
Before we dive into making this magical concoction, let’s gather the materials. Here’s what you’ll need:
Ingredients:
- All-purpose flour (about 2 cups) – This provides the base for our dough.
- Cornstarch (1 cup) – This will help create that fluffy texture we want.
- Liquid soap (3/4 cup) – I prefer a gentle dish soap. This is what will make the bubbles pop!
- Water (1 cup) – Vital for hydration (and playability)!
- Cooking oil (2 tablespoons) – This adds moisture and elasticity.
- Optional food coloring or glitter – For an extra magical touch!
Step-by-Step Tutorial: Let's Make Magical Bubble Dough!
Now that we have everything ready, let’s get started! I’ll walk you through each step, sharing why it matters, potential pitfalls, and tips to make this process smooth.
Step 1: Combine the Dry Ingredients
In a large mixing bowl, whisk together the flour and cornstarch until they are well combined. This step is crucial because having a uniform mixture ensures that the texture of your dough will be smooth and fluffy.
Pro Tip: Sifting the flour beforehand can help eliminate any lumps, making your dough even softer.
Step 2: Mix the Wet Ingredients
In a separate bowl, combine the liquid soap, water, and cooking oil. Mix until well blended. Pour this mixture into the dry ingredients gradually. I find that adding the wet ingredients in parts prevents any clumps from forming.
What Could Go Wrong? If you add too much liquid too quickly, your dough may become runny. If that happens, don’t worry! Just add a little more flour until you reach the desired consistency.
Step 3: Knead the Dough
Once the mixtures are combined, it’s time to get our hands in there and knead! This is one of my favorite parts; it’s incredibly therapeutic. Knead the dough for about 5 to 10 minutes until it becomes smooth and elastic. If it feels too sticky, sprinkle a little more flour as you go.
Personal Anecdote: The first time I made this, I skipped the kneading, thinking the dough would just come together on its own. Mistake! I learned that kneading is essential for developing that sought-after elasticity and texture.
Step 4: Add Colors and Sparkles
Now, if you're feeling adventurous, it’s time to add color and maybe a dash of glitter! Use food coloring or a non-toxic glitter and mix it into the dough. You might need to knead it a bit more to distribute the color evenly.
Creative Variation: Try creating multiple colors and merging them for a beautiful marbled effect! The kids love this part, and it keeps the activity engaging.
Step 5: Playtime!
Once your dough is at the perfect consistency—smooth, fluffy, and colorful—it’s time to enjoy! Shape, stretch, and blow bubbles. You can use bubble wands, straws, or even your hands to create those charming bubbles.
Tips for the Best Experience
- Storage: To keep your Magical Bubble Dough fresh, store it in an airtight container in the refrigerator. It can last for two weeks or even longer!
- Messy Play: Don’t be afraid of mess; there might be spills, and that’s part of the fun! Lay down a plastic mat or old newspapers to catch the drips.
- Safety Warning: While the ingredients are non-toxic, keep an eye on younger children. Avoid allowing them to put the dough in their mouths.
Alternative Methods and Ingredient Substitutions
If you’re out of something, don’t fret! Here are some possible substitutions:
- Gluten-free option: Use gluten-free flour in place of all-purpose flour.
- Soap alternatives: If you don’t have traditional soap, try using a gentle bubble bath solution.
- Oil substitutes: You can use coconut oil or vegetable oil if you prefer something different.
Final Thoughts
Making Magical Bubble Dough has become not just a crafting activity for me; it embodies the joy of creativity, exploration, and mindfulness. I encourage you to embrace the process, experiment, and most importantly—have fun!
Whether you’re crafting alone or with little hands by your side, I promise that the hours spent creating and playing with Magical Bubble Dough will be truly magical. Enjoy the journey, and feel free to share your creations and variations with me. Happy crafting!