Creating Glowing Bubble Lamps: An Enchanting Crafting Adventure
Hello fellow craft enthusiasts! If you’re here, you likely share my fascination with DIY crafts that add a magical touch to our living spaces, and today, I’m thrilled to guide you through one of my favorite projects: Glowing Bubble Lamps. These delightful lamps are not only visually striking but also versatile enhance your home decor. Whether you want to add a calming glow to your bedroom, create a whimsical atmosphere in a child's playroom, or even host an enchanting gathering with friends—this project is perfect for many occasions.
Let me take you on a journey of crafting these glowing gems, step by step. As someone who has navigated the highs and lows of crafting over the years, I want to share with you not just the process, but also insights, tips, and the occasional personal anecdote that might help you avoid common pitfalls.
What is a Glowing Bubble Lamp?
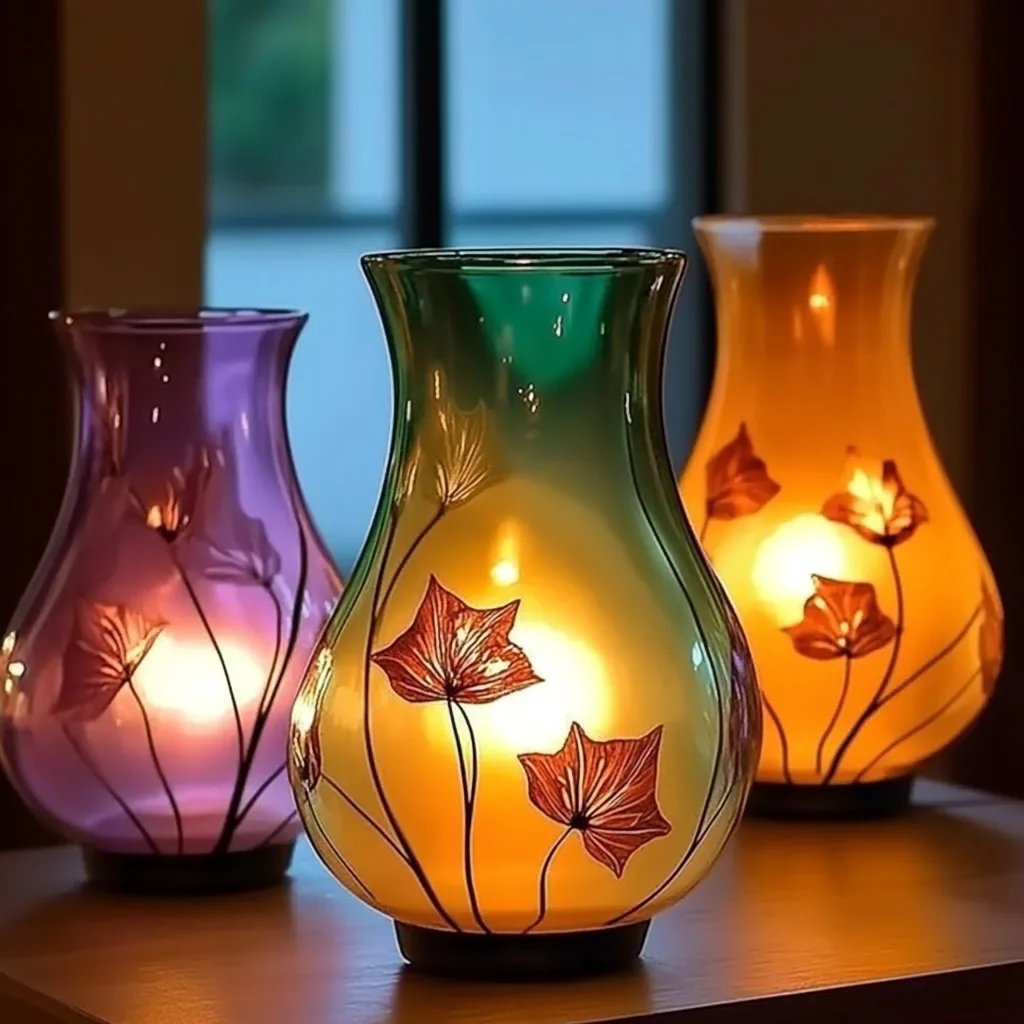
A glowing bubble lamp is a whimsical creation resembling a traditional lamp but infused with a burst of color and enchanting bubbles. The lamp glows softly, illuminated by LED lights, and inside, you might see bubbles rise and fall, creating a soothing effect reminiscent of a serene underwater scene. These lamps are often made from simple materials readily available at home or in craft stores—making them a perfect project for both beginners and seasoned crafters alike.
Why Are Glowing Bubble Lamps Popular?
The appeal of glowing bubble lamps lies in their aesthetic charm and the unique ambient glow they emit. They can act as nightlights, decor pieces for parties, meditation aids, or even whimsical gifts for loved ones. With their captivating movement and soft light, they create an atmosphere that welcomes relaxation and inspiration. Plus, who doesn’t love the tactile experience of watching bubbles rise and fall while enjoying a soft, ambient glow?
What You’ll Need
Before we dive into the crafting process, let’s gather our materials. Here’s a comprehensive list of everything you’ll need to create your glowing bubble lamp:
Materials
- Clear Plastic Bottle (e.g., a 1-liter soda bottle or similar)
- LED Submersible Lights (waterproof)
- Food-Grade Glycerin (to create the bubble effect)
- Water
- Glitter or Decorative Beads (optional for visual appeal)
- A few drops of food coloring (optional, for colorful glow)
- Hot Glue Gun and Glue Sticks
- Craft Knife or Scissors
- Plastic Funnel
- Small Stones or Marble (for stabilization)
Safety Considerations
When working with hot glue and craft knives, always prioritize safety. Ensure you're working in a well-ventilated area and keep hot glue away from your skin. If you're crafting with younger crafters, supervise closely!
Step-by-Step Tutorial
Step 1: Prepare Your Bottle
The first step in our glowing bubble lamp adventure is preparing your plastic bottle. Rinse it thoroughly and remove any labels to achieve a clean look. Use the craft knife or scissors to carefully cut the bottle to your preferred height, usually around 6-8 inches tall. This height allows a good bubble flow while still fitting comfortably on a shelf or table.
Tip: If you want a wider top or a custom shape, feel free to experiment! Just be cautious with the cutting tools.
Step 2: Mixing the Liquid
Now it’s time to prepare our bubble solution. Using your funnel, slowly pour in 1 cup of water followed by 1-3 tablespoons of food-grade glycerin. The glycerin is the magic ingredient that helps create those mesmerizing bubbles as it thickens the liquid, allowing less rapid movement. Stir the mixture gently; be careful not to create bubbles just yet.
Why This Matters: The glycerin-water ratio is crucial for achieving the right viscosity—too little glycerin will make the bubbles dissipate quickly instead of floating. If your bubbles are popping too fast, adding more glycerin should help.
Step 3: Add Glitter or Decorative Beads
This is where the fun starts—adding a touch of sparkle. I often use glitter for its captivating visual effect. A tablespoon or so will do; you want enough to see it but not so much that it clogs the bubbles.
Personal Anecdote: During one of my crafting days, I went a bit overboard with the glitter. It ended up looking like a fairy had exploded in my bottle! While it was visually striking, it wasn’t what I intended. A little less is often more for this project!
Step 4: Insert the LED Lights
Next, it's time to thread the LED submersible lights into the bottle. If your lights come with a battery, ensure it’s properly secured and test the lights to see if they work. Place them at the bottom of your bottle.
Pro Tip: You can use small stones or marbles to weigh down the light, preventing it from floating to the top of the liquid.
Step 5: Securing the Bottle
Now, it's time to cap your bottle. I like to use hot glue around the rim where it meets the cap to make the bottle water-tight. Ensure your glue is on the outside—this will prevent any leaks while adding an extra layer of sturdiness.
Safety Warning: Be cautious with the hot glue; I recommend allowing it to cool for a moment while it’s still manageable to prevent burns.
Step 6: Add the Remaining Solution
Using your funnel again, pour any remaining solution into the bottle. Ensure you leave a little space at the top to prevent overflow! Seal your bottle tightly.
Step 7: Enjoy Your Glowing Bubble Lamp!
Place your fabulous creation on a surface where you want to enjoy its warm glow. Turn on the LED lights and watch as bubbles dance within your lamp, creating an ambient atmosphere that captivates all who gaze upon it!
Creative Variations and Tips
Now that you’ve crafted your glowing bubble lamp, you might want to consider some creative variations:
- Color Themes: Use different food coloring combinations to change the color of the lamp based on seasons or holidays.
- Themed Decor: For a holiday twist, try adding themed beads, like mini pumpkins for Halloween or small hearts for Valentine’s Day.
- Floating Orbs: You can create floating "mystical orbs" by substituting regular beads with lightweight Styrofoam balls for a unique touch.
Troubleshooting
Here are some common issues and tips to fix them:
- Bubbles not Rising: You might need to tweak the glycerin amount. If they're too heavy, add a bit more water.
- Clogged Glitter: If your bubbles get stuck, it may help to reduce the amount of glitter used or swap it for smaller beads that flow better.
- Lights not Working: Make sure the LED light is fully submerged. If it’s not bright enough, check the battery and replace it if necessary.
Conclusion
Congratulations, fellow crafter! You’ve officially made your own glowing bubble lamp! I hope this tutorial inspires you to explore the joy of crafting and creates an enchanting glow in your home. Remember, crafting is all about experimentation—don’t hesitate to put your personal touch on this project.
I can’t wait to see your beautiful creations, so feel free to share your glowing bubble lamps with me! Happy crafting, and may your bubbles always float!