Creating Firework’s Confetti Experiment: A Delightful DIY Adventure
Hello, fellow crafters! Today, I'm thrilled to take you on a vibrant journey into the world of science and art with my take on Firework's Confetti Experiment. This colorful project is not just visually stunning, but it's also an exciting way to engage with children and even adults who are young at heart! As we craft this delightful experiment, you'll see how we can create a dazzling display of confetti that emulates the beautiful explosion of colors and patterns seen in fireworks.
This project is surprisingly simple, making it popular for parties, educational demonstrations, or a fun day at home. Perfect for celebratory occasions or science fairs, it brings a touch of magic and wonder to any gathering. So, whether you're planning a birthday bash, a school project, or simply want to explore the intersection of art and science, let's dive in!
What You'll Need
Before we get started, it's essential to gather all the materials you'll need. Luckily, these are easy to find, and many can be sourced from your kitchen:
Materials:
- Clear Glass or Plastic Jar (You can also use a transparent container)
- Vegetable Oil or Baby Oil (This will serve as the medium in which the colors will float)
- Food Coloring (Assorted colors for that festive look)
- Water (Room temperature works perfectly)
- Spoon or Stirring Stick
- Pipette or Dropper (Optional but recommended for precision)
- A tray or a large sheet of paper (To catch any spills)
Safety Warning:
Always remember to wear an apron or old clothing since food coloring can stain fabrics. While the materials are generally safe, avoid ingesting the oil or food coloring, especially with young children involved.
Step-by-Step Tutorial: Making Firework's Confetti Experiment
Now that we have everything ready, let’s jump right into the crafting! Follow my lead through these easy-to-follow steps.
Step 1: Prepare the Base
First things first! Let’s fill our jar. Carefully pour about one-third of the jar with water. This base acts like the canvas for our dazzling display.
Why This Matters: The water is denser than oil, which is crucial for the colors to behave like fireworks as they react differently when mixed with these two fundamental elements.
Step 2: Add the Oil
Next, pour a thin layer of vegetable or baby oil on top of the water until the jar is roughly two-thirds full.
Why This Matters: The oil won’t mix with the water. This separation is key, as it allows the food coloring droplets to float and eventually burst into color! If you pour too fast, you might end up with a mix that doesn’t layer well.
Tip: Pour gently so as not to create bubbles, which could be counterproductive.
Step 3: Prepare the Colors
Here comes the fun part! Using a pipette or dropper, introduce your food coloring into the oil layer.
How to Do It:
- Take your dropper and select your first color.
- Gently squeeze and let a few drops fall into the oil.
- Repeat this with other colors, varying their drop density.
Why This Matters: The droplets should form distinct beads on the oil. If they start to mix or look murky, it could mean you added too many or that the oil-water ratio is off. Don't worry—simply let it settle before moving on.
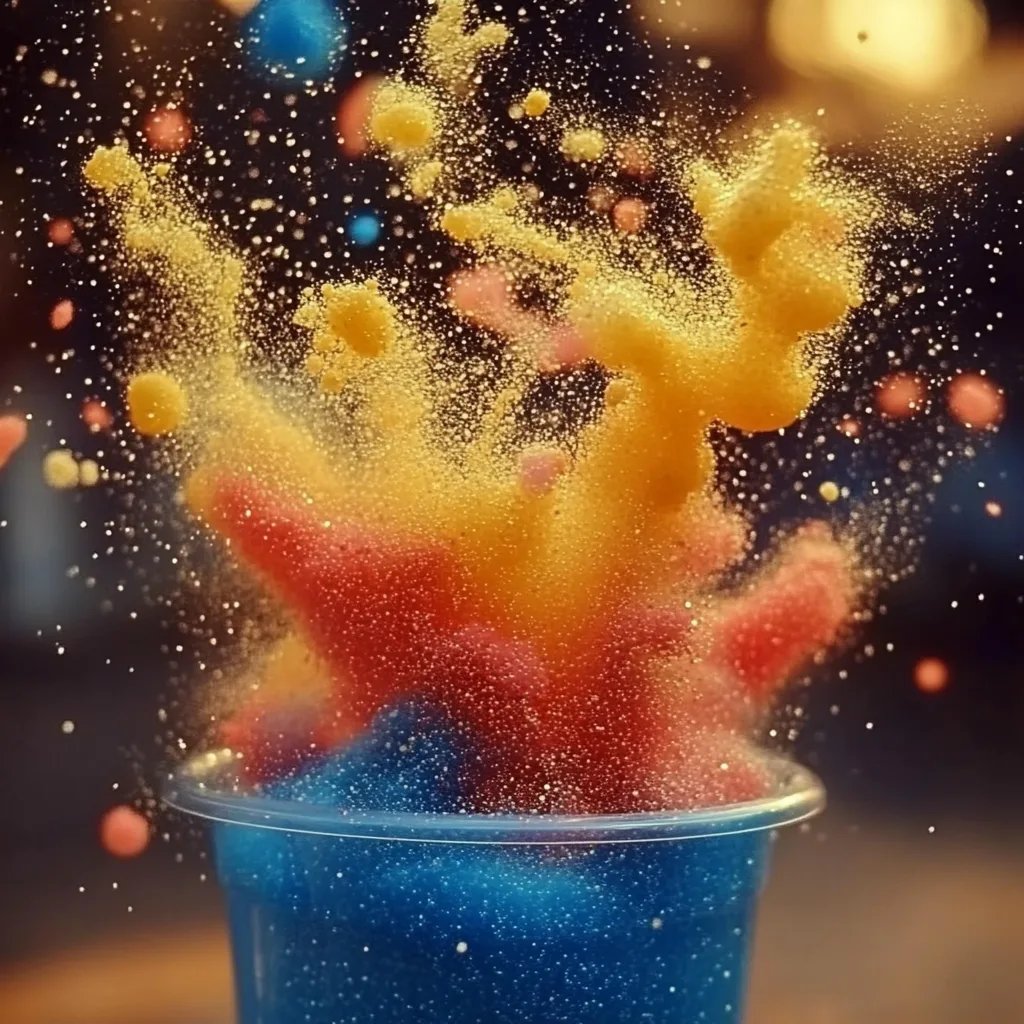
Step 4: The Eruption!
For the grand finale! Take your spoon and gently stir the mixture in a slow circular motion. Watch as the colors begin to mix, and tiny bursts of color explode into the water—much like fireworks in the night sky.
Common Issue: If the colors don't seem to 'burst', it could be that the colors are too clumped together. A gentle tap on the jar can also help shake things loose!
Step 5: Observation and Reflection
This is my favorite part: observing the colorful display! You’ll notice how each color reacts and disperses differently. Take some time to engage with the viewers, discussing what’s happening at a molecular level.
Personal Anecdote: I remember hosting a birthday party for my niece; she was enthralled by the vibrant colors and the science behind it. It turned into an impromptu lesson about density and color mixing!
Tips for Success
- Substitutions: You can use liquid watercolor instead of food coloring for more vibrant hues if you prefer.
- Experiment: Try adding glitter or small paper cutouts that mimic the look of confetti for an even more festive presentation.
- Timing: If you do this project ahead of time, the initial burst of colors will settle, so do your observations soon after the eruption!
Creative Variations
While the classic version is captivating, here are a few variations you can try out:
- Glow-in-the-Dark Version: Use phosphorescent paint mixed with water. Put a blacklight on it for an exciting glow effect!
- Themed Colors: For holidays (think red and green for Christmas or orange and black for Halloween), tailor the food colors accordingly.
Conclusion
Creating the Firework's Confetti Experiment is not just a visual treat, but it also cultivates a spirit of curiosity and creativity. This project has become a personal favorite in my crafting repertoire, as it combines art and science in such a spectacular fashion. Whether you’re sharing it with kids, teaching a class, or simply wanting to add pizzazz to an event, I hope this guide inspires you to create your own colorful firework display.
Remember, there’s no 'right' way to do this—let your creativity soar! Experiment with different colors, ratios, and sizes. After all, crafting is about exploring and enjoying the process. Have fun, and happy crafting! 🌈✨