Creating Enchanting Coffee Filter Leaves: A Step-by-Step Guide
Welcome, fellow crafters! If you’re looking for a fun, cost-effective way to create beautiful, nature-inspired decorations, look no further than coffee filter leaves. These charming little wonders can add a touch of whimsy to any space, perfect for home decor or seasonal celebrations. I have fallen in love with this art form, and I can't wait to share my secrets with you on how to make your own stunning leaves from humble coffee filters.
What Are Coffee Filter Leaves and Why Are They So Popular?
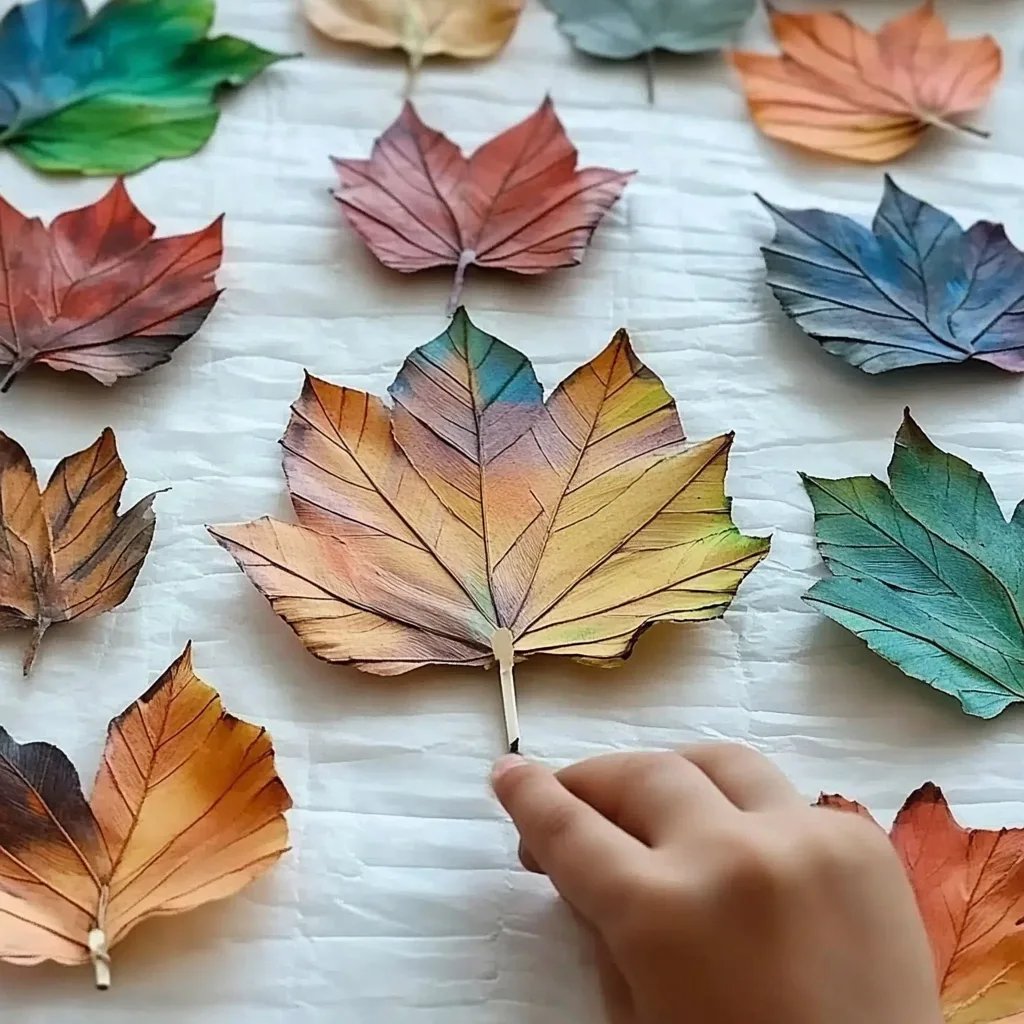
Coffee filter leaves are decorative handmade elements made from coffee filters that are often dyed and shaped to resemble real leaves. What makes them popular is not just their attractive appearance; they are also versatile, inexpensive, and super easy to make! You can use these lovely creations to spruce up your home decor, embellish gift wraps, or as a delightful touch for fall decorations or autumn-themed celebrations.
I find that working with coffee filter leaves is therapeutic—there’s something calming about dyeing the filters and watching them transform into art. When I host gatherings, I love to scatter these leaves around the tables or use them as part of a centerpiece; they spark conversations and give my home a cozy, rustic vibe.
Materials You'll Need
Before we dive into the steps, let’s gather our materials. Here’s what you’ll need:
- Coffee Filters: Unbleached filters work best for a more natural appearance.
- Food Coloring or Liquid Watercolors: Choose colors that evoke autumn for the intended aesthetic.
- Spray Bottle: For dyeing the filters and creating interesting effects.
- Scissors: For cutting the coffee filters into leaf shapes.
- Pencil or Marker: For sketching your leaf designs.
- Wax Paper: To lay your leaves on as they dry.
- Iron (Optional): If you want to flatten the leaves once they are dry.
- Water: For dyeing.
Step-by-Step Tutorial
Step 1: Prepare Your Workspace
Creating your coffee filter leaves begins with setting up your workspace. I always find that a clean, organized surface helps me focus better when crafting. Lay out a covering for your table (I use old newspapers or a large plastic sheet), and make sure you have all your supplies within reach. This will save you time and frustration later!
Tip: If you have kids assisting you, use non-toxic materials and ensure they wear old clothes to avoid dye stains.
Step 2: Dye the Coffee Filters
Next, it’s time to bring life to those plain coffee filters.
- Mix Your Dye: In a spray bottle, combine water with a few drops of food coloring. For a natural leaf look, consider using various shades of green, yellow, orange, or red. The more color you add, the more vibrant your leaves will be.
- Prepare the Filters: Take your coffee filters and stack a few together. This allows you to dye multiple at once, saving time.
- Spray the Filters: Hold the spray bottle about 6-12 inches away from the stacked filters and spray evenly. You can spritz with multiple colors for a marbled effect.
Warning: Be cautious when spraying; the dye may stain surfaces and clothing.
Step 3: Let the Filters Dry
Once your filters are dyed, it’s essential to let them dry completely. I usually set them on a sheet of wax paper to avoid sticking. Depending on how wet they are, this could take anywhere from 30 minutes to a few hours. If you’re in a hurry, using a fan to speed up the drying process works wonders.
Tip: While they dry, you can use this time to clean your workspace!
Step 4: Cut Out Leaf Shapes
Once dried, it’s time for the fun part—cutting!
- Choose Your Leaf Design: Take a moment to sketch out the shapes of the leaves you want. Naturally shaped leaves tend to work best; think maple, oak, or even whimsical, abstract forms.
- Cut the Leaves: Carefully cut out your shapes. If you're not confident in your freehand skills, you can find templates online to trace. Using scissors with a slight curve can create a more realistic leaf edge.
Potential Issues: If the filters tear during cutting, you might have accidentally dyed them too wet; remember to keep an eye on how much dye you apply!
Step 5: Add Details
To enhance your leaves, consider adding details. You can draw veins with a white gel pen, or use a small brush and a darker color to add dimension. I often layer on more colors for an artistic touch that mimics real leaves.
Step 6: Optional Ironing
If you want crisply shaped leaves, you can carefully iron them using a low setting. Make sure to place a cloth over the leaves to protect them from overheating.
Warning: Be careful with the iron; the coffee filters can burn easily.
Creative Variations
Once you get the hang of it, the possibilities are endless! Here are a few variations you might like to try:
- Add Glitter: For a fun, sparkling touch, sprinkle glitter on wet dye before it dries.
- Use Coffee: For a darker, earthy tone, brew some strong coffee and use it instead of dye.
- Make Leaf Garlands: Attach your leaves to string or twine to create beautiful garlands for autumn decor.
Notes on Safety
While crafting is generally safe, always remember to handle scissors carefully and supervise children if they're involved in dyeing or cutting. If you’re using hot materials, ensure the environment is safe, and follow all product instructions.
Conclusion
I hope you find joy in your crafting journey of creating coffee filter leaves! This simple yet satisfying project provides ample opportunity for creativity. Plus, it gives your living space a personalized touch that store-bought decor simply can’t match.
The next time you serve coffee—or even when it's just a season for change—bring out your coffee filter leaves as an expressive reminder of your crafty spirit. Embrace the imaginative process, and don’t hesitate to experiment. Happy crafting!