Creating Delight: How to Make Glow in the Dark Swirl Bounce Balls for Kids
Hello, fellow crafters! I'm excited to share a project that's not only creative and fun but also incredibly engaging for kids: Glow in the Dark Swirl Bounce Balls! If you've ever found yourselves in the dark, searching for a lost toy or simply wanting to brighten up outdoor play after sunset, these delightful bounce balls are the answer. They combine artistic flair with playful adventure, making them a hit at birthday parties, family gatherings, or simply as a unique kid’s craft on a rainy day.
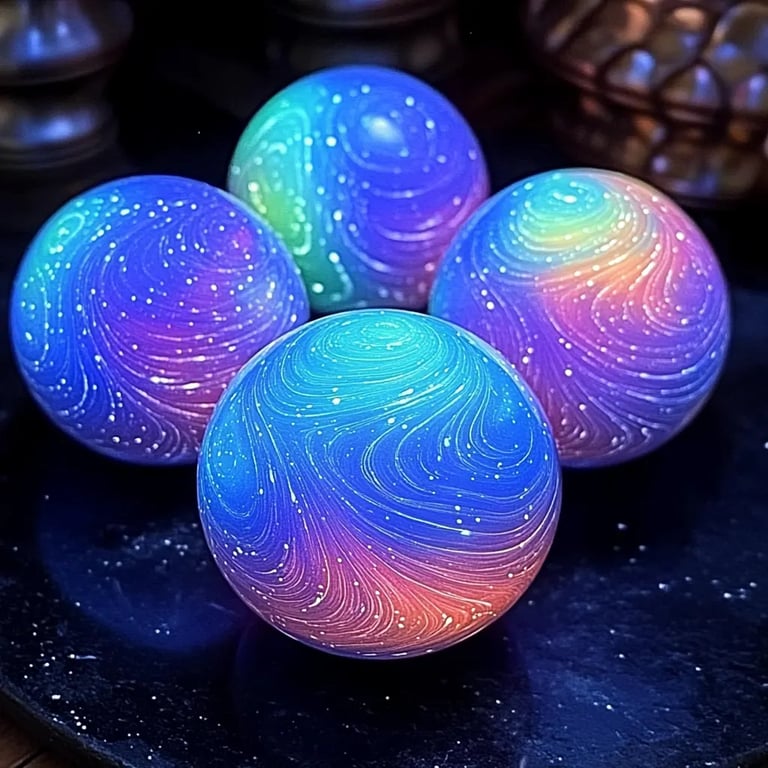
Imagine the joy on your children’s faces as they watch their very own glowing creations bounce around the yard at night! Let's dive into the step-by-step process of making these whimsical glow-in-the-dark balls. We’ll cover everything from the materials you’ll need to tips for achieving that perfect swirl effect.
What You’ll Need
Materials:
- Glow in the Dark Pigment Powder: This is the key ingredient. I prefer a non-toxic powder for safety, especially with kids around.
- A Bounce Ball Making Kit: These kits typically include formulas like polyvinyl alcohol and borax, which allow for the creation of bouncy balls. Alternatively, you can use basic ingredients if a kit isn't available.
- Water: Simple tap water will suffice.
- Plastic Gloves: Protect your hands as you work – this project can get a bit messy!
- Mixing Bowls and Spoons: For combining your ingredients.
- Silicone Molds: Choose fun shapes that appeal to kids, or simply go for round molds for a classic ball shape.
Optional Creative Add-Ins:
- Food Coloring: For added colors to your swirl effect, use non-toxic food coloring. Be careful—just a few drops are needed!
- Glitter: If you want your balls to sparkle under the glow, consider adding a little glitter, though it may affect the glow quality slightly.
Step-by-Step Tutorial
Step 1: Prepare Your Workspace
Before we dive into mixing colors, I recommend setting up your crafting area. Cover your work surface with newspaper or a plastic tablecloth, as this project can be a bit sticky. Having everything organized will make the process go smoothly.
Step 2: Mix the Base Ingredients
In a mixing bowl, combine your bounce ball kit’s recommended amount of powder and water. If you're going the DIY route, combine 1 tablespoon of the polyvinyl alcohol with 1/2 tablespoon of water and stir well. This step is crucial—as you're mixing, watch for any clumps and incorporate them! A smooth mixture will ensure easy shaping of your balls.
Step 3: Add Glow in the Dark Pigment
Now, it’s time to add that magical glow-in-the-dark pigment. Start with 1 teaspoon and mix it thoroughly. If you’re using more than one color, divide your base into separate bowls. This is where you can let creativity shine. Use different color pigments in each bowl for a vibrant, swirly effect!
Common Mistake: If the glow doesn’t seem bright enough, you may not have enough pigment. Don’t hesitate to add a bit more! Just remember to maintain the balance with the base mixture’s integrity.
Step 4: Incorporate Color and Stir
If you're working with food coloring, this is your moment! Add drops of food coloring to achieve the desired swirls. Using a toothpick or a skewer can help create beautiful marbling effects. Gently stir; don’t overdo it as this could muddy your colors.
Step 5: Mold the Balls
Now comes the fun part! Use your hands (with gloves) to shape the mixture into balls or pour it into your molds. If using molds, fill them about three-quarters full to allow for expansion.
If you find that the mixture is too sticky to shape, sprinkle a little more powder into the mix and knead it gently, which should help.
Step 6: Let Them Cure
Once shaped, place your bounce balls aside to cure. Depending on the brand of your materials, this could take anywhere from 1-3 hours. If you’re using a mold, wait until the balls are fully hardened before removing them.
Tip: Setting a timer can be a great way to keep track—no one likes low-energy bounce balls!
Step 7: Experiment and Play!
Once your balls are completely cured, you can play! Show your kids how to charge up the glow by placing them under a bright light for about 30 minutes before taking them outside. You’ll see their faces light up with excitement as they bounce their creations in the dark!
Safety Warnings
Remember, while the materials we’re using are non-toxic, it’s always important to supervise young children during crafting time. Encourage them not to put anything in their mouths. Additionally, wearing gloves and making sure to clean up spills quickly can help avoid unwanted messes.
Alternative Methods and Substitutions
If you can't find glow-in-the-dark pigment, try this: Mix regular paint (non-toxic) with glow powder or even glow-in-the-dark glue! You can also play around with various textures—try making them smooth or adding sand for grip.
Creative Variations
Once you’ve mastered the basic bounce ball, consider:
- Different Shapes: Use animal-shaped molds or even make giant versions!
- Mixed Effects: Use tape to create patterns on the balls before they harden for funky designs.
- Themed Balls: Depending on the season, create holiday-themed balls—green for Christmas, orange for Halloween, etc.
Final Thoughts
Crafting Glow in the Dark Swirl Bounce Balls is not just a fun activity; it’s a chance to bond with your kids, unleash your creativity, and discover the joy of making something together. No two balls will ever be alike, and that’s what makes this project such a treasured memory.
So gather your supplies, rally the kids, and let’s get crafting! I can promise you one thing: the laughter and glow will be worth every step. Happy crafting! ✨