Creating Colorful Foam Bubble Pile: A Step-by-Step Guide from an Experienced Crafter
Hello, fellow crafters! Today, I’m excited to share one of my favorite crafting projects: making a colorful foam bubble pile. If you've ever seen or touched that squishy, vibrant foam that's perfect for sensory play, decorating, or even creating unique art pieces, you know just how delightful it can be! This project has become incredibly popular among families and crafters alike, and for good reason. Not only is it a fantastic way to unleash your creativity, but it also offers a sensory experience like no other.
Whether you're a parent looking for a fun activity with your kids, a teacher in search of engaging classroom materials, or simply a crafting enthusiast wanting a new fun project, a colorful foam bubble pile is a perfect choice. Plus, it's quite easy to make with just a few readily available materials. So, let’s embark on this colorful crafting journey together!
What is a Colorful Foam Bubble Pile?
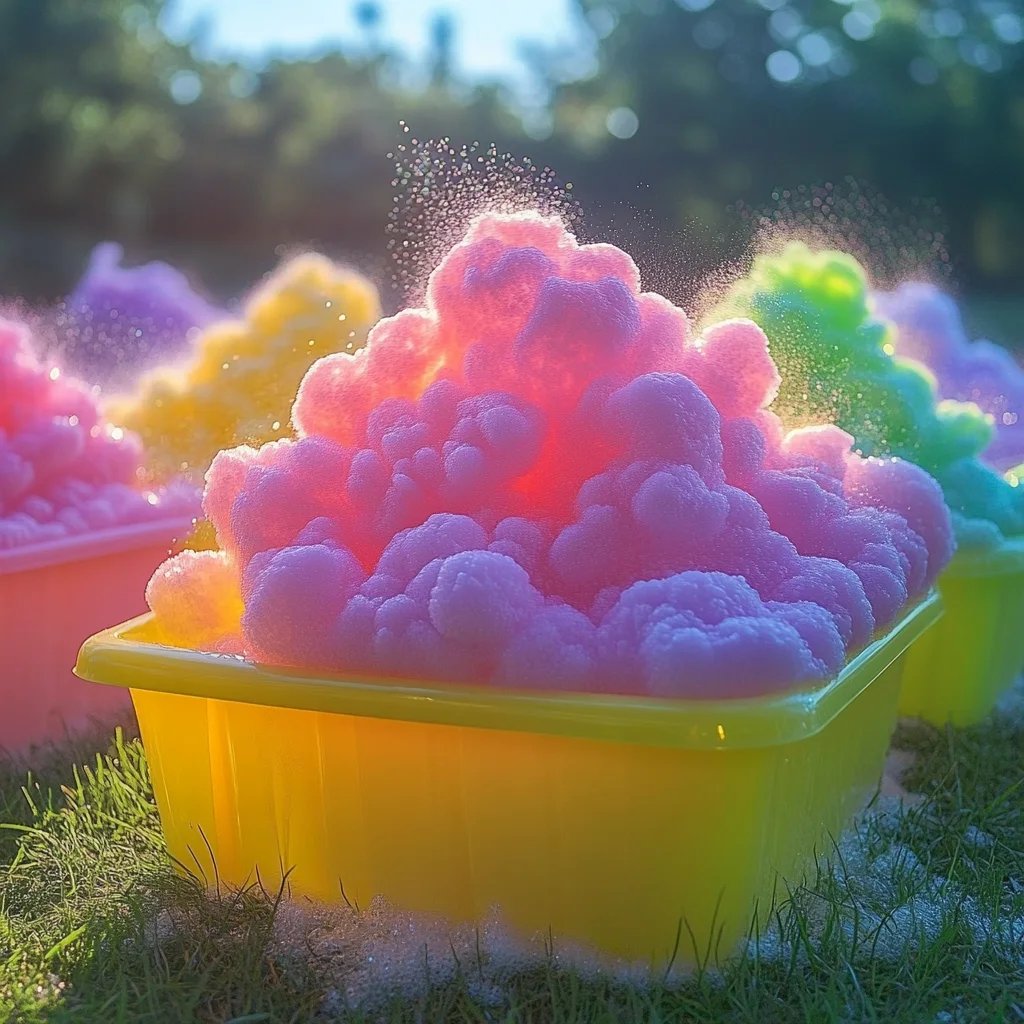
A colorful foam bubble pile is a soft, squishy material made from a mixture of foam, bubble solution, and colorful additives. It's fantastic for sensory exploration, art projects, or even as a fun addition to parties and events. Kids love playing with it, and it inspires adults to tap into their inner child.
Materials You’ll Need
Before diving into the tutorial, gathering all materials is crucial. Here's what you'll need:
- Foam: You can use shaving cream or a foam hand soap as your base. Both options create delightful textures.
- Elmer’s glue: To bind it all together and create a solid structure.
- Food coloring or liquid watercolor: For vibrant colors; feel free to mix and match for unique shades!
- Cornstarch or flour: This will help stabilize your foam and make it a bit thicker.
- Dish soap: A small amount enhances the bubbles and gives the foam a lovely quality.
- Mixing bowl and spoon: For combining everything together.
- Baking sheet or tray: To display your delightful bubble pile.
- Optional: Scented essential oils: For an olfactory experience, choose calming scents like lavender or invigorating scents like citrus.
Crafting Steps: Your Fully Detailed Guide
Step 1: Preparing Your Workspace
Creating your foam bubble pile can get a bit messy, so please consider covering your work surface with newspaper or wax paper. I like to wear an old apron to keep my clothes clean too. It's all part of the fun, but who wants to spend hours cleaning up afterwards?
Step 2: Whipping Up the Foam Base
In a mixing bowl, add 1 cup of shaving cream or foam soap. If you’re using shaving cream, the foamy consistency will give you the best results. Using a whisk or spoon, gently mix it in, being careful not to deflate the bubbles.
Tip: If your foam is too thin, it may not hold its shape properly once dry. To fix this, add more shaving cream or cornstarch as needed until you achieve a thicker consistency.
Step 3: Adding Color
Now comes the exciting part! Add about 5-8 drops of food coloring or liquid watercolor to your foam. You can mix colors to achieve new shades. The key here is to mix thoroughly without overmixing, which could flatten your bubbles.
Caution: If you accidentally add too much coloring and it becomes too dark, no worries! Adjust your mixture with more foam or cornstarch until you reach your desired shade.
Step 4: Bringing It All Together
Now that you have your colorful foam, it’s time to add in the glue and cornstarch. Start with 1/4 cup of glue and 1/4 cup of cornstarch. This combination will help firm up your foam pile as it dries.
Mix everything slowly until you achieve a consistent texture. This step is crucial! If your mixture is too runny, it may not hold its shape over time.
Step 5: Experiment with Texture
If you want to make your colorful foam bubble pile truly unique, consider adding a splash of dish soap during this step. It’ll give an amazing texture and help enhance the bubbles throughout. You can also mix in some scented essential oils for an aromatic twist if desired.
Step 6: Shaping Your Foam Bubble Pile
Transfer your mixture onto a baking sheet or tray. Don’t feel pressured to make it perfect; the natural fluffiness and shapes make foam piles look whimsical and fun. Let your imagination run wild! Use your hands, spoons, or even cookie cutters for interesting designs.
Step 7: Drying Time
Let your colorful foam bubble pile sit out to dry for at least 1-2 days depending on the thickness. During this period, it will harden and get more structured, making it more durable for play or display. If you notice any excessive stickiness after it dries, worry not! Just add a bit more cornstarch to the mixture next time.
Tips & Tricks for Perfection
- Storage: Store your foam pile in an airtight container if you want to keep its moisture for a longer time.
- Reusability: You can make it multiple times; simply start with a new batch when you're ready for more!
- Alternative method: If you'd like an even simpler project, consider using foam balls in combination with colors and soaps; it creates a more tactile experience!
Safety Considerations
Ensure that all ingredients used are non-toxic, especially if younger children will be involved in the crafting process. Always supervise children when dealing with potentially messy materials.
Creative Variations on Foam Bubble Pile
Once you've mastered the basic recipe, don’t stop there! Here are some creative twists you can try:
- Glitter Foam: Add some eco-friendly glitter to your foam for a sparkling effect.
- Themed Colors: For themed parties (like holidays), create specific colors, such as reds and greens for Christmas or pastels for Easter.
- Sensory Play Kits: Package your foam pile with small toys or animals for a lovely sensory play kit.
Final Thoughts
Creating a colorful foam bubble pile is both a rewarding and satisfying project. It allows for creativity, tactile exploration, and fun interactions. So gather your materials and dive into crafting this delightful concoction. I hope you enjoyed my guide and that you have a blast making your own colorful foam bubble pile! Remember, there's no "perfect" way to do it—just enjoy the process and let your creativity shine! Happy crafting!