Creating a Space Sensory Bin: An Interstellar Adventure for Young Explorers
Hello, fellow crafters! If you're looking for a fun and educational activity to stimulate your child’s creativity and fine motor skills, allow me to introduce you to the joyful world of sensory bins. Today, I'm thrilled to share how to create a Space Sensory Bin. Not only is this activity perfect for promoting sensory play and imaginative exploration, but it also doubles as an exciting learning experience that introduces kids to the wonders of outer space.
What is a Space Sensory Bin?
A sensory bin is usually a container filled with various materials that children can explore through their senses—touch, sight, and even smell. In a Space Sensory Bin, I incorporate themes of outer space, allowing little ones to engage with planets, stars, and spaceships—all while honing essential skills like hand-eye coordination and creativity.
These bins are popular for several reasons: they can keep kids entertained for extended periods, they’re easy to customize, and they foster learning through play. Whether it’s a rainy day indoors, a space-themed birthday party, or just a fun weekend activity, creating a Space Sensory Bin can be a delightful experience for both you and your child.
Materials You'll Need
Let’s gather our materials first! Don’t worry; you don’t need to break the bank. Most of what you need can be found right in your home or at your local craft store. Here’s my go-to list:
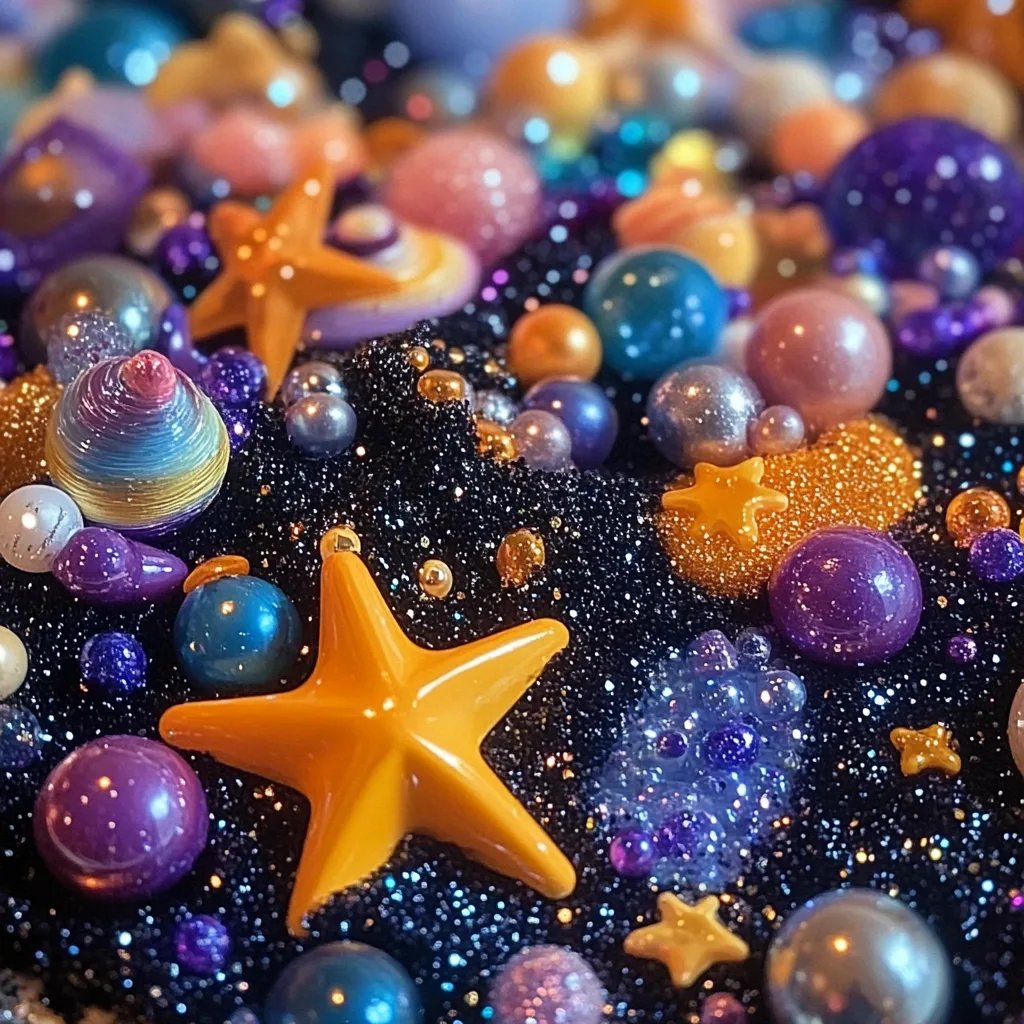
- Base Material:
- Cornmeal, rice, or black beans (for a starry night effect).
- Alternatively, you can use kinetic sand or play dough for a more tactile experience.
- Space-Themed Items:
- Miniature planets, astronauts, rockets, and stars (you can find these online or in toy stores).
- Glow-in-the-dark stars or space-themed foam shapes (these add a magical effect!).
- Containers and Tools:
- A large bin or shallow tray with sides (to minimize mess).
- Small scoops, measuring cups, and spoons (for pouring and scooping).
- Decorative Extras:
- Glitter or metallic confetti (to simulate stardust).
- Cotton balls (for cloud formations or to represent a soft asteroid belt).
- Blue and silver craft paper or fabric (to create a space backdrop).
Step-by-Step Tutorial
Step 1: Choose Your Base
The foundation of your sensory bin is crucial. I often use black beans for a striking contrast with the colorful space items. Pour about 2-3 cups of black beans into your bin to create the base layer. This not only provides a beautiful backdrop but also gives a great texture for little hands to explore.
Tip: Hand your child a small cup or scoop to help them understand volume and promote cooperation. If you’re worried about spills, you can lay down a plastic cover or tarp to catch any stray beans!
Step 2: Add a Dash of Space
Once the base is set, it’s time to add the space-themed elements. Scatter your miniature planets, stars, and rockets on top of the black beans. I like to position them as if they’re floating in space—this stimulates imaginative play.
Caution: Ensure any small objects are safe for your child's age group to prevent choking hazards. Supervision is key!
Step 3: Introduce Texture
Next, sprinkle in your decorative extras. A handful of glitter can evoke the sparkle of stars, while cotton balls can make for great fluffy clouds. Use your imagination—create a “space storm” area where the cotton balls are clustered together, or spread out the glitter for a milky way!
Step 4: Set Up Your Tools
Arrange your scoops, measuring cups, and spoons at one side of the bin. Encouraging scooping and pouring helps hone fine motor skills! For younger children, I recommend starting with larger tools to avoid frustration.
What could go wrong? If kids aren’t interested, they might just dump everything out. To mitigate this, demonstrate how to use the tools effectively first.
Step 5: Engage and Explore!
Now comes the best part: allowing your child to dig in! Encourage them to explore the bin, pretending they’re astronauts discovering new planets or scientists studying space rocks.
Personal Anecdote: When I first made a Space Sensory Bin with my niece, she invented an entire backstory about her astronaut traveling to different planets. Watching her imagination take flight was the most rewarding part of the process!
Step 6: Clean-Up (The Fun Way!)
Sensory play does get messy, but that’s part of the fun! Encourage your child to help clean up. They can use small containers to scoop the materials back into the bin or even into labeled bags.
Additional Tips and Variations
- Themed Activities: Incorporate books or videos about space. This can make the sensory bin a multisensory experience.
- Alternative Bases: If beans aren’t feasible, consider using colored rice or opening up a bag of dried pasta. Spray the rice with a little food coloring to make it even more vibrant!
- Seasonal Sensory Bins: Change the theme according to recent events or holidays—a Halloween space theme can be fantastic with ghostly glow-in-the-dark pieces!
- Safety First: Always supervise playtime, especially with younger children. If your child has allergies, double-check your materials!
Conclusion
Creating a Space Sensory Bin is not only a fun project; it’s a magical journey that offers your child a chance to explore a world of imagination, science, and discovery right from the comfort of your home. I hope this guide inspires you to create your own celestial playground! Don’t hesitate to add your personal touches—I’d love to hear how your adventure unfolds. Happy crafting! 🌌✨