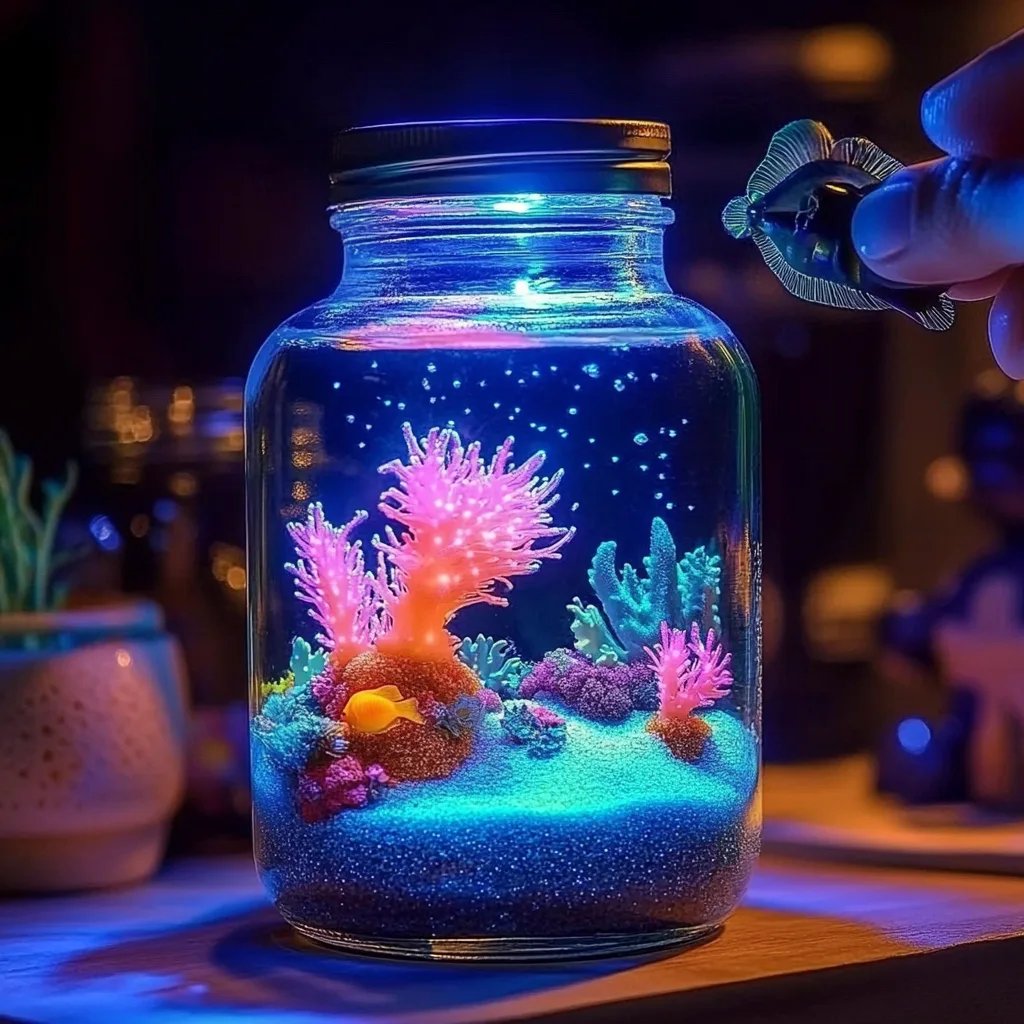
**Creating a Neon Ocean Sensory Jar: A Wave of Calm Right at Home**
Have you ever found yourself enchanted by the vast and mesmerizing depths of the ocean? Its colors, its movement, and the sense of tranquility it can invoke are truly remarkable. As a seasoned crafter, I’m excited to share my experience and process of creating a Neon Ocean Sensory Jar—a delightful sensory experience that captures the essence of ocean waves in a portable, visual masterpiece.
In my crafting journey, I have discovered that sensory jars are not just visually pleasing; they are also immensely popular for stress relief, mindfulness, and even as engaging toys for younger children. These jars can be used in various situations—during meditative practices, as a calming tool for children who get overwhelmed, or simply to add a pop of color and serenity to your home decor. So, let’s dive into the ocean of creativity and craft our very own Neon Ocean Sensory Jar!
What You’ll Need
Before we get started, let’s gather our materials. The beauty of this project is that it uses simple, accessible items that are often already found around the house.
Materials
- Clear Glass Jar (with lid): Look for something like a mason jar or any clear container. It needs to be large enough to hold all our delightful components.
- Water: The base of our sensory jar will be water, preferably distilled, to minimize any impurities.
- Vegetable Oil: This will create a beautiful separation effect in our jar.
- Liquid Watercolor or Food Coloring: Bright, neon colors work best for that vibrant ocean aesthetic.
- Glitter: Iridescent or fine glitter can mimic the sparkles in the ocean sunlight.
- Small Ocean-Themed Items: Think about small plastic sea creatures, shells, or pebbles that can float and add extra charm to your jar.
- Mixing Stick: A sturdy stick or skewer will help us mix our ingredients.
- Funnel: This can be optional but is handy for pouring small objects into the jar.
Step-by-Step Tutorial
Step 1: Prepare Your Jar
Start by thoroughly cleaning your jar. Any residue or dirt can disrupt the look of your sensory jar. After washing it, rinse it well and let it air dry. This step is crucial because you want a clear and pristine canvas for your ocean scene.
Step 2: Fill the Jar with Water
Using a funnel, pour water into the jar until it's about three-quarters full. Personally, I find that using distilled water eliminates any bubbles or particles that could cloud the effect of the jar. Leaving space at the top is important for adding the oil and allowing room for movement.
*Tip*: If you're using a smaller jar, just adjust the quantities proportionately. It’s all about what feels right for you.
Step 3: Add the Color
Now it’s time to transform your clear water into deep blue ocean waters. Add a few drops of liquid watercolor or food coloring into the jar. Start with a couple and mix it gently with your stick. Remember, it’s much easier to add than to take away, so don’t overdo it at first!
*What Could Go Wrong*: If you end up with a deeper shade than you wanted, you can counteract this by adding more clear water.
Step 4: The Oil Magic
After achieving your desired ocean hue, it’s time to create the mesmerizing effect! Slowly pour vegetable oil on top of the colored water. You may notice that the oil floats, creating a beautiful ocean wave effect. Do this slowly; the goal is to have a distinct separation between the oil and the water.
*Why This Matters*: The oil's density is lower than water, creating that iconic ocean wave motion. This is where the magic truly happens, so take your time!
Step 5: Add Glitter
With the oil in place, sprinkle in your glitter. Go for a mix of colors; I adore using silver and blue combinations that evoke the feeling of glimmering sea foam. The key here is to add just enough to create sparkle without overwhelming the ocean feel.
Step 6: Include Ocean Elements
Now comes the fun part! Gently drop in your small ocean-themed items. Listen to the soft splash as they enter their new underwater home. Be mindful of how many you add; overcrowding might limit the movement you want to see.
Step 7: Seal It Up
Once you’re content with your jar's contents, it's time to seal it. Properly secure the lid onto your jar. You might even want to add some glue around the rim to ensure a tight seal if you’re gifting this to a little one.
*Safety Warning*: Always monitor young children when using sensory jars to ensure they do not unscrew or open them.
Step 8: Shake and Enjoy
Lastly, give your sensory jar a gentle shake. Watch as the colors swirl and the glitter dances—creating a beautiful visual that mimics the ocean's waves. The calming effect of the motion combined with the vibrant colors can bring a moment of calm to your day.
Creative Variations: Making It Yours
- Seasonal Themes: Change the color palette and decorations according to the season! Think warm yellows and oranges for fall or icy blues for winter.
- Add Scent: Consider adding a couple of drops of essential oil to evoke that oceanic scent—like lavender or eucalyptus.
- Use Larger Containers: Create a family-sized sensory jar using larger containers or even aquariums for a group experience.
Final Thoughts
Crafting a Neon Ocean Sensory Jar is not just about creating something beautiful; it’s about the process, the creativity, and the peace it brings along the way. Over time, I’ve found that experimenting and tweaking the recipe will lead to a unique sensory jar that reflects your personal style, and recapturing those delightful ocean vibes can lift the spirits in any home.
So gather your materials and let your imagination flow like the waves of the ocean. I promise, whether it becomes a personal meditation tool or a playful kid’s toy, your Neon Ocean Sensory Jar will evoke joy with every shake and swirl.
Happy crafting, my fellow creators!