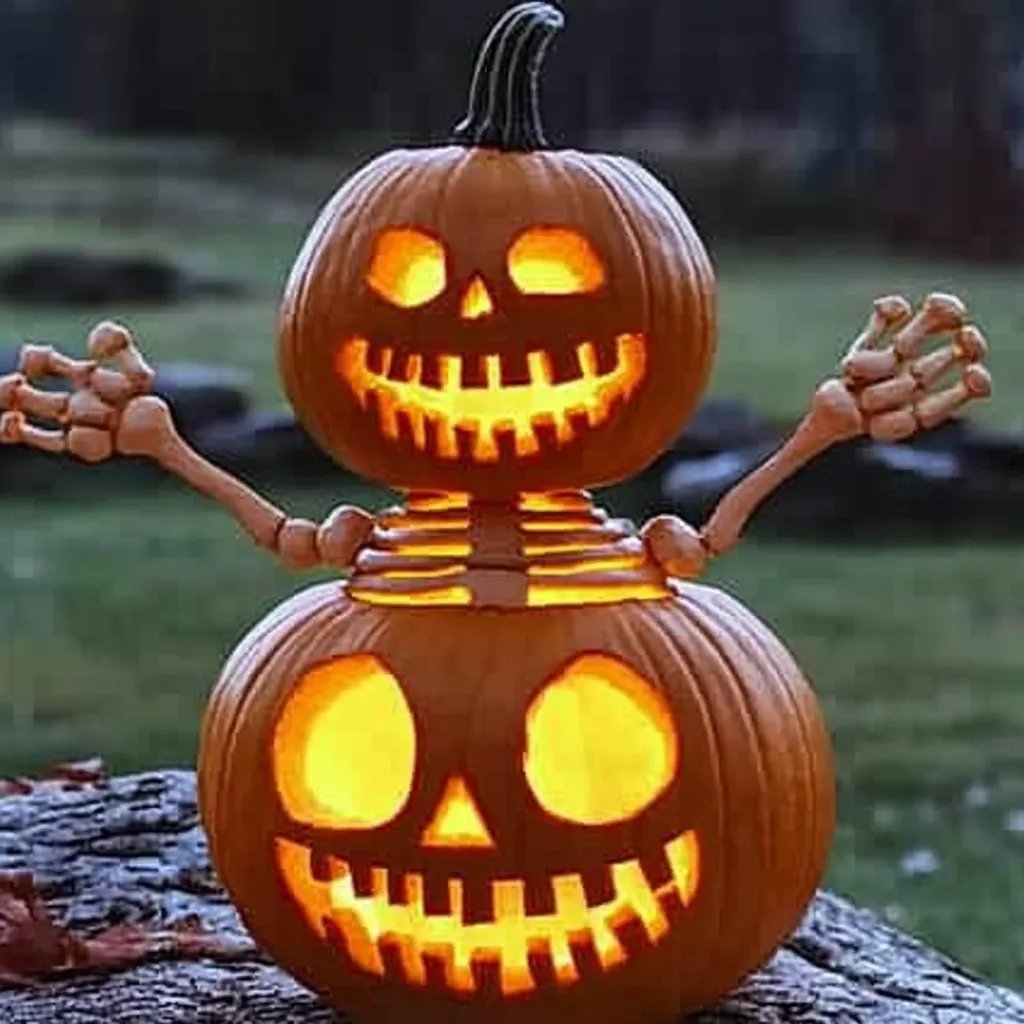
Creating a Friendly Spooky Skeleton Pumpkin Stack: Your Ultimate DIY Guide
As the days grow shorter and the air takes on a crisp bite, I find myself diving headfirst into the spirit of fall. One of my favorite traditions is crafting festive decorations for Halloween, and this year I'm excited to share my detailed process for making a Friendly Spooky Skeleton Pumpkin Stack. This charming decoration combines the whimsical fun of Halloween with the classic essence of autumn harvest, making it a delightful addition to any porch or entryway.
Why the Skeleton Pumpkin Stack is a Must-Make
The Friendly Spooky Skeleton Pumpkin Stack is a playful yet spooky decoration that captures the imagination, drawing the eyes of children and adults alike. It's not just a seasonal decoration; it can easily add charm to your home throughout October. The skeleton element of the stack gives a nod to Halloween while maintaining a friendly tone, making it appropriate for all ages.
I love this project because it’s versatile and allows for personal creativity. Plus, it’s an excellent way to repurpose pumpkins after Halloween, ensuring they don't go to waste. All you need are a few simple materials and a touch of imagination to bring your skeleton pumpkin stack to life this Halloween!
—
Materials You'll Need
Before we dive into the crafting, let’s go over the materials you will need:
Essential Materials
- Pumpkins: Three pumpkins of graduated sizes (large, medium, small)—choose ones with smooth surfaces for painting.
- White Acrylic Paint: For the skeleton features.
- Black Acrylic Paint: For adding depth and accents.
- Mod Podge or Clear Sealer: To protect your masterpiece once completed.
- Paintbrushes: A variety of sizes, including a fine detail brush.
- Strong Adhesive or Hot Glue Gun: To securely attach the pumpkins.
- Optional Decorations: Fake flowers, leaves, or spooky accessories (like tiny bats).
Tools
- A craft knife or carving tool (for older crafters).
- A palette or plate for mixing paint.
- An old newspaper or plastic cover (to protect your work surface).
Safety Warning
Always handle tools carefully and supervise younger crafters. Make sure to work in a well-lit space and be cautious of any sharp objects.
—
Step-by-Step Tutorial
Now, let’s get crafting! Here’s my comprehensive, step-by-step guide on how to create the Friendly Spooky Skeleton Pumpkin Stack.
Step 1: Prepare Your Workspace
Before you begin, establish a clean, organized workspace. Lay down old newspapers or a plastic covering to protect your surfaces. Ensure you have all your materials in reach; this will make the process smoother and more enjoyable.
Step 2: Choose and Clean Your Pumpkins
Choose three pumpkins that stack well on top of each other, ideally of decreasing size from large to small. Once you have your pumpkins, gently clean the surface with a damp cloth to remove any dirt. This ensures that your paint adheres well.
Step 3: Painting the Base Coat
Using white acrylic paint, apply a base coat to each pumpkin. This not only brightens the surface for your design but also gives a nice “skeleton” vibe. Let each coat dry thoroughly; this is crucial because paint on wet layers can lead to smudging or peeling later on.
If you rush this step, it could ruin your design, so be patient!
Step 4: Designing the Skeleton Features
Once the base coat is dry, it’s time to have some fun! Using your fine detail brush and black acrylic paint, sketch the skeletal features on each pumpkin. Here are some parts to include:
- Eyes: Two large circles or oval shapes, depending on the expression you want. For a friendlier look, make them wide and round.
- Nose: A simple upside-down triangle works well.
- Mouth: A wide smile with a few teeth can create a jolly appearance, or go for a traditional skull smile (curved and straight lines) for something more classic.
Tip: Don’t worry about making them perfect! The charm lies in the handmade quality, so embrace any imperfections.
Step 5: Secure the Pumpkins Together
Once the paint has dried, it’s time to stack the pumpkins. For a sturdy hold, apply a generous amount of glue to the top of the larger pumpkin before positioning the medium pumpkin on top. Repeat this process for the small pumpkin.
What Could Go Wrong
If the glue doesn’t hold or the pumpkins become unstable, you might need to add more glue or even use dowels (short wooden rods) to provide support through the pumpkins if it’s toppling over.
Step 6: Seal Your Creation
Once you are satisfied with your painted stack, let everything dry for at least an hour. After it's completely dry, apply a layer of Mod Podge or clear sealant over the entire creation. This will protect your paint and give your decoration a nice finish.
Step 7: Add Personal Touches
Here’s where the fun really begins! Consider adding some fake flowers, leaves, or small decorations around the base to complement the pumpkins. I often add little fairy lights inside the pumpkins or around the stack for added flair during the evening.
Tips and Alternative Methods
- Carved Pumpkins: If you're feeling adventurous, you can carve faces into the pumpkins instead of painting. Just remember to use extra caution with tools.
- Light-Up Version: For an added spooky glow, hollow out the pumpkins and place battery-operated LED lights inside.
- Materials Substitution: If acrylic paints aren't available, you can use spray paint, but ensure you work in a ventilated area to avoid inhaling fumes.
A Few Personal Insights
I remember the first time I attempted this stack concept. It was a bit of a disaster—pumpkins rolling away and paint smudging everywhere! But I learned so much along the way, particularly the importance of taking my time, and I've perfected the craft since.
Don't be discouraged if it doesn't turn out perfect on your first try. It's all part of the process, and each piece you create will teach you something new.
Conclusion
Crafting a Friendly Spooky Skeleton Pumpkin Stack is not only a fun way to decorate your home for Halloween but also a heartwarming activity to share with friends and family. Embrace the imperfections, enjoy the crafting process, and let your creativity shine. With a little patience and practice, you’ll create a delightful decoration that brings joy and a touch of spooky fun to your October festivities.
I hope this guide inspired you to pick up some pumpkins and get crafting! Happy Halloween!