Create Your Own Swirl Glowing Bounce Ball: A Step-by-Step Guide
Welcome fellow crafters! Today, I'm excited to share with you one of my all-time favorite DIY projects: making your very own Swirl Glowing Bounce Ball. This delightful, bouncy creation not only charms with its vibrant colors and magical glow but also provides hours of entertainment—kids and adults alike will be drawn to that irresistible bounce! Whether you’re looking for a fun activity to do on a rainy day, a unique party favor, or an educational experiment for children, making a swirl glowing bounce ball is the perfect solution.
The Allure of the Swirl Glowing Bounce Ball
In recent years, swirling, glowing balls have taken the crafting world by storm. They’re not just appealing because they bounce; their colorful swirls and ethereal glow capture the imagination. You can take them to the park, use them at nighttime gatherings, or simply enjoy the satisfying act of squeezing and bouncing them. Moreover, they make fantastic gifts and are a hit at birthday parties! Who wouldn’t appreciate a unique homemade item that glows in the dark?
What You’ll Need
Before diving into the steps, let’s gather our supplies. I’ll guide you through the materials needed along with some safety tips:
Materials
- Cornstarch – about 1 cup. This acts as the main ingredient for our bounce ball.
- Borax – 1 teaspoon. A crucial ingredient that adds elasticity.
- White glue (PVA glue) – approximately 1/2 cup. This will give the ball its structure.
- Food coloring or liquid watercolor – in various colors for that stunning swirl effect.
- Warm water – 1 cup (divided). This will help activate the borax.
- Glow powder or glow-in-the-dark paint – for a magical glow.
- A mixing bowl.
- A spoon for mixing.
- An airtight container for storage.
Safety Precautions
- Always work in a well-ventilated area since we're using glue and borax.
- Keep all materials out of reach of small children, particularly borax and glow powder, which can be harmful if ingested.
- Always wash your hands after handling borax and glue, just to be on the safe side!
Now, let’s get creative!
Step-by-Step Instructions
Step 1: Prepare Your Borax Solution
Why this step matters: The borax solution is essential to get the right texture for our bounce ball.
- In one cup of warm water, dissolve about 1 teaspoon of borax. Stir well until fully dissolved. Set aside as this will be your activating solution.
If you notice that the borax doesn’t completely dissolve, don’t worry! Just stirring it a bit longer usually does the trick.
Step 2: Mix Your Glue and Water
Why this step matters: The right ratio of glue to water will ensure that your ball holds together properly.
- In a separate mixing bowl, combine 1/2 cup of white glue with 1/2 cup of warm water. Stir thoroughly to create a uniform mixture.
Be careful to avoid getting bubbles in your mixture, as those can interfere with the final product.
Step 3: Add the Color
Why this step matters: This is where the fun begins! Adding color not only makes your ball visually appealing but also allows you to get creative with your design.
- Add a few drops of food coloring or liquid watercolor into your glue-water mixture, swirling as you go. For a swirl effect, use a toothpick to create a marbled pattern instead of blending it completely.
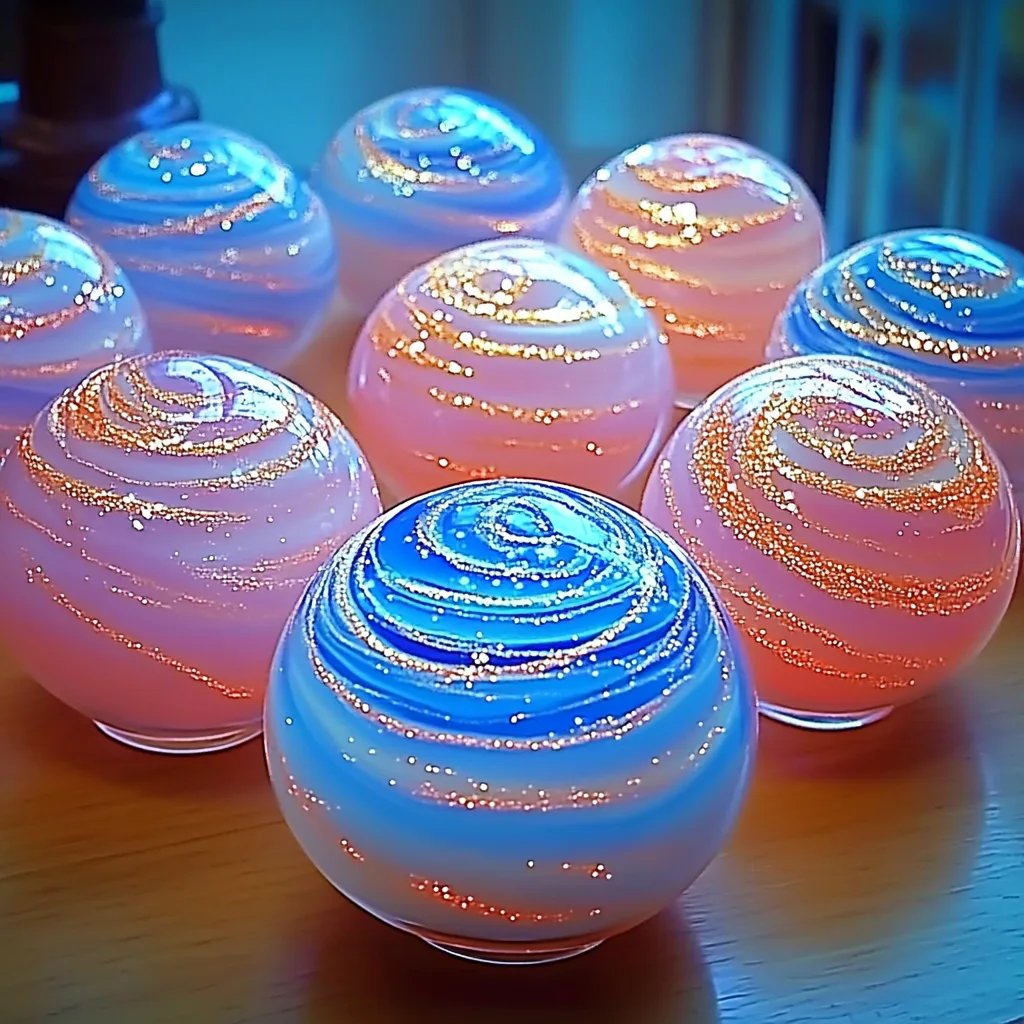
Consider using more than one color! You could opt for a bright blue and vivid pink swirl for an eye-catching finish.
Step 4: Combine the Ingredients
- Gradually pour your borax solution into the glue mixture, stirring continuously. You will notice the ingredients begin to clump together and form a gooey, stretchy texture.
Tip: If the mixture looks too watery, you may need more borax solution. However, be cautious; too much borax can lead to a ball that is too hard, so add in increments and evaluate the consistency.
Step 5: Knead the Mixture
- Once the mixture has begun to form, use your hands to knead it together. This is a crucial step to get that perfect bouncy texture!
If the mixture feels too sticky, you can sprinkle a little cornstarch on your hands to keep the mixture from sticking excessively.
Step 6: Add the Glow Factor
For a magical twist: Mix in glow powder or glow-in-the-dark paint into the kneaded ball. Make sure it's evenly dispersed.
Step 7: Shape Your Ball
- Once your mixture is pliable and consistent, shape it into a ball. Aim for a size that fits comfortably in your palm—about the size of a golf ball works well.
Troubleshooting: If the ball falls apart, don’t fret! Just knead it again and add a hint more glue if necessary.
Step 8: Allow to Dry
- Set your swirl glowing bounce ball on a paper towel and let it dry for about 24 hours. This will help it firm up.
Tip: If you’re excited to try it out sooner, leave it out for a few hours to get a preliminary bounce. It won’t be fully effective until completely dried, but it’s fun to see the magic unfold!
Creative Variations and Tips
- Multi-Color Swirls: Try using three or four colors for an even more mesmerizing effect. Layer the colors as you add them for a dramatic look!
- Different Sizes: Use smaller beads of dough to create a mini bounce ball collection!
- Add-ins: For extra flair, consider adding biodegradable glitter or tiny beads for added texture.
Where to Use Your Bounce Ball
These balls are ideal for nighttime games in the backyard, as they glow beautifully in the dark. They also make great stress-relief items due to their bouncy texture and fun designs!
Conclusion
There you have it—a step-by-step guide to creating your very own Swirl Glowing Bounce Ball! This DIY project is not only easy to follow but incredibly satisfying to finish. I hope you feel inspired to experiment and share your creations with friends and family. Remember, crafting is all about fun and discovery. Don’t hesitate to personalize your designs and make them your own. Happy crafting, and may your bounce ball glow bright!