Create Your Own Salt Volcano: A Fun and Educational Science Experiment!
Hello, fellow crafters and curious minds! Today, I'm excited to share one of my all-time favorite science projects—the Salt Volcano Experiment. This engaging and colorful project not only sparks a child’s creativity but also teaches them about fundamental chemistry concepts. It’s perfect for rainy afternoons, science fairs, or just a fun weekend project. Let me guide you step-by-step through the process of creating your very own salt volcano, packed with pro tips, insights, and troubleshooting advice.
What is the Salt Volcano Experiment?
The Salt Volcano Experiment is a whimsical blend of art and science. Imagine a miniature volcano that erupts vibrant colors—what’s not to love? It’s a fantastic introduction to chemical reactions, as we’ll watch as baking soda and vinegar react, creating fizz and bubbles that mimic a volcanic eruption. Plus, adding salt to the mix provides a unique slow-flowing lava effect that truly sets this experiment apart.
Why is it popular?
- Educational Value: It demonstrates basic chemical reactions to kids and adults alike.
- Visual Appeal: The eruption looks incredible, capturing the imagination.
- Hands-On Learning: Modifying the ingredients and observing different results fosters a scientific mindset.
- Family Fun: It's an effortless way to bond with children while learning!
When to use it?
- Educational Settings: Perfect for schools or homeschooling environments.
- Craft Days: A fantastic project for kids' birthday parties or family gatherings.
- Home Learning: Exciting after-school science activities or during school breaks.
Materials You'll Need
Before we dive in, let’s gather our supplies. Don't worry; most of the materials are likely hiding in your pantry.
Basic Ingredients:
- Baking Soda (1-2 tablespoons): The secret to the bubbling eruption.
- Vinegar (1 cup): The catalyst that drives the reaction with the baking soda.
- Salt (1 cup): Adds bulk and a sandy texture to the lava flow.
- Food Coloring (optional): To mimic the fiery lava of a volcano, choose colors like red, orange, or yellow.
Other Supplies:
- Small container or cup: This will act as the volcano's crater. A plastic bottle works great.
- A tray or shallow pan: To catch the overflow and make cleanup easier.
- Spoon or funnel: For pouring and mixing.
Step-by-Step Process
Step 1: Build Your Volcano
Start with the small container or bottle. This is your volcano's structure.
- Positioning: Place your container in the center of the tray. This will be the volcano’s spout.
- Create your shape: If you want to make it even more fun, you can mold modeling clay or playdough around the container to create a mountain-like shape. This adds realism and visual interest!
Step 2: Prepare Your Lava
This is where the magic begins!
- Mix the Dry Ingredients: In a bowl, combine 1-2 tablespoons of baking soda with 1 cup of salt. The baking soda will react with the vinegar, while the salt gives the “lava” texture.
- Fill Your Volcano: Carefully spoon the baking soda and salt mixture into your container. Don’t fill it to the top; leave some space for the vinegar.
Step 3: Add Color
It’s time to bring our volcano to life with color!
- Add Food Coloring: Drop your food coloring onto the salt and baking soda. I love using red and yellow because they combine beautifully to mimic molten lava. A few drops should do; you can always add more after the first eruption to intensify the color.
Step 4: Erupt Your Volcano!
Now comes the exciting part!
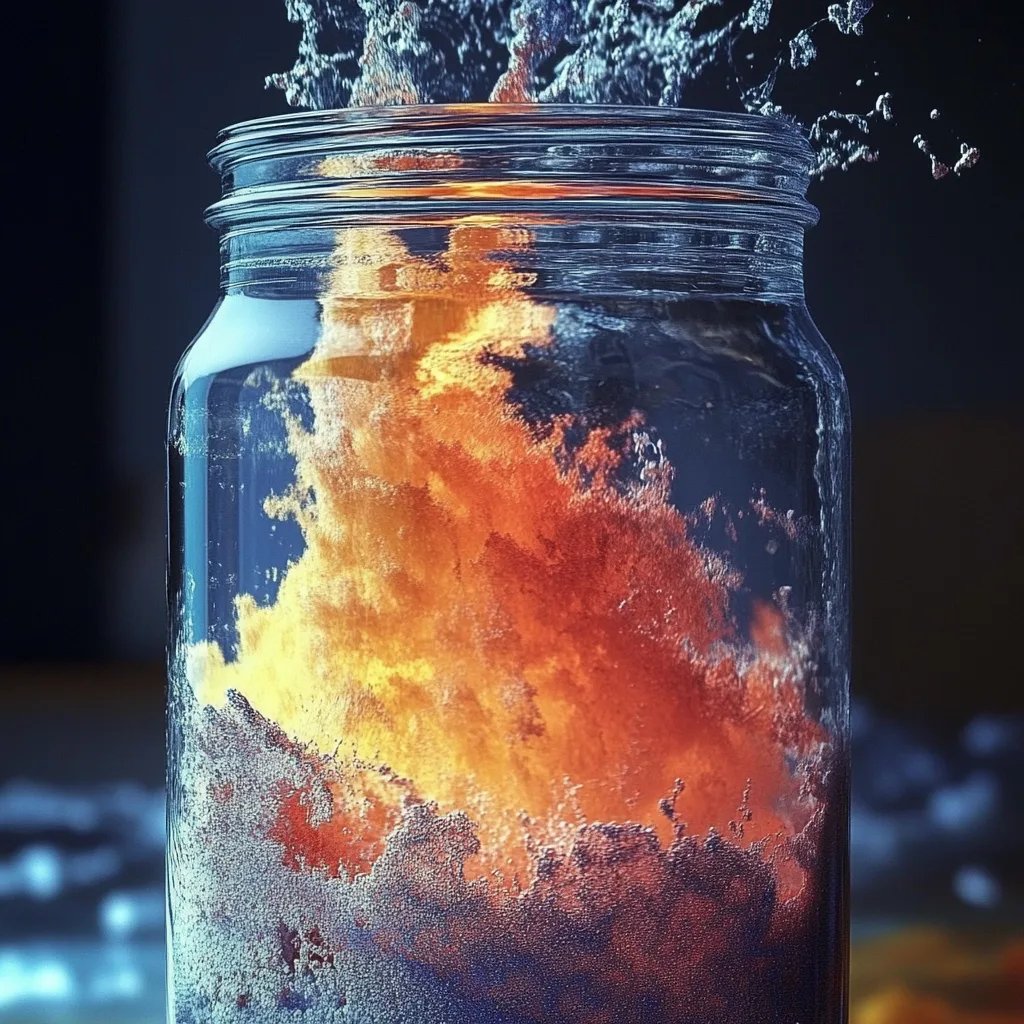
- Pour in the Vinegar: Take your cup of vinegar and pour it into the container slowly. Watch as the baking soda reacts with the vinegar, producing bubbling fizz and eruptions! The salt stabilizes the eruption, creating a slow ooze, reminiscent of actual lava flow.
Step 5: Observe and Learn
- What Happens?: The baking soda (a base) reacts with the vinegar (an acid) to produce carbon dioxide gas, leading to fizzing. The salt helps the reaction by thickening the bubbling lava and allows it to pour out steadily.
- Document Your Findings: If you're doing this with kids, encourage them to write or draw what they observe. Questions to ponder: Why does it bubble? What would happen if you used more or less vinegar?
Troubleshooting Common Problems
If Your Volcano Doesn’t Erupt…
- Not Enough Vinegar: Ensure you're using at least a cup; more vinegar yields a more vigorous eruption.
- Clumped Baking Soda: Baking soda should be loose and free-flowing. If it's clumped, try sifting it before use.
If it Erupts Too Quickly…
- Too Much Vinegar: Use a slower pour or decrease the amount of vinegar added all at once. This can turn a rapid reaction into a slow and steady flow.
If the Color Isn’t Vibrant…
- Mix Well: Ensure the food coloring is mixed thoroughly into the dry ingredients before adding vinegar. If needed, add more coloring during the reaction for a more dramatic effect.
Tips and Insights
Safety Warnings
- While vinegar and baking soda are generally safe, avoid ingesting any of the mixture. Always supervise young children during experiments, especially with food coloring to prevent stains.
Variations
- Flavors of Soda: Instead of plain vinegar, experiment with lemon-lime soda for a fizzy surprise!
- Different Colors: Mix various food colors for a rainbow effect.
- Add Glitter: For an extra touch of magic, add biodegradable glitter to your eruption. Who doesn’t love a little sparkle?
Personal Anecdote
I fondly remember the first time I tried this with my daughter during lockdown. The joy on her face as the “lava” spilled over was priceless. We even set up a little filming station and made slow-motion videos of the eruptions. These moments not only sparked her interest in science but created lasting family memories.
—
As you embark on this Salt Volcano Experiment journey, remember it’s about the fun and exploration of science. Embrace any mishaps along the way; crafting and science experiments should always be an adventure! I hope you have as much fun as I did creating your volcanic masterpiece. Happy experimenting!