Create Your Own Frozen Ocean Animal Rescue: A Step-by-Step Guide
Hello fellow crafters! Today, I’m thrilled to share with you one of my all-time favorite DIY projects: Frozen Ocean Animal Rescue. This captivating activity vividly combines art, science, and sensory play, making it a popular choice for children and adults alike. Whether you're looking for a fun summer activity, a unique winter project, or an engaging educational tool, Frozen Ocean Animal Rescue is bound to impress.
What is Frozen Ocean Animal Rescue?
At its heart, Frozen Ocean Animal Rescue is a creative endeavor where you make colorful ice blocks filled with various ocean animals. The objective? To "rescue" these critters by melting the ice using warm water, salt, or even just patience. It's a fantastic way to teach kids about ocean life, environmental awareness, and the science of melting ice, all while having an absolute blast!
Why It's So Popular
This project has gone viral for several reasons. Not only is it visually mesmerizing, but it also encourages imaginative play. Kids get to immerse themselves in a rescue mission, using tools to free the animals. Plus, it's easy to set up and requires minimal materials. Whether you're doing this for a party, a school project, or a rainy day activity, the joy and excitement it brings are unparalleled!
Materials You'll Need
Before we dive into the tutorial, let's get organized! Here’s a simple list of what you’ll need:
- Plastic ocean animals (small figures)
- Water (preferably filtered or distilled)
- Large container (like a plastic bin or baking dish)
- Optional: Food coloring (for cool visual effects)
- Salt (to assist with melting the ice)
- Warm water (for later on during the rescue)
- Labels or note cards (for fun educational aspects)
Step-by-Step Tutorial
Step 1: Gather Your Materials
Finding the right materials is key! Opt for small, safe ocean animal figures. You can get these from toy stores or craft stores. I often rummage through old toy bins or grab a pack of ocean animal toys online.
Why This Matters:
Choosing the right figures ensures they fit well in the ice block. If they’re too large, the ice will take longer to freeze.
Step 2: Create Your Ice Block
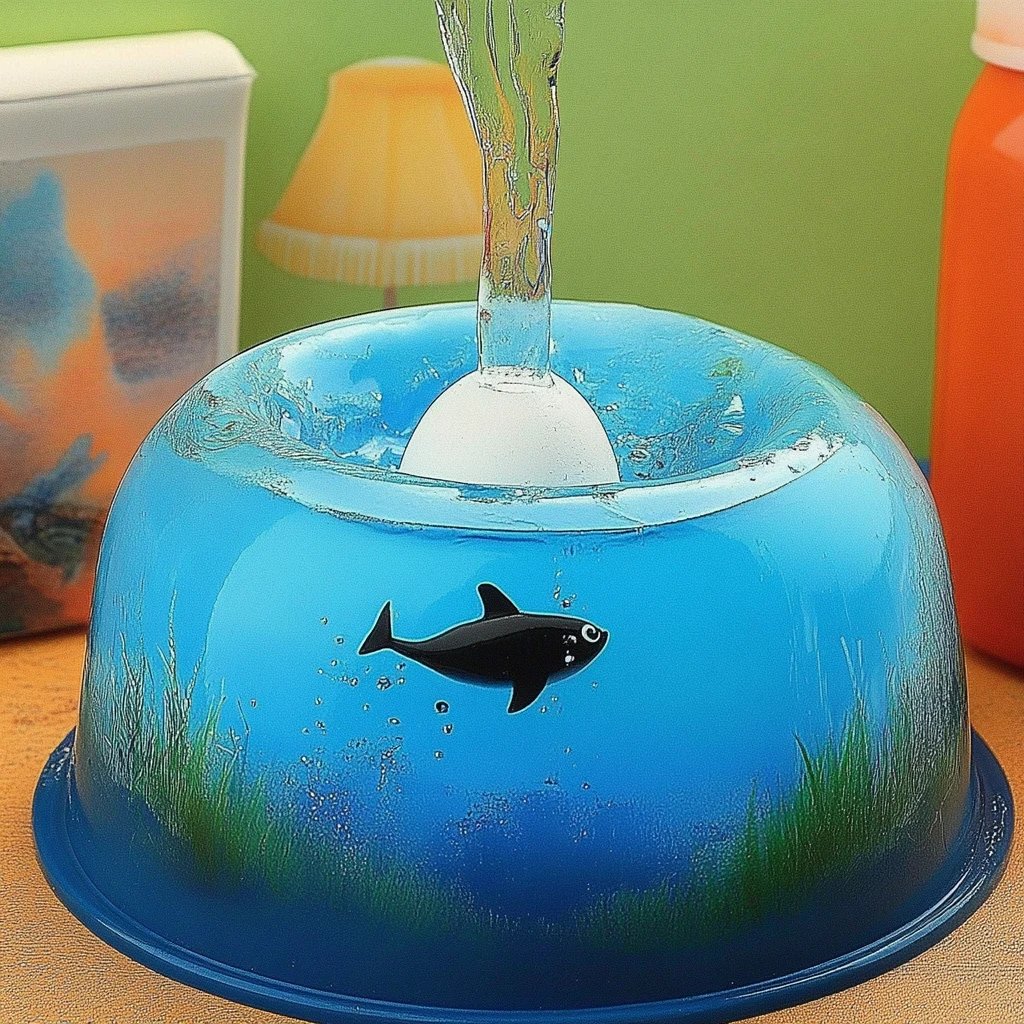
- Fill your container with water: Pour enough filtered water into your large container, being cautious not to overflow as it will expand when frozen. You can also add a few drops of food coloring to make the ice visually striking. This creates a beautiful, oceanic hue that captivates the eye!
- Place the animals: Strategically position your ocean animals throughout the water. I like to layer them, putting some near the top and some deeper down. It creates different levels of discovery for the rescue operation!
- Freeze: Place your container in the freezer. This can take anywhere from 3 to 6 hours, depending on the size of your ice block.
What Could Go Wrong:
If you forget to put the animals in before freezing, don’t worry! You can easily create a new batch. Make sure your animals are thoroughly covered, so they don't expose themselves too soon.
Step 3: Preparing for the Rescue
Once your ice is solid as a rock, it's time to gear up for the rescue! Gather your tools:
- Warm water: Use a bowl or small jug of warm (not boiling) water as your “rescue solution.”
- Salt: This can be sprinkled onto the ice to accelerate melting!
Safety Warning:
Be careful with very hot water, as it can cause burns. Stick with warm water or room temperature if you have younger participants.
Step 4: The Big Rescue!
- Turn the container upside down: Gently twist and tap to release the ice from the container. If it doesn’t budge, you can run warm water around the sides for a few seconds.
- Set the ice on a tray: This will capture any melting water and keep the area tidy.
- Start the rescue mission: Give everyone a cup of the warm water and a scoop of salt. Encourage them to pour or sprinkle it over the ice.
- Engagement tip: While you're melting the ice, talk about the ocean animals they are rescuing, their habitats, and fun facts!
What Could Go Wrong:
If the animals are still stuck after using warm water, don’t fret! Use a spoon, spatula, or even a plastic knife to carefully pry them out. Remember, this is all part of the adventure!
Bonus Tips and Variations
- Educational Layers: Add layers of colored water in your ice. Each color can represent a different ocean or marine layer (e.g., coral reefs, deep sea). When the ice melts, the children can learn about these ecosystems.
- Alternative Ingredients: You can experiment by adding sea salt to the water, creating a more brittle ice that may break easier. Or, consider using gelatin to create a more flexible “rescue” block!
- When in Doubt, Play: If the melting takes longer than anticipated, turn it into a science experiment! What happens if you add more salt? What if you let it sit for a while?
A Personal Touch
I remember the first time I made Frozen Ocean Animal Rescue with my kids. They giggled and shrieked in delight, watching the colors swirl and the ice melt away. It was a beautiful moment, filled with laughter and learning. This activity holds a special place in my heart and has become a summer tradition at our house!
Conclusion
Creating your own Frozen Ocean Animal Rescue is not just an art project; it's an experience that blends education, creativity, and a bit of good old-fashioned fun. Whether you're celebrating a special occasion or simply looking for a weekend activity, this project is sure to spark joy and foster exploration.
I invite you to dive into this project, learn as you go, and create memorable connections with your family or friends. Enjoy the journey of rescue, and remember, every block of ice hides a story waiting to be discovered!
Happy crafting!