Create Your Own DIY Plaster Aroma Stones: A Step-by-Step Guide
Hello, fellow crafters! Today, I’m bubbling with excitement to share a delightful project that combines creativity, aesthetics, and aromatherapy—the wonderful world of DIY plaster aroma stones! It’s a beautiful endeavor that not only allows you to unleash your inner artist, but also adds charm and soothing fragrances to your home.
What Are Plaster Aroma Stones?
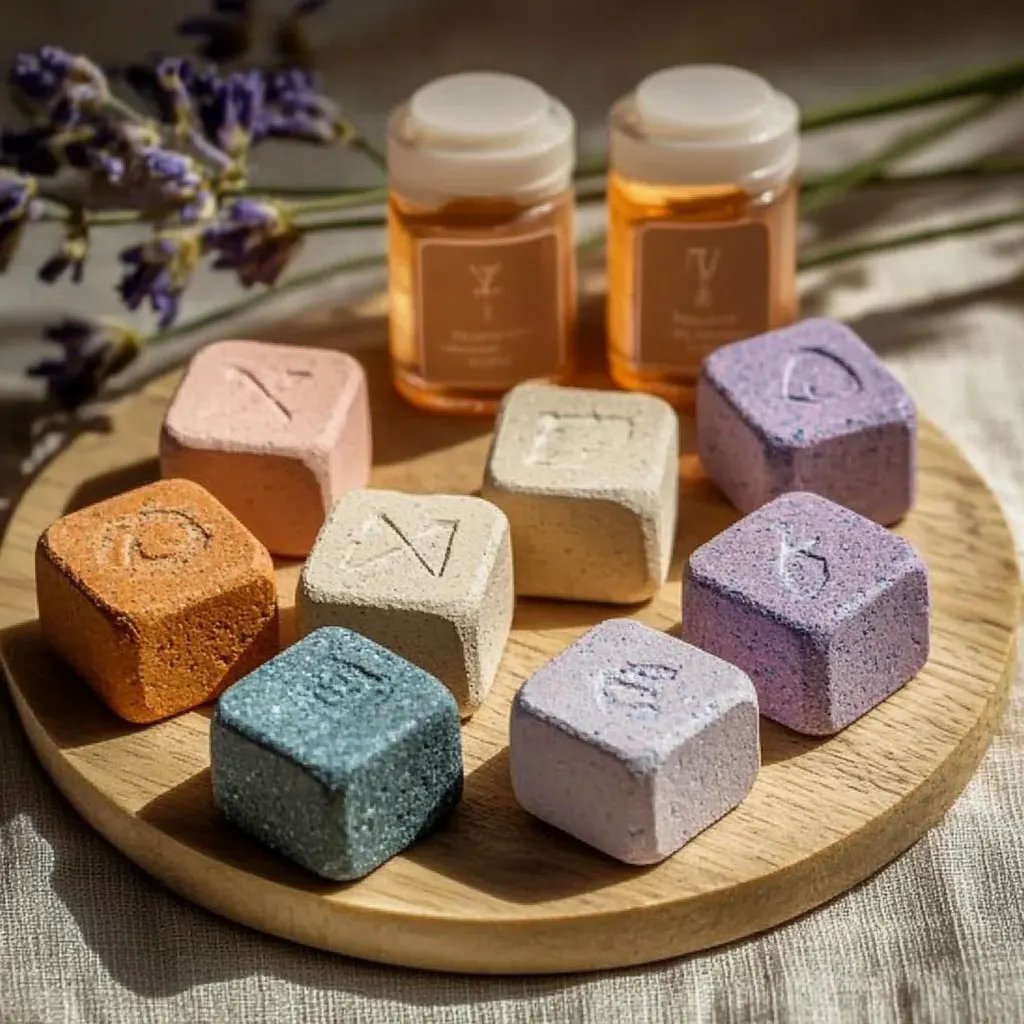
Plaster aroma stones are decorative pieces made from plaster that can absorb essential oils or fragrant oils. They act as natural diffusers, releasing pleasant scents into the air over time. These stones come in various shapes, sizes, and designs, making them a versatile décor element for any space. Whether you’re hosting a gathering, winding down after a long day, or simply looking to elevate your living space, these lovely creations serve as both functional and artisanal pieces.
The popularity of aroma stones stems from their simplicity and the opportunity they present to personalize your environment. Also, they can be an excellent gift idea for friends and family who appreciate handmade treasures.
When and How to Use Aroma Stones
These lovely aroma stones can be used in many situations:
- Home Décor: Place them on your coffee table, nightstand, or shelf as conversation starters.
- Gift Giving: Personalize them and give them to friends for birthdays, holidays, or housewarmings.
- Meditation and Relaxation: Enhance your meditation sessions by using calming essential oil scents.
DIY Plaster Aroma Stones: Materials You Will Need
Before we dive headfirst into the crafting process, gather the following materials:
- Quick-Dry Plaster: This is your main ingredient. You can find it in craft stores or online.
- A Mixing Container: An old bowl or a plastic container will work perfectly.
- Water: Just plain water for mixing with the plaster.
- Silicone Molds: Select molds in fun shapes! Think hearts, flowers, or even geometric designs.
- Non-Stick Spray: This helps with the easy release of your stones from the molds.
- Essential Oils: Choose your favorite scents—lavender, eucalyptus, or citrus are wonderful choices.
- Mixing Spoon or Whisk: For combining the plaster and water.
- Protective Gear: Dust mask and gloves for handling plaster.
Step-by-Step Tutorial: How to Make Plaster Aroma Stones
Step 1: Prepare Your Workspace
Creating a beautiful atmosphere starts with a clean, organized workspace. Lay down newspapers or a drop cloth to protect your working surface. Don’t forget to wear your dust mask and gloves; safety should always come first when you're working with plaster!
Step 2: Mix the Plaster
In your mixing container, combine the quick-dry plaster and water according to the manufacturer's instructions (usually a 2:1 ratio of plaster to water). Stir until you achieve a smooth, cake-batter-like consistency. Be wary of lumps as they can create uneven surfaces on your stones. If it becomes too thick, simply add a bit more water and mix again.
Tip for Success:
It’s crucial to mix just enough plaster since it tends to set quickly. If you feel you have mixed too much, you may want to combine it into fewer molds to avoid waste.
Step 3: Prepare the Molds
Using non-stick spray, generously coat the inside of your silicone molds. This step is especially important to ensure the plaster easily releases once dry.
Step 4: Pour the Mixture into Molds
Carefully pour the plaster mixture into your prepared molds, filling them to your desired thickness. Don't worry about making it perfect—the charm of DIY lies in its imperfections! Gently tap the molds on your work surface to eliminate any bubbles that may have formed.
Step 5: Add Aroma
As you pour the plaster, this is your moment to make your aroma stones truly unique! While still wet, add a few drops of essential oil on top of each mold. This will allow the oil to infuse into the plaster. A little goes a long way, so start small.
Step 6: Let Them Dry
Allow the stones to dry according to the plaster’s instructions, usually around 30 minutes to an hour. During this time, you might be tempted to peek—don’t! Let them do their magic undisturbed.
Common Pitfall:
If your stones don’t seem to be hardening, ensure you used the correct plaster mix and followed the appropriate water-to-plaster ratio. If they remain soft or tacky, you can simply let them rest longer.
Step 7: Demolding
Once your stones are fully dry, gently flex the mold to release them. If you encounter resistance, give them a bit more time. If they crumble, don’t fret! You can always mix a new batch and try again.
Step 8: Finishing Touches
Now comes the fun part—sanding! If your aroma stones have rough edges, lightly sand them with fine-grit sandpaper. You can even paint or decorate them with acrylic paints, glitter, or other embellishments to make them uniquely yours.
Creative Variations
Feeling adventurous? Try these creative spins:
- Colorful Stones: Add a few drops of blooming food coloring to the plaster mixture for vibrant stones.
- Embedded Flowers: Sprinkle dried flowers into the plaster before it sets for a natural look.
- Seasonal Scents: Experiment with holiday-themed essential oils, like cinnamon during the winter!
Safety First!
Remember to work in a well-ventilated area and avoid inhaling plaster dust. Essential oils should be handled with care; perform a patch test to ensure you’re not allergic and keep them out of reach of children and pets.
Concluding Thoughts
Making DIY plaster aroma stones has been an enriching experience for me, filled with moments of creativity and the joy of creating something useful. Not only do they look pristine in any setting, but they also bring soothing fragrances that can elevate your mood.
Try it out, and don’t hesitate to share your creations with family and friends. Crafting is about experimentation, learning, and enjoying the process. Enjoy your aromatic journey, and may your home always be filled with delightful scents! ✨