Create Your Own DIY Mosquito Repellent Candles: A Step-by-Step Guide
As a seasoned crafter and nature enthusiast, I’ve always been on the lookout for natural ways to enjoy the great outdoors without the pesky bite of mosquitoes ruining my experience. Today, I'm excited to share my favorite DIY project: making mosquito repellent candles. Not only do these candles smell delightful, but they also serve a practical purpose by keeping those irritating bugs at bay. Whether for your summer barbecue, camping trip, or simply enjoying an evening on the porch, these candles create a warm ambiance while protecting you and your loved ones.
Why DIY Mosquito Repellent Candles?
In recent years, there's been a growing trend toward natural remedies and eco-friendly products. The popularity of DIY mosquito repellent candles stems from the desire for safe alternatives to chemical-laden sprays and lotions. They allow you to enjoy a bug-free environment while showcasing your creativity. Additionally, making candles at home can be a fun, relaxing activity that you can tailor to your style and preferences.
You’ll find that the essential oils you choose not only repel insects but often provide calming and refreshing scents that enhance your atmosphere.
What You’ll Need
Before diving into the crafting process, here's a handy list of materials you'll need:
Basic Materials
- Soy Wax or Beeswax: These are your candle bases and are great for a slow burn. I prefer soy wax for its sustainability.
- Wicks: Wooden or cotton; they should be appropriate for the size of your candles.
- Containers: Glass jars, tin cans, or ceramic pots. Choose something heat-safe.
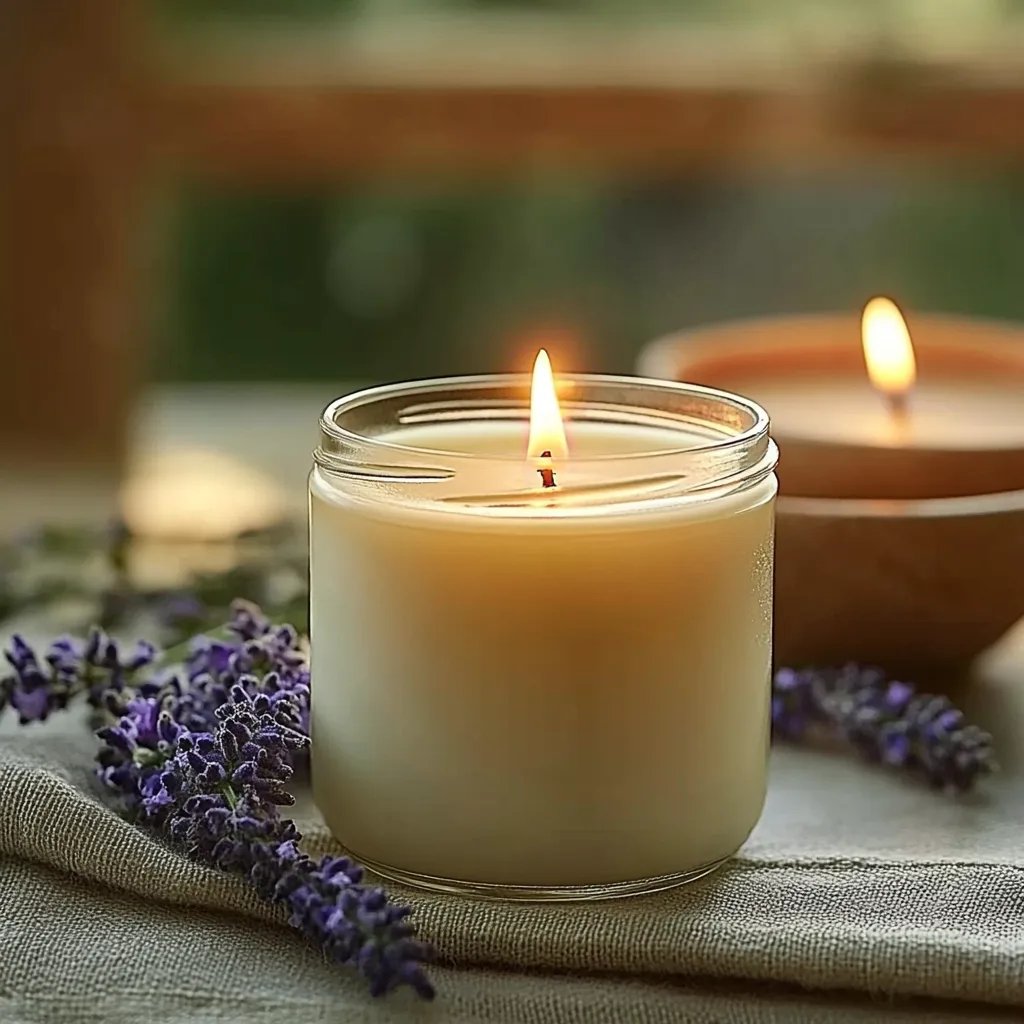
- Essential Oils: Choose from citronella, lavender, eucalyptus, tea tree, peppermint, and lemongrass.
- Double Boiler or Microwave-Safe Bowl: For melting wax safely.
- Thermometer: To monitor the melting point of your wax.
- Stirring Spoon: A wooden spoon works best.
- Wick Holders: To keep your wick centered while the wax sets.
Optional Add-Ins
- Dried Herbs: Optional, but can add a beautiful aesthetic and extra scent!
- Natural Colorants: For those who want to customize the look of their candles.
Step-by-Step Tutorial
Step 1: Prepare Your Workspace
Ensure you’re working in a well-ventilated area. I always cover my surfaces with newspaper or a disposable tablecloth for easy cleanup. Set out all your materials so you can access them easily as you craft.
Step 2: Melt the Wax
- Measure the amount of wax you'll need. A good rule of thumb is to fill your container twice to estimate the amount of wax.
- Melt the wax using your double boiler or microwave. If using a microwave, heat in 30-second intervals, stirring in between, until fully melted. Soy wax typically melts around 120-180°F (49-82°C). Using a thermometer is crucial here to avoid overheating, which can change the wax's properties.
Potential Pitfall: If the wax gets too hot, it can smoke or create a skin, which can affect how the candle burns later. If this happens, remove the wax from heat immediately and allow it to cool down to the recommended pouring temperature (around 130°F or 54°C).
Step 3: Add the Essential Oils
Once your wax is melted and at the right temperature, this is where the magic happens!
- Pour in your essential oils. A general guideline is around 1 oz of essential oil per pound of wax, but you can adjust this based on your fragrance preference.
- Stir gently for about a minute to ensure the oils are well integrated.
This step is crucial: the essential oils will not only repel mosquitoes but also give your candles their signature scent. Be generous, but ensure not to exceed the recommended amount as it might cause the candle to burn improperly.
Step 4: Secure the Wick
- Attach the wick to the bottom of your container using a dab of melted wax or a wick sticker.
- Use a wick holder (like a pencil or skewer) to keep the wick centered as you pour the wax.
If your wick is off-center, it can lead to an uneven burn and wasting wax.
Step 5: Pour the Wax
- Slowly and carefully pour the wax into your container, leaving a little space at the top (about half an inch).
- Keep the wick centered and let the wax cool at room temperature.
Tip: Pouring too quickly can create air pockets, which may cause your candles to crack as they cool.
Step 6: Let It Cure
Allow the candles to set for at least 4-6 hours. Ideally, let them cure overnight for the best scent throw and performance.
Step 7: Trim the Wick
Once your candle is completely set, trim the wick to about ¼ inch. A shorter wick often produces a cleaner burn and prevents excessive smoke.
Safety Considerations
- Handle Wax Carefully: Melted wax can reach high temperatures. Always use caution when pouring.
- Keep Away from Children and Pets: Ensure your candles are placed out of reach after they are lit.
- Use Proper Containers: Make sure your containers can handle heat. Avoid non-heat-safe materials to prevent accidents.
Alternative Methods and Substitutions
- Alternative Wax: While I love soy wax for its eco-friendliness, beeswax is also great and naturally repels some insects.
- Different Containers: Get creative! Old teacups, tins from tea, or even marine-themed materials can create a unique look.
- Essential Oil Combinations: Mix and match essential oils based on your fragrance preference. I often combine lemongrass with lavender for a soothing scent that still keeps bugs away.
Personal Anecdotes
This project has not only saved me from annoying mosquito bites, but it’s also become a cherished activity. I’ll often invite friends over for a candle-making night where we share our favorite essential oil blends and packaging ideas. One summer evening, a batch made with eucalyptus and lemon zest became the talk of the neighborhood barbecue, allowing us to enjoy the evening outdoors without the buzz of mosquitoes.
Creative Variations
- Decorative Elements: Add dried herbs or flowers to the wax before it sets for a beautiful visual effect.
- Colorful Candles: Use natural dyes or crayon shavings to add color to your candles.
- Layered Candles: Pour different colors and scents in layers for an aesthetically pleasing and fragrant experience.
Final Thoughts
Making DIY mosquito repellent candles is a rewarding experience that combines crafting with practicality. This guide has provided you with not just a recipe but a creative outlet to explore. With the right materials and a touch of creativity, you can embark on this lovely journey. I hope you find as much joy and satisfaction in making these candles as I do every time! Happy crafting, and may your outdoor adventures be bug-free!