Create Your Own DIY Glitter Jar: A Sparkling Haven of Relaxation
Hey there, fellow crafters! I’m thrilled to share one of my favorite projects with you today—making your very own DIY glitter jar. This enchanting little creation serves as both a mesmerizing decorative item and a therapeutic tool for stress relief. Whether you're feeling overwhelmed or you simply want to add a touch of sparkle to your space, a glitter jar can work wonders. They’re not just for kids; I still find joy in shaking one up and letting the glitter swirl, bringing back fond memories or simply calming my racing mind.
Whether you're looking to use it as a stress management tool, a sensory tool for children, or just an eye-catching project to beautify your home, a glitter jar is versatile and incredibly easy to make. So let’s dive into the magical world of DIY glitter jars!
Why Glitter Jars are So Popular
Glitter jars have gained popularity for several compelling reasons:
- Simple and Fun Craft: This project is perfect for crafters of all ages.
- Calming Mechanism: Watching the glitter settle can be soothing and meditative—ideal for moments of stress.
- Personalization: You can infuse your own style with color choices and additional elements.
- Educational Tool: They can serve as visual aids for teaching concepts like patience and stillness to kids.
Now that we've established the significance of glitter jars, let’s roll up our sleeves and get to the exciting hands-on work!
Materials You'll Need
To create your glitter jar, gather the following materials—most of which you probably already have at home:
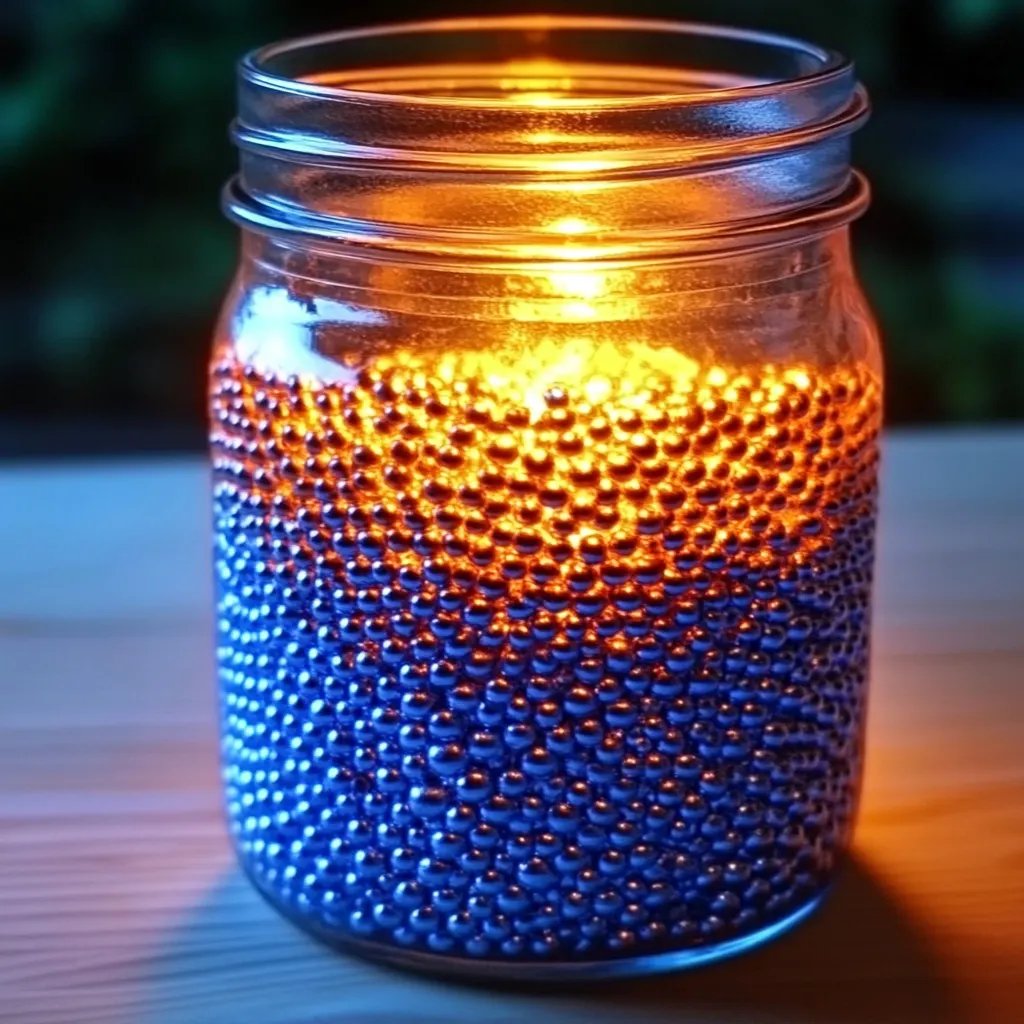
- A clean jar with a lid (a mason jar works wonderfully)
- Distilled water (to minimize impurities)
- Clear glue (like Elmer’s or any PVA glue)
- Glitter (select your favorite colors)
- Food coloring (optional, for a splash of color)
- Glycerin or baby oil (to slow down the glitter)
- Measuring cups and spoons
- A stick or straw for stirring
- Hot glue gun or super glue (for sealing the lid, if desired)
Step-by-Step Instructions
Step 1: Prepare Your Jar
Before diving into the fun part, make sure your jar is clean and dry. This ensures that your mixture adheres well and looks clear without any dust residue. An old pasta sauce jar works perfectly!
Step 2: Measure Your Water
Now, fill the jar about three-quarters full with distilled water. The precise amount can vary depending on the size of your jar; just leave enough room at the top for other ingredients. Distilled water is crucial because it reduces the chance of cloudiness over time.
Step 3: Add the Clear Glue
This is the step where the magic starts! Add a few tablespoons of clear glue to your water. I recommend starting with about 2-3 tablespoons, as it will help suspend the glitter. Stir well until the glue is fully combined with the water.
Tip: If your glitter doesn’t swirl or falls to the bottom too quickly, you can add a bit more glue!
Step 4: Mix in Glitter
Now it’s time for the sparkle! Add a generous amount of glitter—about 2-4 tablespoons. Mix well to ensure all glitter is suspended evenly in the glue and water mixture. Here’s where you can let your creativity shine by combining different colors or even shapes of glitter!
Common Pitfall: If you add too much glitter, it may clump together and form a mass. If this happens, I suggest pouring some out and reducing the amount.
Step 5: Introduce Color
If you’d like your jar to have a specific hue, now’s the time to add a few drops of food coloring. Experiment with different shades—it can be an exciting way to customize your glitter jar! Just remember: a little goes a long way.
Step 6: Add Glycerin or Baby Oil
Now, let’s slow down that glitter! This step is optional, but if you want your glitter to float and swirl gently rather than plummet to the bottom, add a tablespoon of glycerin or baby oil. This will significantly enhance the calming visual effect and make it more soothing to watch.
Step 7: Fill the Jar to the Top
Top off your jar with more distilled water, leaving a tiny bit of space at the top to allow for movements.
Step 8: Seal the Jar
Here comes a critical part! Secure the lid on tightly. If you’re worried about spills or the lid popping off, use a hot glue gun to seal it shut. Not only does this provide peace of mind for kids, but it also makes the jar look sharper.
Safety Warnings
Always remember to supervise younger children during this project. While the materials are non-toxic, ingesting any could lead to stomach discomfort. Also, be cautious with hot glue; it can burn if touched.
Optional Variations
- Themed Glitter Jars: Create seasonal jars! For Halloween, use orange and black glitter; for winter, white and silver.
- Sensory Jars: Add small toys or natural items (like stars, tiny shells, or beads) to serve as visual elements. This helps children engage more with the jar.
- Bubble Effect: Include some bubbles by adding a few drops of dish soap; it adds a whole new dimension!
My Personal Tidbits
The first time I made a glitter jar, I was so excited, I neglected the water-to-glue ratio, and my glitter sank immediately. I was disappointed but learned that experimenting is part of the crafting process. I’ve made many jars since, each with its unique flair, from tropical themes to cosmic adventures with glow-in-the-dark glitter!
Final Thoughts
Creating your own DIY glitter jar is not just a craft; it’s a joyful exploration of creativity and mindfulness. The swirling glitter is a reminder of how calm can emerge from chaos, making it an ideal centerpiece for quiet moments or a lovely gift for friends and family.
Now that you've crafted your stunning glitter jar, place it somewhere you can see it—or give it as a beautifully personal gift. As you enjoy its beauty or use it as a calming tool, I hope it brings as much joy to you as it has to me.
Happy crafting! ✨