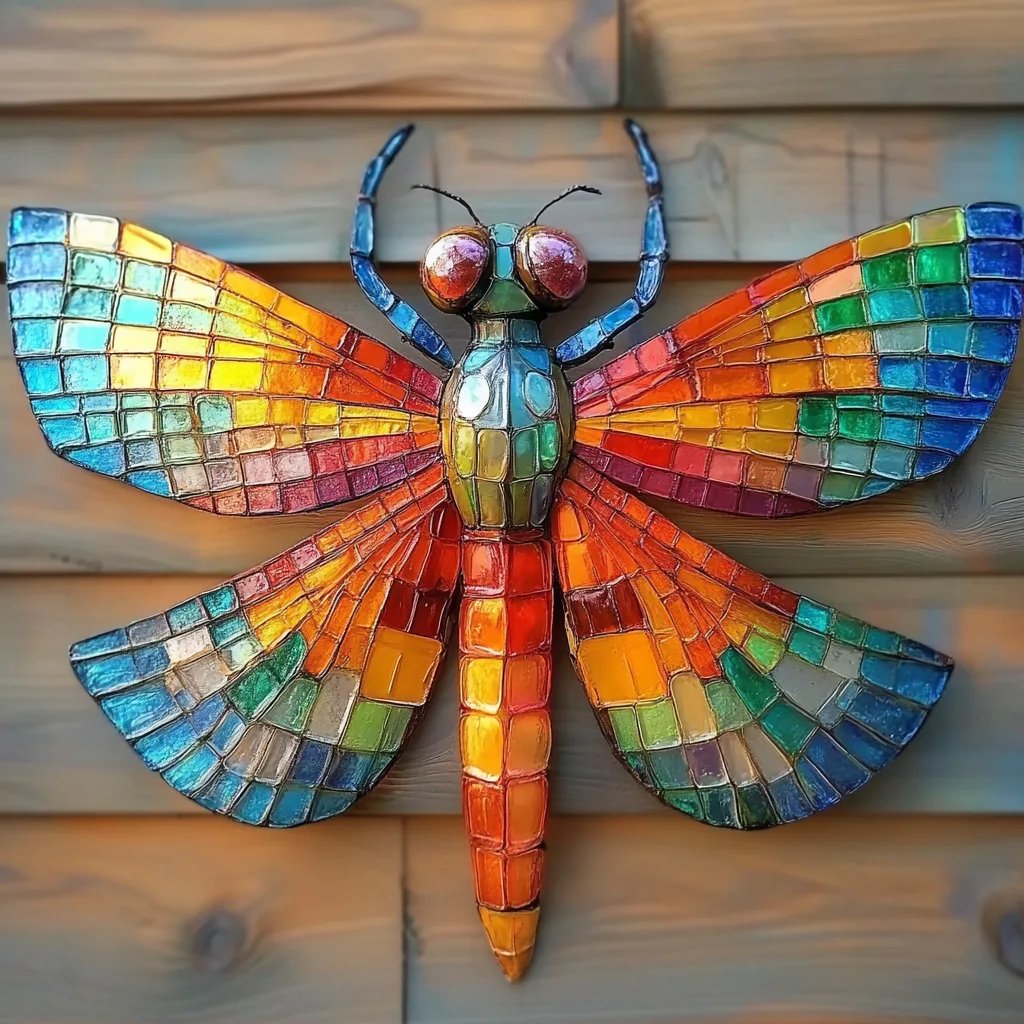
Create Your Own DIY Dancing Light Dragonflies: A Crafting Journey
Hello, fellow crafters! Today, I am thrilled to guide you through the magical world of DIY Dancing Light Dragonflies. If you’re anything like me, you cherish those whimsical moments in life, and nothing brings more joy than crafting something that dances with light. These enchanting dragonflies not only add a splash of color and charm to your space but are also an ideal decoration for outdoor gatherings, garden parties, or an evening of family fun. Imagine them fluttering softly in your backyard, casting a mesmerizing glow in the twilight—sounds delightful, doesn’t it? Let’s dive into this crafting journey together!
Why Dancing Light Dragonflies?
The popularity of dancing light dragonflies stems from their whimsical allure and the nostalgic charm they evoke. They vibe perfectly with summer evenings or peaceful garden gatherings, adding a playful touch that appeals to adults and children alike. What’s more, they are excellent crafts for beginners and seasoned crafters because they can be tailored to a myriad of creative variations. Plus, these dragonflies can be illuminated by LED lights, making them safe to use both indoors and outdoors.
Materials You'll Need
Before we embark on this creative quest, let's gather our materials. I promise you won't need anything too extravagant—you probably have most of them at home! Here’s what I recommend:
- Wire (Floral or Craft Wire): For the body and wings.
- LED Tea Lights: Battery-operated for safety.
- Colorful Tissue Paper or Cellophane: For the wings.
- Hot Glue Gun & Glue Sticks: For assembling your dragonflies.
- Scissors: For cutting paper and wire.
- Beads (optional): To embellish the body with some sparkle.
- Wire Cutters: To shape the wires precisely.
- Pliers: Handy for bending the wire.
Step-by-Step Tutorial
Step 1: Creating the Body
- Cut the Wire: Start by cutting about 12 inches of wire. This will serve as the dragonfly’s body.
Why this matters: A proper length is crucial for balancing the dragonfly and ensuring it stands upright.
- Shape the Body: Bend about two inches from one end to create a head, then continue bending the wire to form a long cylindrical body.
What could go wrong: Ensure you do not make the head too large; a smaller head gives the dragonfly a more refined look. If it seems too unstable, adjust the lengths of the segments.
- Add Beads: Slide beads onto the body if you wish for a bit of sparkle. This step is optional but adds character.
Personal anecdote: When I made my first dragonfly, I added sparkling beads that glinted beautifully in the evening light. It was a simple touch that made all the difference!
Step 2: Crafting the Wings
- Cut the Wings: From the colorful tissue paper or cellophane, cut out two wing shapes. A teardrop or butterfly shape works well; aim for about 4-6 inches long.
Why this matters: The wings’ shape and size influence the overall look, so let your creativity run wild!
- Wire Framework: Take another piece of wire, about 8-10 inches long. Along its middle, create a gentle loop which will be the base for your wings. Attach the two wing shapes to the wire using hot glue, making sure they are symmetrical.
Tips: If you mess up the symmetry, don’t fret! You can always trim one wing slightly until it matches.
Step 3: Assembling the Dragonfly
- Affix the Wings to the Body: Using hot glue, carefully attach the wings you just made to the top of the dragonfly's body. Hold it in place for a few moments until the glue sets.
Safety warnings: Be cautious with the hot glue gun as it can get very hot. Consider using a silicone finger protector or a spatula to maneuver your glue.
- Attach the LED Light: Finally, place the LED tea light into the lower half of the body (if applicable) or secure it near the feet of the dragonfly. If the light is removable, you can easily turn it on and off!
Step 4: Finishing Touches
Once you’ve put everything together, step back and admire your handiwork! You can customize your dragonfly by painting additional features, adding felt eyes, or creating various sizes and colors to make your garden come alive.
Creative variations: Some crafters even opt to use glow-in-the-dark paint or metallic cardstock for wings—whatever speaks to you!
Troubleshooting
- If your dragonfly doesn’t stand upright, check the balance between the wings and body. You might need to adjust the weight by moving certain elements or adding stabilizers like small rocks inside the body.
- Failed glue spots happen! If your wings fall off or anything comes loose, reapply with hot glue or a stronger adhesive like E6000.
Conclusion
Crafting DIY Dancing Light Dragonflies is more than just a project; it’s an invitation to bring a dash of magic into your life. As I’ve shared, it’s a straightforward process that offers ample room for creativity and personalization. Gather your materials, invite your friends or family, and let’s craft away! Remember, no matter how they turn out, each dragonfly is a unique creation filled with your passion and creativity.
So, are you ready to illuminate your evenings with these delightful dancing lights? Let your imagination take flight, and happy crafting!