Create Your Own Aroma Gel Jars: A Step-by-Step Guide
Hello, fellow crafters! Today, I'm excited to share with you an enchanting project that combines creativity and scent—making Aroma Gel Jars. These little gems can add a soothing aroma to any room, making them perfect for stress relief, ambiance, or even as thoughtful, handmade gifts.
Aroma gel jars encapsulate scent in a beautifully colorful, fragrant gel, allowing you to enjoy delightful fragrances without the worries associated with traditional candles or oil diffusers. They're popular for their simplicity, safety, and the customizable nature that lets you choose what scent fits your mood. Whether you need a calming lavender blend for your workspace or an invigorating citrus mix for your kitchen, these gel jars are just the creative project you need!
Why Make Aroma Gel Jars?
The popularity of aroma gel jars stems from their versatility and ease of use. They do not rely on heat, which can lead to burns and accidents. Additionally, their gel nature prevents spills and mess, making them an ideal choice for households with children or pets. They also offer a creative outlet, as you can infuse them with your favorite essential oils, choose beautiful colors, and experiment with different designs.
You can use these jars during self-care moments, while meditating, or simply to make your living space feel more inviting. Want to host a cozy get-together? Imagine the warm glow and lovely scent from your homemade aroma gel jars!
Ready to dive into this delightful craft? Let’s get started!
Materials You’ll Need
Before we begin, here’s what you’ll need for this project. Don’t worry; all of these materials are easy to find and relatively inexpensive.
Essential Materials:
- Gelatin: Unflavored gelatin works best.
- Water: Ideally, filtered or distilled to avoid impurities.
- Essential oils: Choose scents that resonate with you—lavender, eucalyptus, lemon, etc.
- Food coloring: Optional, but adds a lovely visual appeal.
- Airtight jar or container: For holding the finished gel (mason jars work great).
- Measuring cups and spoons: For accuracy.
- Heat-resistant bowl or saucepan: For mixing the ingredients.
Optional Add-ins:
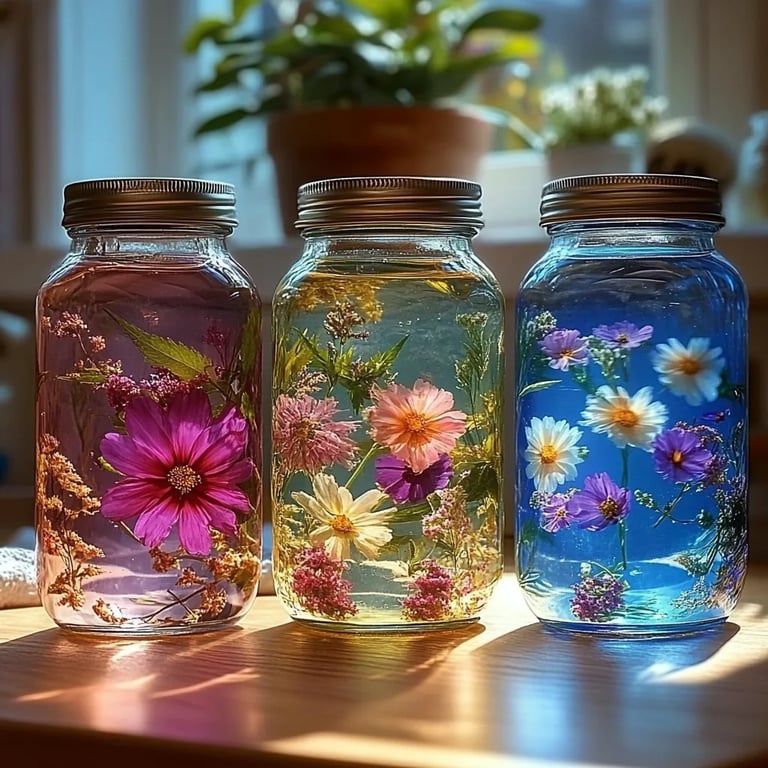
- Small decorative items (e.g., dried flowers, glitter, or beads) to make your gel jars visually enchanting.
Step-by-Step Tutorial
Step 1: Prepare Your Workspace
Creating the right environment can greatly affect your crafting experience. Clear a flat, well-lit area, and gather all your materials. Having everything within reach will streamline the process, making it a fuss-free experience.
Step 2: Measure Your Ingredients
Start by measuring 1 cup of water and 2 tablespoons of unflavored gelatin. These quantities yield a modest-sized jar, perfect for beginners.
Step 3: Dissolve the Gelatin
In a heat-resistant bowl or saucepan, pour the measured water and sprinkle the gelatin over the water's surface. Let it sit for about 5 minutes; this step is called blooming. It’s crucial because it allows the gelatin to fully absorb liquids and prevents clumping.
Step 4: Heat the Mixture
After blooming, heat the water-gelatin mixture over low heat while stirring continuously. Avoid boiling, as it could affect the gelatin's ability to set. If you notice clumps, keep stirring gently. Once the mixture is clear and smooth, remove it from heat.
Step 5: Adding Fragrance and Color
Now comes the exciting part! Add about 10-15 drops of your chosen essential oil. Feel free to experiment with combinations—lavender and eucalyptus make a wonderful duo. Here’s a quick tip: If you want a more intense fragrance, add a few extra drops. Next, add food coloring if desired. Just a drop or two can dramatically change the appearance—play around to find your perfect shade!
Step 6: Pour into Jars
Carefully pour your mixture into an airtight jar or container. If you’re adding decorative elements, layer them in before pouring the gel. Remember to leave some space at the top; the gel will expand slightly as it sets.
Step 7: Let It Set
Allow the mixture to cool at room temperature for about 4-6 hours until it fully sets. It can be tempting to move things along, but trusting the setting time is essential for a well-formed gel.
Step 8: Enjoy Your Creation!
Once your Aroma Gel Jar is set, it’s ready to display or use! Place it in a cozy corner, bring it to your office, or gift it to someone special.
Possible Problems and Solutions
- The Gel Isn’t Setting: If your gel didn’t set, double-check your gelatin measurements and ensure the mixture didn’t boil during preparation. If it’s too soft, consider redoing it with a bit more gelatin.
- Cloudiness: This can occur if the gelatin wasn’t dissolved completely or boiled. Stir gently and ensure it’s fully clear before pouring.
Tips for Success
- Experiment with Scents: Some essential oils have stronger scents than others. Do a patch test with a small jar before committing to larger quantities.
- Adjust the Consistency: If you prefer a firmer gel, you can use more gelatin; for a softer gel, reduce it slightly.
Safety Precautions
- Keep Out of Reach: Essential oils can be potent and should be used cautiously, especially around pets and kids.
- Allergic Reactions: Always do a small patch test with new essential oils to check for allergic reactions.
Creative Variations
Once you’ve mastered the basic Aroma Gel Jar, consider trying some variations.
- Seasonal Scents: For autumn, cinnamon and clove; for summer, lemongrass and peppermint.
- Color Themes: Match colors to holidays or seasons. Bright greens for spring, deep reds for Christmas.
- Layering: Create layers of different scents by letting one layer set before adding another flavor.
Final Thoughts
Crafting Aroma Gel Jars has become one of my favorite projects because it’s easy, practical, and allows for endless creativity. The process can be a lovely way to unwind, and you’ll find a real sense of accomplishment in your work!
I hope this detailed guide inspires you to create your Aroma Gel Jars. Don’t hesitate to experiment, mix scents, and enjoy the aromatic ambiance your creations bring into your space. Happy crafting, and remember—every jar tells a story!