Create Whimsical Glow: Making Pop Bottle Firefly Crafts
As a seasoned crafter, one of my greatest joys is transforming everyday items into magical creations that bring a sparkle to life. Today, I'm excited to share with you a delightful project that combines simplicity with a touch of enchantment—making Pop Bottle Fireflies! These charming, illuminated crafts are not only a fun DIY activity, but they also make for whimsical decorations for summer nights, birthday parties, or even as a playful addition to your garden.
What Are Pop Bottle Fireflies?
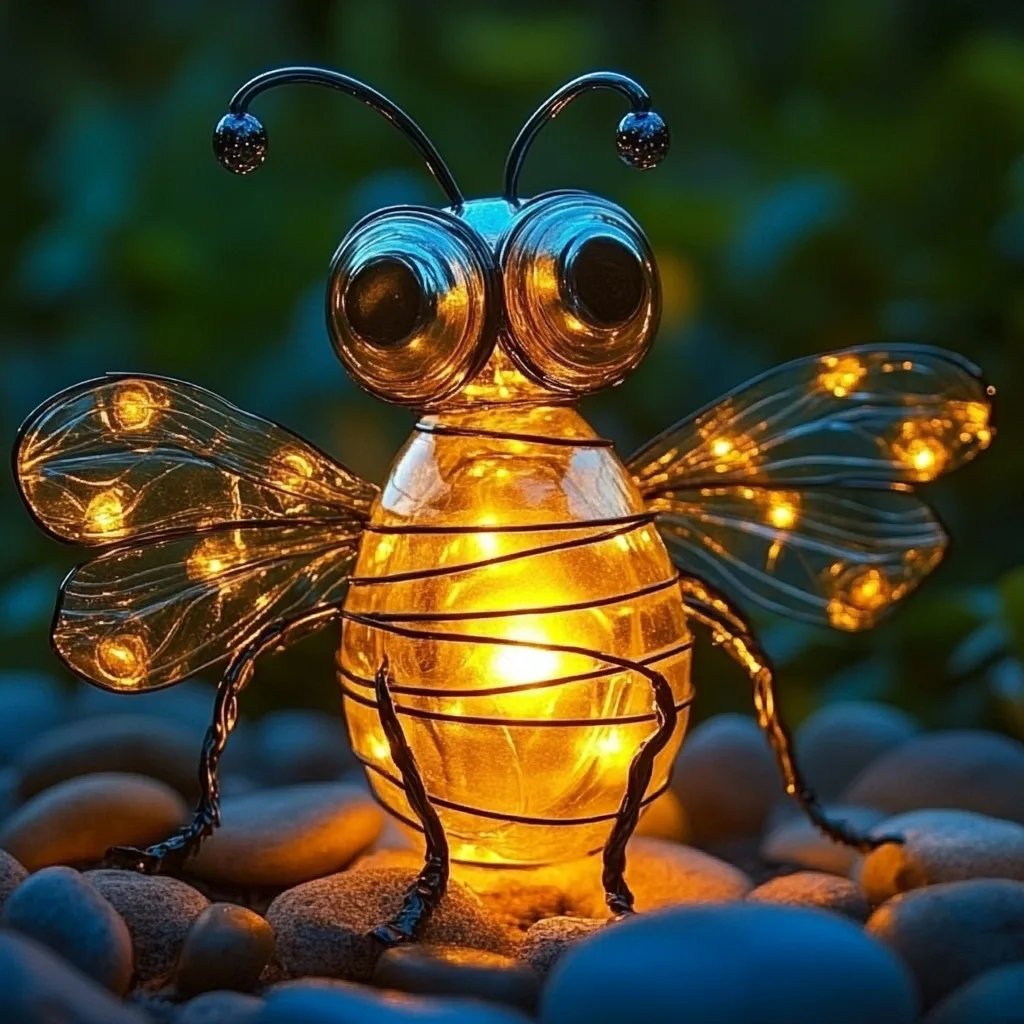
Pop Bottle Fireflies are soft-glowing lanterns that mimic the magical glow of real fireflies. With just some repurposed plastic bottles, a few craft supplies, and LED tea lights, you can create a whimsical display that kids and adults alike will adore. They have gained popularity not only for their easy construction but also for their eco-friendly aspect, breathing new life into bottles that would otherwise be discarded.
When and How to Use Your Fireflies
These glowing beauties can be enjoyed anywhere! Hang them around your backyard for evening gatherings, light up the pathways at a garden party, or simply brighten up a child's room. They make for a fantastic project for playdates, summer camp activities, or even a family craft night.
What You’ll Need
Before we dive into the crafting, let's gather our materials. I always recommend laying everything out to ensure you have all you need before we get started. Here’s what you'll need:
Materials:
- 1 to 2 empty plastic pop bottles (16oz or 20oz)
- Green construction paper or paint
- LED tea light candles (available at most craft or home goods stores)
- Scissors
- Hot glue gun and glue sticks (or clear craft glue)
- Black marker
- Twine or fishing line
- Crafting brush (if you opt for paint)
- Clear tape
- Optional: Decorative stickers or glow-in-the-dark paint
Preparation
Start by thoroughly cleaning the pop bottles—you want these to be sparkling clean inside and out! Remove any labels and rinse them well. For this project, it’s perfectly fine to leave the bottle caps on; in fact, they give added stability.
Step-by-Step Tutorial to Create Your Firefly Craft
Step 1: Prep Your Bottles
Once your bottles are dry, decide how you’d like your fireflies to be decorated. If you’re using paint, now’s the time to cover the outside of the bottles with a bright, whimsical color. I love using shades of yellow, green, or blue. Use a brush for even coverage, and let it dry completely before moving on to the next step.
*Tip: If you’re short on time, you can also opt for vibrant construction paper instead of paint. Simply cut the paper into sections to wrap around the bottom of the bottle using clear tape to secure them.*
Step 2: Cut the Bottles
Next, we’ll need to create the 'wings' of our fireflies. With sharp scissors, carefully cut the bottle about one-third of the way down from the top. This part is crucial; the top half will become the firefly's body, while the bottom half can be manipulated into wings!
*What could go wrong? Make sure to apply pressure away from your body and cut slowly to avoid any slips. If you do happen to make an uneven cut, don’t worry! You can even out the edges by trimming just a bit more to keep it symmetrical.*
Step 3: Craft the Wings
Take the bottom half of your bottle and cut slits along the rim to create ‘wings.’ You can cut an equal number of sections or create a freeform design, depending on your vision. Bend and shape the wings outward gently—this gives the effect of fluttering butterfly wings.
*Creative variation: Instead of cutting slits, experiment with gluing on additional pieces of colorful paper for multi-layered wings!*
Step 4: Add Lights
Carefully remove the top of your LED tea light and place it inside the bottle. If you want to secure it, simply glue it to the base (make sure it’s not obstructed). This light will provide the captivating glow that turns your craft into a firefly at night.
*Safety Warning: Ensure the LED tea light is battery-operated. Never use actual candles, as they are a fire hazard.*
Step 5: Draw or Attach Eyes
Using your black marker, add eyes to the top part of your firefly. For an extra touch, consider using wiggle eyes that can be glued to the bottle, enhancing the playful, crafty look.
Step 6: Assemble and Hang
If you want to display your fireflies, attach a length of twine or fishing line to the top of the bottle or simply set them on your patio. You can create a delightful hanging display by tying them from trees, hooks, or even using a rustic wooden beam.
*Tip: Grouping several fireflies together can create a more enchanting ambiance!*
Final Touches and Personal Anecdotes
Finally, step back and admire your firefly creations. I still remember the first time I crafted these with my daughter; her face lit up with joy as we hung them around the garden, waiting for the magic of dusk to reveal their glow. It's those moments—full of laughter and creativity—that make crafting so special.
Alternative Methods and Substitutions
While this is the foundational method, feel free to customize! Consider using different bottle types, colors of paint, or even add a layer of biodegradable glitter for a sparkling effect.
Conclusion
Creating Pop Bottle Fireflies is not just an opportunity to recycle but a chance to engage in a heartwarming activity that brings families together. Whether you're looking to create a fun evening atmosphere or spark creativity in kids, these enchanting crafts deliver both beauty and enjoyment.
So gather your friends or family, roll up those sleeves, and start crafting! I hope you find as much joy in making these whimsical fireflies as I have. Happy crafting, and may your evenings be lit with the glow of creativity!