Create Vibrant Watermelon Slice Suncatchers: A DIY Guide for All Ages
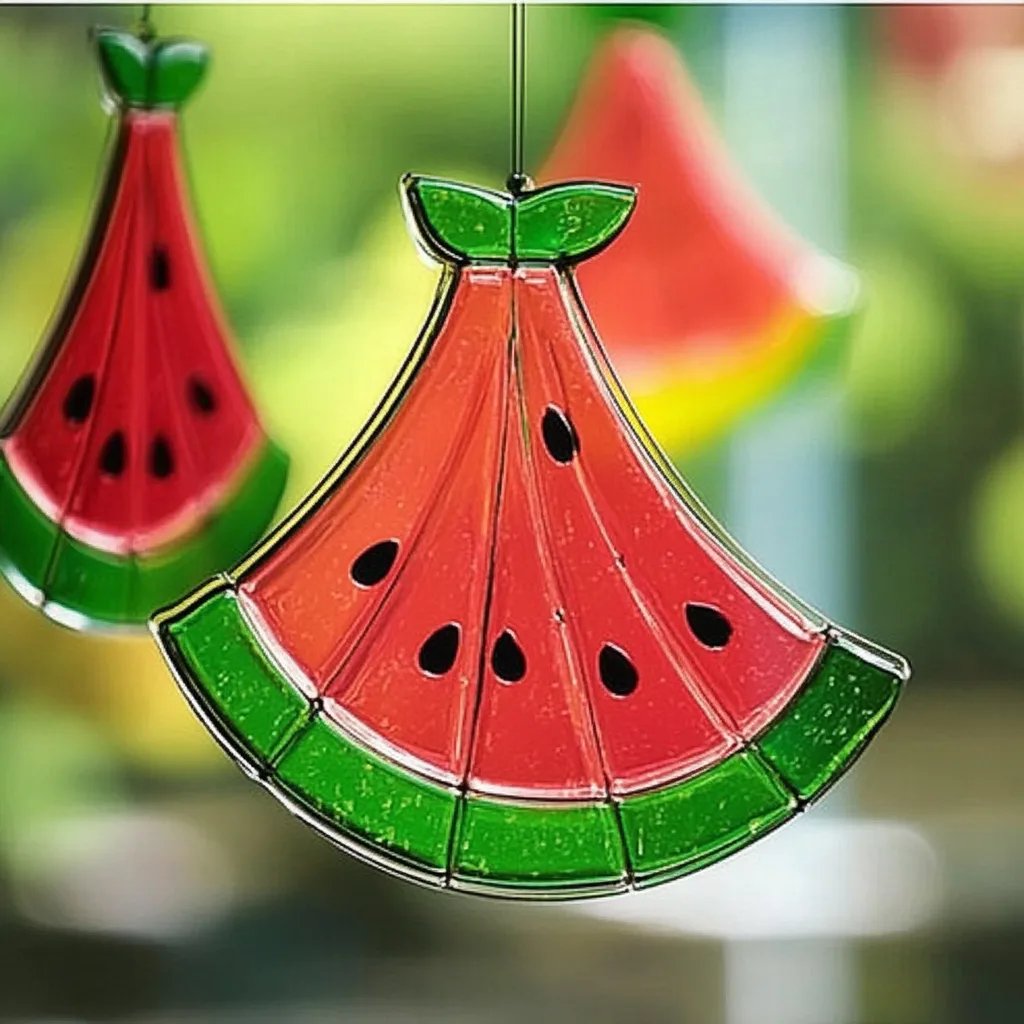
As an avid crafter, I'm always on the lookout for imaginative projects that can brighten up our homes and engage my creative spirit. Today, I’m thrilled to share one of my all-time favorite crafts: Watermelon Slice Suncatchers! These eye-catching decorations are not only easy and fun to make, but they also serve a delightful purpose: when hung in a sunny window, they scatter beautiful colors around the room. They’re perfect for those lazy summer afternoons or to add a splash of cheer during dreary winter months. Let’s dive into this vibrant craft!
Why Watermelon Slice Suncatchers?
Watermelon slice suncatchers have surged in popularity for a few reasons:
- Bright and Cheerful: Their bold colors and whimsical shapes easily uplift any space.
- Family Fun: This is a fantastic activity to do with kids. It encourages creativity and fine motor skills while providing a great bonding experience.
- Seasonal Decorating: While they embody the spirit of summer, these suncatchers can be enjoyed year-round as fun reminders of sunny days.
Materials Needed
Before we jump into the how-to, let's gather our supplies. Don’t worry; you likely have some of these items at home already! Here’s what you’ll need:
- Clear Plastic Sheets: You can use sheets from report covers, overhead transparencies, or even recycled packaging.
- Permanent Markers: In bright colors like red, green, and black.
- Scissors: A good pair of crafting scissors will do.
- Glue: Clear-dry glue or a hot glue gun will work best for assembling.
- String or Fishing Line: For hanging your masterpiece.
- Optional: A hole punch for easier hanging, or additional decorative elements like glitter or stickers.
Step-by-Step Tutorial
Step 1: Prepare Your Workspace
Start by clearing a clean, flat surface. This is crucial because a tidy workspace allows you to focus on your craft without distractions. Consider laying down newspaper or a craft mat to catch any accidental spills or stains.
Step 2: Draw the Watermelon Slice
Using your permanent markers, draw a semi-circle on your clear plastic sheet. This will be the main body of the watermelon. I usually opt for a size around 6-8 inches as a good compromise: it’s large enough to make a statement but manageable to craft.
Tip: Draw the outline first, then fill it in with the vibrant red color to form the "flesh" of the watermelon.
Step 3: Add the Rind
Next, use green markers to draw a thin border around the red half-circle. This represents the watermelon’s rind. You can also add some lighter green streaks for texture – trust me, it makes all the difference!
What Could Go Wrong: If your colors smear or mix, don’t panic! Wait for the marker to dry completely before adding another color. If it still doesn’t look right, you can always start over on a new plastic sheet.
Step 4: Create the Seeds
Using a black marker, add small oval shapes within the red area to depict the watermelon seeds. You can place them wherever you like! I usually add about three or four seeds to keep it realistic.
Creative Variation: For a fun twist, consider using tiny stickers or even cut-out shapes instead of drawing the seeds.
Step 5: Cut Out Your Design
Carefully cut around your watermelon slice, following the outlines you’ve created. Take your time – clean edges will create a neater and more attractive suncatcher.
Step 6: Assemble Your Suncatcher
Using your glue, adhere another piece of clear plastic behind your watermelon slice to cover the back. This will give it a more finished look and protect your artwork from fading over time.
Safety Warning: If you're using a hot glue gun, be cautious with the tip as it gets extremely hot. Always supervise younger crafters during this stage.
Step 7: Punch a Hole for Hanging
If you’d like to hang your suncatcher, use a hole puncher at the top center of your watermelon slice. If you don’t have one, you can simply use scissors to create a small slit for the string.
Step 8: Add String for Hanging
Cut a piece of string or fishing line to your desired length and thread it through the hole. Secure it with a knot. Now your masterpiece is ready to hang!
Final Touches and Safety Precautions
Once your suncatcher is complete, hang it in a sunny window and watch the light transform your space! Ensure that it’s placed securely, away from areas where it might get knocked over or damaged.
Troubleshooting Common Issues
- Markers Smudging: Allow each layer to dry before moving on to avoid mixing colors.
- Shape Not Holding: If your suncatcher bends, consider sandwiching it between two sheets for added stability.
Personal Anecdotes
I remember the first time I made watermelon slice suncatchers with my kids. There was a bit of marker mishap, and we ended up turning those into mini watermelon “patches” by simply adding more seeds and lines—what started as a creative challenge became an opportunity for imaginative play!
Alternative Methods and Substitutions
If you want to experiment beyond markers, consider using:
- Tissue Paper: Cut pieces to fill your watermelon slice shape for a softer look. Just apply glue to the back and layer these colorful pieces.
- Paints: Instead of markers, you can use acrylics, but ensure the paint dries fully before adding any additional layers.
Conclusion: Embrace Your Creativity
Crafting watermelon slice suncatchers is not just about making colorful decorations; it’s about creating memories, engaging with art, and expressing your personal style. Whether you choose to make them vibrant or whimsical, these suncatchers are sure to bring joy into your home. So gather your materials, put on some music, and let your creativity shine bright. Happy crafting!