Create Mesmerizing Lava Lamp Style Suncatchers: A Complete Guide
Hello fellow crafters! Today, I’m thrilled to share one of my all-time favorite DIY projects—creating Lava Lamp Style Suncatchers. These enchanting decorations not only add a colorful and dynamic flair to any window but also brighten up your living space with the soft, dappled light that dances through the swirling shapes. Whether you're looking to enhance your home décor, gift something special to a friend, or simply enjoy a fun craft day, these suncatchers are perfect for all occasions.
What Makes Lava Lamp Suncatchers So Special?
Lava lamp suncatchers are captivating because they mimic the mesmerizing movements and colors found in traditional lava lamps, but in a more accessible format that can be customized to suit your personal style. As the sunlight streams through, it illuminates the vibrant colors, casting playful shadows. They’re not only great for brightening up your home but also create a great focal point in children’s rooms, and they serve as wonderful conversation starters!
Materials You'll Need
Before we dive in, let’s gather our materials. I love this project because it uses mostly items you probably have around the house or can easily find at your local craft store.
Essential Supplies:
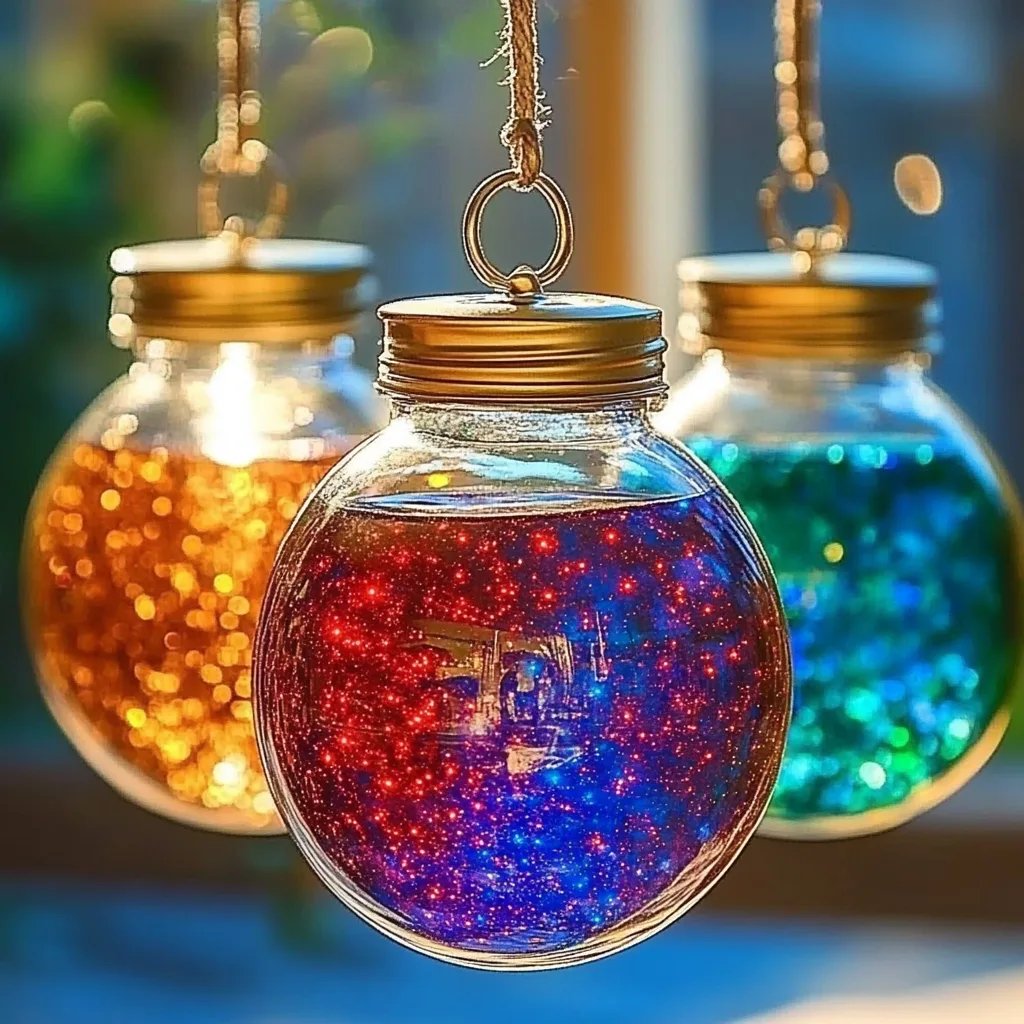
- Clear plastic or glass jars (mason jars work wonderfully)
- Vegetable oil (or baby oil for better clarity)
- Food coloring (your choice of colors)
- Water
- Clear glue (white school glue works fine)
- A few small items for decoration (glitter, beads, or even tiny toys)
- Optional: thin fishing line or sturdy string for hanging
- Optional: picture hanging strips or suction cups for mounting
Step-by-Step Tutorial
Step 1: Prepare Your Base
Start by filling your jar about one-third full with water. This is the base of your lava lamp suncatcher, and you want to leave enough space for the other ingredients. This step matters because the water's density contrasts beautifully with the oil.
Tip: If you're using clear mason jars, don’t be afraid to decorate the outside with paint or stickers for an extra touch!
Step 2: Add Color!
Add a few drops of food coloring to the water. Choose any colors that inspire you or match your home. Aim for vibrant hues; they will pop when the sunlight shines through!
What Could Go Wrong? Overdoing the food coloring will make the water too dark, so start with just two drops and add more if necessary until you achieve your desired shade.
Step 3: Add the Oil
Using a funnel if needed, slowly pour vegetable oil into the jar until it's almost full, leaving about an inch at the top. The oil will float on the water because of its lower density, exactly like a lava lamp!
Why This Matters: This separation is the essential “lava” effect we’re aiming for. Take your time pouring to ensure a clean separation.
Step 4: The Lava Effect
To create the “lava” bubbles, you’ll want to add clear glue. Start with a couple of tablespoons—this is usually enough, but feel free to adjust according to the size of your jar and how thick you want your blobs to be.
Insider Tip: You can also vary the viscosity by adding more or less glue. More glue = thicker lava!
Step 5: The Final Touches
Once everything is in your jar, it’s time to seal it up! Use a hot glue gun or strong adhesive seal the lid to prevent any spillage. If you're worried about kiddos spilling or curious pets, go for extra intuitive safety by attaching the lid with epoxy.
Here, you can sprinkle in some glitter or small decorative items to make it more magical!
Safety Tip: If you’re using hot glue, be careful—this can cause burns if you’re not cautious.
Step 6: Hang It Up
If you'd like to hang your suncatcher, glue one end of the fishing line to the top of the jar lid and hang it on the window. Alternatively, you can use suction cups for an easy, damage-free option.
What Could Go Wrong
The key risks here are leaky jars and cloudy appearances. If you see cloudiness, it may be the result of moisture trapped inside when sealing. Simply loosen the lid and let it sit for a couple of days until condensation clears up—try not to rush this part!
Personal Anecdotes
I remember the first time I made these with my children—they were so excited to mix the colors, and their faces were priceless when they saw the swirling action come to life! This project becomes a cherished memory, where crafting transforms into quality time.
Creative Variations
Feel free to get creative! You can:
- Use colored jello instead of glue for an edible lava lamp suncatcher!
- Try adding some glow-in-the-dark paint for an ethereal night-time effect.
- Experiment with different shapes of jars for unique silhouettes.
Safety Warnings
- Ensure that all materials are safe, especially if you’re crafting with kids. Avoid choking hazards and supervise all glue-related steps.
- Don’t hang near high-heat areas (cozy fireplaces, for example) as the oil could potentially heat up and leak.
Conclusion
There you have it! A complete guide to making your own Lava Lamp Style Suncatchers. I hope these step-by-step instructions filled with tips and insights have inspired you to embark on this fun and creative project. Whether crafting alone, with friends, or with family, I know you’ll find as much joy in making these as I do.
Feel free to share your creations or ask any questions in the comments. Happy crafting, and may your window be filled with colorful light and joy!