Create Magic This Valentine's Day: A Comprehensive Guide to Making Valentine's Day Borax Slime
Hello friends! As we approach February, a special day is just around the corner—Valentine's Day! While chocolates, flowers, and love letters are wonderful traditions, I’m here to share a unique and delightful way to celebrate this romantic day. Enter: Valentine's Day Borax Slime! It’s a fun, tactile activity that brings joy, creativity, and a splash of color to your Valentine’s Day festivities.
Not only is slime an incredibly popular DIY project among kids and adults alike, but it also serves as an excellent sensory play activity. The gooey, stretchy nature of slime promotes fine motor skills and can be wildly therapeutic to create and manipulate. So whether you’re looking to entertain the little ones, create a cute gift for someone special, or simply indulge in some crafty self-care, this slime ticks all the boxes!
What You’ll Need
Before we get started, let’s gather our materials! Here’s a comprehensive list of everything you’ll need to create your very own Valentine's Day Borax slime:
- White or clear PVA glue – 1 cup (This serves as the base for your slime)
- Water – 1 cup (To mix with the glue)
- Borax powder – 1 teaspoon (This acts as the slime activator)
- Food coloring – Red or pink (To give your slime that Valentine’s Day aesthetic)
- Glitter – Optional (For some extra sparkles!)
- Mixing bowls – At least two
- Measuring cups and spoons
- Stirring utensil – A wooden stick or a disposable spoon
- Essential oils or fragrance – Optional (To add a delightful scent)
- Seal-tight container – For storage
The Step-by-Step Process
Step 1: Prepare Your Work Area
Make sure you have a clean, flat workspace. I always lay down some newspaper or a plastic covering to protect my surfaces from potential messes. Slime can get drippy, so it’s better to be safe than sorry!
Step 2: Make the Glue Mixture
In one mixing bowl, combine your 1 cup of glue and 1 cup of water. Stir well until the two are fully blended. This step is essential because it creates a homogenous base for your slime. If the mixture looks uneven or clumpy, give it another good stir!
What Could Go Wrong?
If the glue mixture remains sticky, you might need to consider diluting it a bit more with water. This can help create a stretchier texture.
Step 3: Add Color and Glitter
Next, add your chosen food coloring—consider starting with just a few drops and adjusting to your desired shade. Add in as much glitter as your heart desires! This is where the magic happens as your mixture transforms into a festive delight. Stir until fully combined, and don’t be afraid to get creative!
Important Tip:
If you’d like scented slime, now’s the time to add a few drops of your favorite essential oil. I’m obsessed with lavender or vanilla for a cozy touch!
Step 4: Prepare the Borax Solution
In a separate bowl, mix 1 teaspoon of Borax powder with 1 cup of warm water. Stir until the Borax has completely dissolved. This solution acts as our slime activator, so it's essential that it's mixed thoroughly.
Safety Warning:
While Borax is safe for crafting when used correctly, it should never be ingested, so keep it out of reach of young children and avoid direct skin contact.
Step 5: Combine the Mixtures
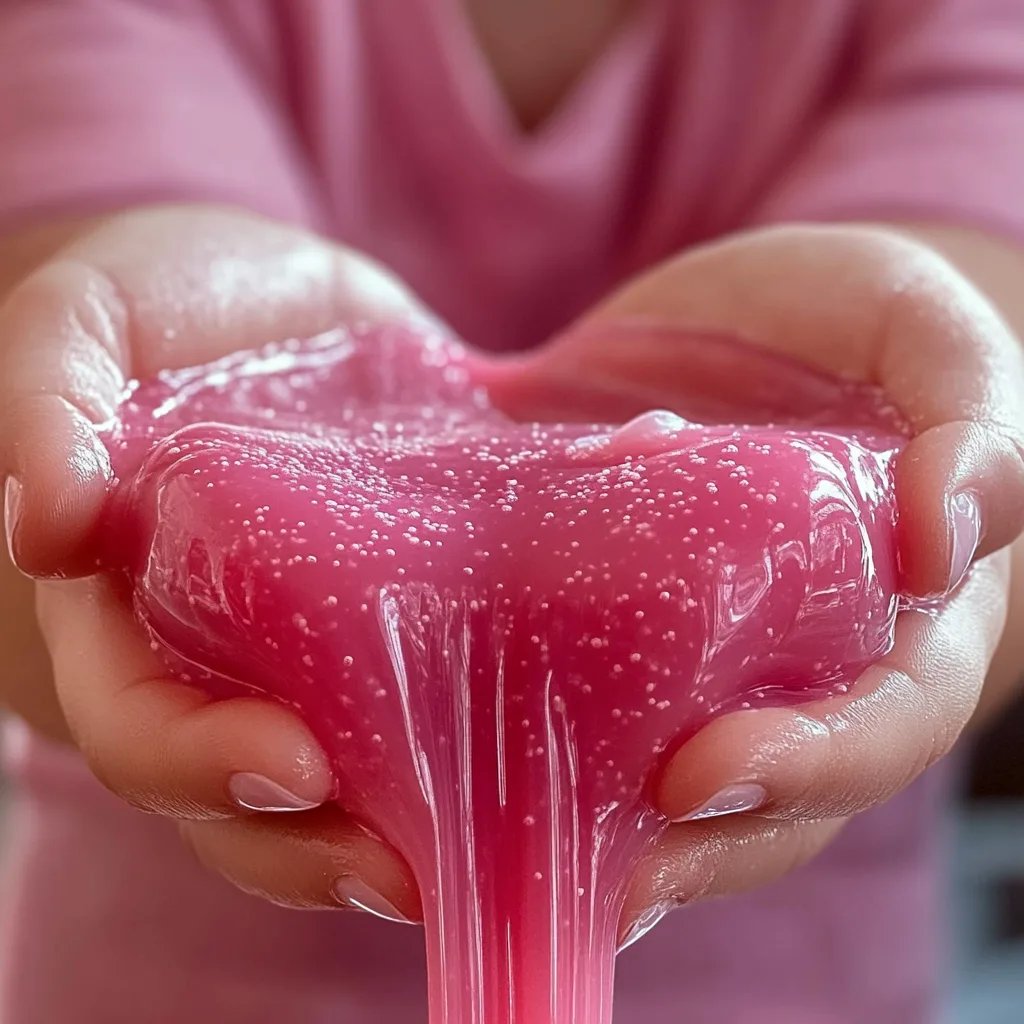
Slowly pour your Borax solution into the glue mixture. You should see the slime start to form almost immediately! This is because the Borax binds with the glue, creating that signature stretchy, gooey texture we all know and love.
Troubleshooting:
If your slime becomes too rubbery or hard, it’s because you’ve added too much Borax solution. Don’t fret, though! Simply add a tablespoon of warm water to soften it and knead thoroughly.
Step 6: Knead and Play!
Once your slime has formed into a cohesive mass, take it out of the bowl and start kneading with your hands. This process incorporates air, making it more pliable and fun! It might feel a little sticky at first; don’t worry! After a few minutes of kneading, it should reach the perfect slippery consistency.
Storage and Lifespan
Once you’re done playing, store your slime in a seal-tight container to keep it fresh. Typically, it lasts for about 1-2 weeks if cared for properly.
Creative Variations
Don’t hesitate to get creative! Here are a few variations you could try to personalize your Valentine’s Day slime:
- Heart Confetti: Add tiny foam hearts or sequins for a festive surprise.
- Swirled Slime: Divide your slime into two parts, color each, and then swirl them together for a marbled effect.
- Foam Beads: Incorporate some of those fun foam beads for an extra texture. It’s like a surprise in every squish!
Final Thoughts and Personal Anecdote
I fondly remember the time I made this slime with my niece as part of our Valentine’s Day tradition. We spent the afternoon laughing and crafting away, and we even managed to make some cute little heart-shaped containers to gift our slime to family members. The joy in her eyes as she squished the slime was simply priceless, reminding me that crafts are more than just activities—they’re memories waiting to be made.
So, as you embark on your very own Valentine's Day Borax slime journey, keep my tips in mind, enjoy the process, and feel free to let your creativity shine! Whether you’re making this slime for yourself, for a loved one, or to share at a gathering, it’s sure to bring smiles and giggles. Happy crafting, and have a fabulous Valentine's Day!