Create Beautiful Rainbow Rolling Pin Art: A Step-by-Step Guide
Hello, crafty friends! Today, I'm excited to take you through a vibrant and creative journey into the world of Rainbow Rolling Pin Art. As an experienced crafter, I can assure you that this fun and whimsical technique can bring a splash of color to your projects while providing a fulfilling crafting experience. Whether you’re looking to spice up your baking game, make stunning wall art, or create personalized gifts, this versatile craft is perfect for all occasions!
What is Rainbow Rolling Pin Art?
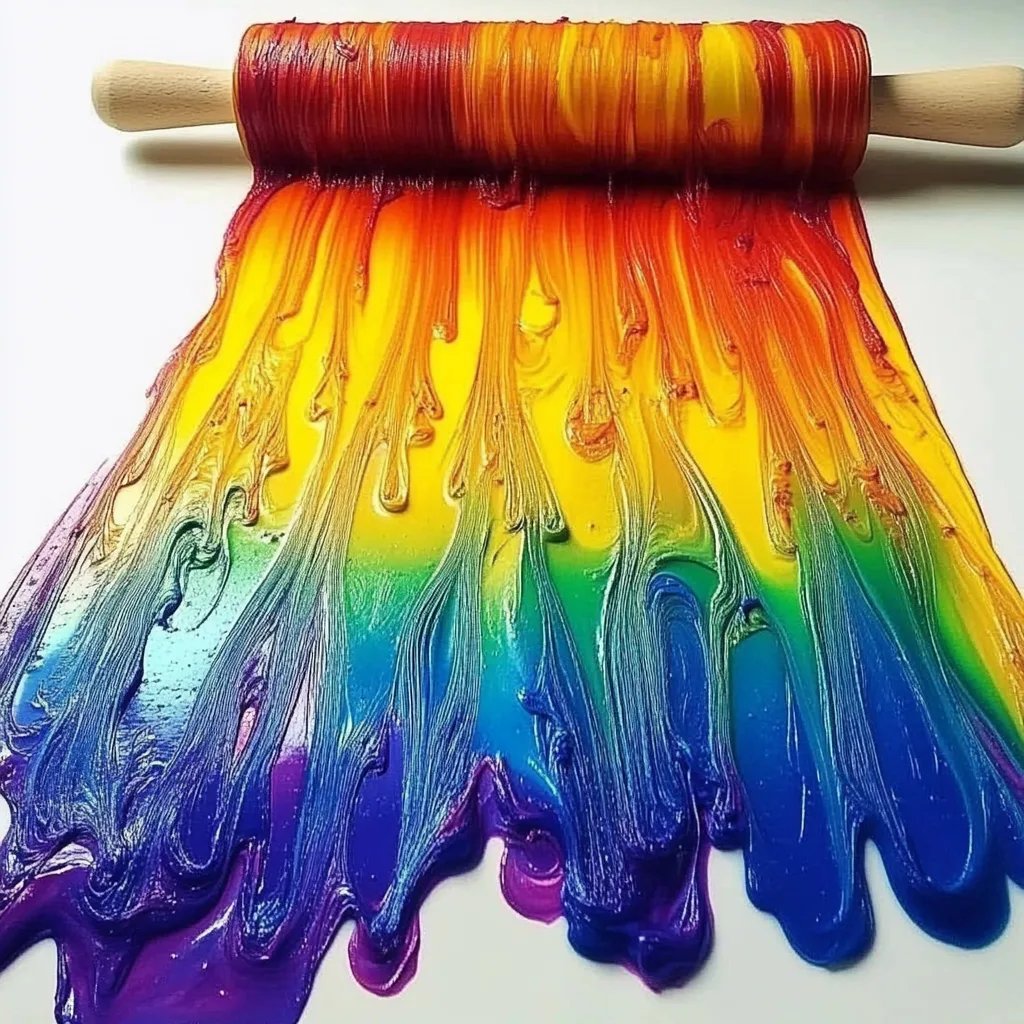
Rainbow Rolling Pin Art is an ingenious way to use a rolling pin to create stunning colorful patterns on various surfaces. The technique involves alternating layers of colored dough or paint, and rolling them out with a rolling pin to achieve a mesmerizing marbled effect. It’s particularly popular among bakers, DIY enthusiasts, and anyone who enjoys crafting with their hands, as it allows you to unleash your inner artist in a vibrant, tactile way.
You can use this technique for baked goods, such as cookies, or even on canvas for unique home décor pieces. It’s an ideal project for kids’ parties, holidays, or simply to brighten up your day.
Materials You'll Need
Before diving into the creative process, let me walk you through the simple materials required for your Rainbow Rolling Pin Art:
Basic Materials
- Rolling Pin: A standard wooden or silicone rolling pin works best for this project.
- Colored Dough or Paint: You can use homemade playdough, polymer clay, or even food coloring mixed with dough for pastries. Alternatively, acrylic paint can be utilized for art projects.
- Parchment Paper or Wax Paper: This prevents sticking and makes cleanup easy.
- Work Surface: A clean, flat surface to roll out your dough.
- Cookie Cutters or Stencils (optional): For shaping your final art pieces, if desired.
Optional Materials
- Glitter or Sprinkles: To add a whimsical touch to your edible creations.
- Sealant: If you’re using paint, a clear acrylic spray can seal your art.
Crafting Tip: Always keep your colors vibrant! If the dough dries out or the paint thickens, it can negatively impact the final product.
Step-by-Step Tutorial
Step 1: Prepare Your Dough or Paint
Why It Matters: The success of your Rainbow Rolling Pin Art depends on having a workable consistency in your dough or paint.
- Dough Preparation: If you’re making your own playdough, mix flour, water, salt, and food coloring until you reach a desired consistency. I always add a few drops of oil to keep it smooth.
- Tip: Consider making several batches of dough in different colors. Using vibrant colors will create a stunning final product!
- Paint Preparation: If using acrylic paint, pour small amounts of different colors onto a palette.
What Could Go Wrong: If your dough is too dry, it’ll crack when rolled; if it's too wet, it’ll stick. The perfect texture is smooth, pliable, and non-sticky.
Step 2: Layer Your Colors
- Roll out your different colored dough into small balls (roughly 1 inch in diameter).
- Flatten each colored ball slightly so they fit together nicely.
- Layer the flattened pieces beside each other to create a rainbow effect, going from light to dark, or vice-versa.
Why It Matters: The beauty of the final piece stems from how you arrange your colors. Experiment with different layouts!
Step 3: Roll It Out
- Place a piece of parchment paper over your layered colors, then carefully use your rolling pin to roll over the dough gently.
- Start from the center and roll outward to maintain an even thickness throughout.
What Could Go Wrong: If you press too hard, you might squish the colors together too much. Aim for gentle, even pressure to maintain distinct color separation.
Step 4: Cut and Create
- Using cookie cutters, cut shapes from your rolled-out dough. If you’re painting, you may want to transfer your rolled out paint to a canvas and reshape it as desired.
- If you’re using a stencil, place it over your rolled dough before cutting.
Tip: You can create simple ornaments, decorative cookies, or canvas prints. The possibilities are endless!
Step 5: Baking or Drying
- If you created edible pieces, preheat your oven and bake according to the dough recipe you used (usually around 10-15 minutes at 350°F).
- If you are working with paint, allow your pieces to dry thoroughly.
Safety Warning: Always make sure that if you’re using materials that could be harmful if ingested, such as acrylic paint, keep them away from food items.
Step 6: Finishing Touches
- Once your pieces are cool or dry, you can embellish them further with glitter or sprinkles, adding a fun, sparkly element to your art.
- If you’ve created art pieces, consider applying a sealant to protect your work.
Potential Issues and Fixes
- Sticking: If your dough sticks to the rolling pin, dust both the rolling pin and dough with a little flour before rolling. For paint, ensure the surface is clean and dry.
- Too Muddled Colors: If you over-rolled, and your colors blended too much, try a new technique with less pressure, or use a thicker layer of each color next time.
Creative Variations
- Theme Colors: Change up the color palette based on seasons or holidays—think pastel for spring or warm tones for autumn.
- Multi-Texture Art: Incorporate different textures by combining smooth dough with seed-filled or textured dough.
- 3D Creations: Experiment with layering different shapes together to create dimensional designs.
Personal Anecdotes
I recall my first attempt at creating Rainbow Rolling Pin Art when my daughter wanted to make cookies for her friends. We had a blast mixing colors and rolling them out, breathing life into the kitchen. The joy on her face when our cookies turned out not just delicious, but beautiful, is a memory I treasure dearly.
Final Thoughts
Embarking on a Rainbow Rolling Pin Art project is not just about the end product; it’s about the joy of creating, learning, and appreciating the process. I hope this detailed guide inspires you to flex your creative muscles and transform your crafting sessions into happy, colorful experiences. So gather your materials, unleash your creativity, and let’s roll our way into a vibrant world of art! Happy crafting! 🌈