Crafting Your Own Mini Aquarium: A Step-by-Step Guide
Hello, fellow crafting enthusiasts! As someone who leaves a little bit of my heart in every DIY project, I’m thrilled to share my journey of creating a DIY mini aquarium. This delightful creation not only brings some vibrancy and tranquility into your space but also allows you to explore your creativity in a way that's both rewarding and calming. Whether it’s a centerpiece for your coffee table or a quirky gift for a friend, a mini aquarium can make any environment feel a bit more alive.
What is a Mini Aquarium and Why is it So Popular?
A mini aquarium is essentially a compact fish tank, usually designed for small aquatic life or decorative aquatic displays. As indoor gardening and crafting continue to flourish, mini aquariums have gained immense popularity. They serve as excellent conversation starters, are low-maintenance compared to larger aquariums, and can be customized to reflect your personal style. Use them to bring a touch of nature into your home office, bedroom, or living room.
I find that starting a mini aquarium can be therapeutic—watching the graceful movements of fish among the plants is calming and creates a serene atmosphere. It’s also an excellent project for families, teaching children about responsibility, ecosystems, and nurturing living things.
Materials You'll Need
Before we jump into the exciting part of crafting, let’s gather our materials. The beauty of this project is that many of the items can be easily sourced or repurposed:
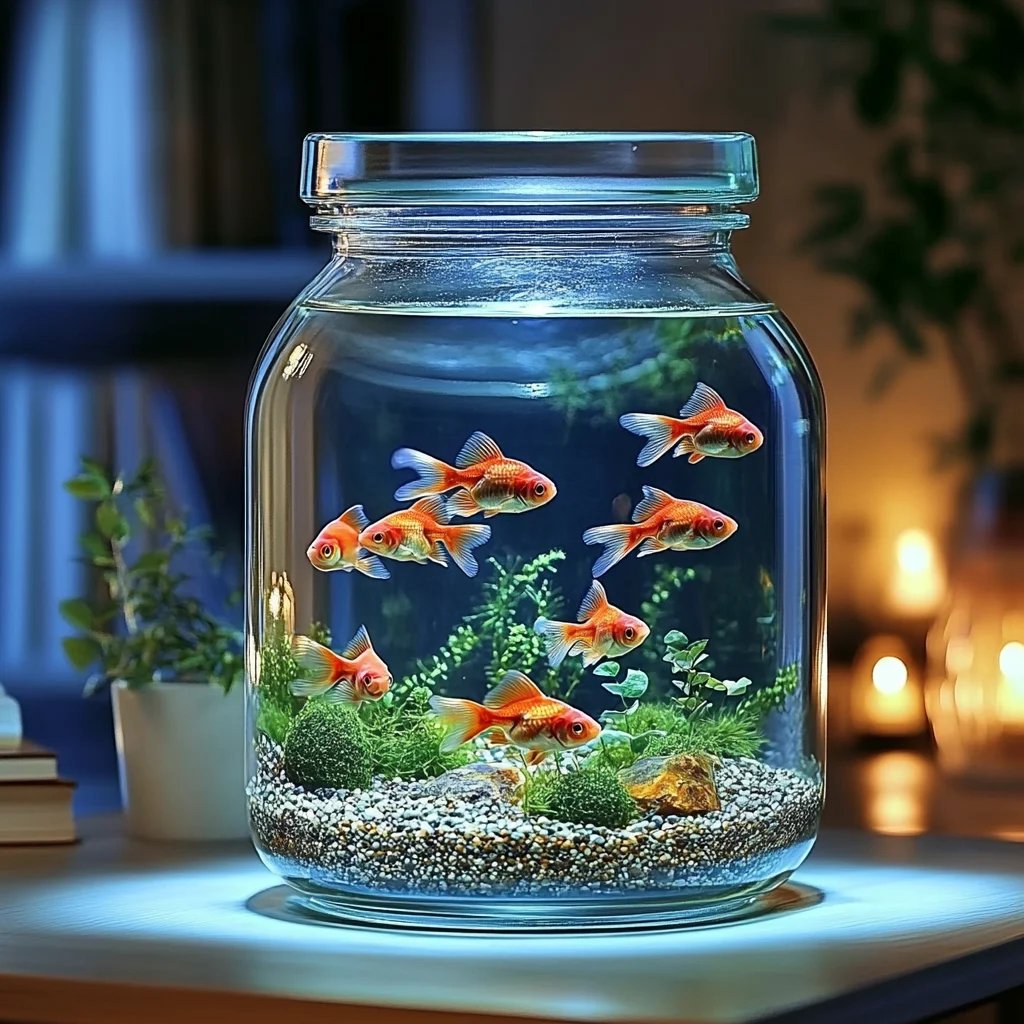
- Container: A glass jar, an old fishbowl, or a small terrarium (ideally, clear and able to hold water).
- Aquatic Plants: Look for small plants like Java moss or Anubias that thrive in water. You can also visit your local aquarium store—some stores may even have mini aquatic plants if you ask!
- Small Fish (optional): If you're including fish, go for small species that are compatible in confined spaces, such as bettas, guppies, or neon tetras. Remember to do plenty of research before introducing any living creatures.
- Substrate: Fine gravel or aquarium substrate adds aesthetic appeal and an anchoring ground for plants.
- Decor: Small pebbles, driftwood, or decorations like miniature figurines to personalize your aquarium.
- Water Conditioner: To ensure the water is safe for any aquatic life.
- Aquarium Heater & Filter (optional): Depending on your climate and the fish type, you might want to include these to keep your aquatic friends comfortable.
- Light Source: A small lamp or natural sunlight to help your plants thrive.
Step-by-Step Tutorial
Step 1: Clean Your Container
Before anything else, ensure that your container is thoroughly cleaned. Any residues or chemicals from previous uses can be harmful to aquatic creatures. I typically immerse my glass jar in hot, soapy water and then rinse it multiple times. If you're using an old fishbowl, a vinegar solution followed by a thorough rinse works wonders too. This step matters because it creates a safe environment for your aquatic life.
Pro Tip: Avoid using bleach or strong chemicals as residues can linger and harm fish or plants.
Step 2: Add Substrate
Once your container is clean and dry, it’s time to add the substrate. I usually pour in about an inch or two of fine gravel. Not only does the substrate enhance the beauty of your aquarium, but it also provides a home for beneficial bacteria that help in maintaining water quality.
Possible Pitfall: If you add too much gravel, it could impact the water quality and make cleaning more challenging. A thinner layer is often easier to manage.
Step 3: Planting Your Aquatic Greens
Now for one of the most enjoyable parts: planting! Carefully place your aquatic plants into the substrate. Use your fingers or tweezers to prevent damage to the roots. As you work, think about the layout. Tall plants can go towards the back, while smaller ones should be towards the front for a natural, layered effect.
Common Mistake: Overcrowding your aquarium with plants can lead to poor water circulation. It's vital to give them room to grow!
Step 4: Create a Decorative Environment
Feel free to let your imagination run wild! I like to arrange pebbles or driftwood artfully around the plants to mimic a natural habitat. You can also add small decorations, such as mini figurines or treasure chests, to inject personality into your aquarium.
Caution: Ensure that any decorations you add are safe for aquatic life—avoid anything sharp or potentially toxic.
Step 5: Fill with Water
It’s time for the big reveal! Using a cup or a pitcher, slowly fill your aquarium with water to avoid disturbing the substrate. If you’re introducing fish later on, this step is crucial as immediate turbulence can be stressful for them.
Remember: Treat the water with a conditioner to eliminate chlorine and other harmful chemicals before introducing fish or plants.
Step 6: Cycle the Aquarium
If you’re adding fish, allow your aquarium to cycle for at least one week. This process establishes beneficial bacteria necessary for breaking down fish waste, making the environment safe for your finned friends. When in doubt, it’s always wise to test the water parameters for ammonia, nitrites, and nitrates before adding any fish.
Tip: Patience is key—don’t rush this step. A well-cycled aquarium will lead to healthier fish.
Step 7: Introduce Fish (Optional)
If you’ve chosen to add fish, start with just a couple and allow them to acclimate by floating their sealed bag in the aquarium for about 15 minutes to equalize temperatures. Then, gradually introduce them into their new home.
Possible Mistakes: Overloading the mini aquarium with too many fish can lead to water quality issues and stress! Always start slow.
Step 8: Maintenance
Congratulations on crafting your mini aquarium! To keep your aquatic haven thriving, perform regular maintenance. Change about 10-20% of the water weekly, clean the substrate, and keep an eye on the plants and fish for any signs of distress.
Anecdote: I once neglected my water changes, and algae took over! It was a cute little lesson for me in the importance of maintaining a clean environment.
Variations and Creative Twists
If you want to branch out, consider creating a themed mini aquarium. How about a whimsical underwater fairy garden or a sleek modern aesthetic with colored stones and minimalist plants? You can even explore creating a terrarium by using air plants instead of water plants for a dry alternative.
Alternative Materials
- If you don’t have gravel, consider using small sand or even aquarium-safe soil.
- For fish enthusiasts with limited space, opt for small shrimp or snails which can add character without requiring as much maintenance.
Final Safety Warnings
If you’re including fish, do thorough research on their needs and care. Additionally, avoid chemicals or decorations that could leach toxins into the water. Lastly, keep your mini aquarium out of direct sunlight to prevent overheating or excessive algae growth.
Conclusion
Creating a DIY mini aquarium is an enriching experience that combines creativity and biology. I hope my journey in crafting one helps guide you through the process, from the initial setup to the ongoing care. Embrace mistakes as learning opportunities, and remember that your aquarium, like any art, will evolve over time. I can't wait for you to share your own stories and variations! Dive into this fun project, and watch as a slice of nature transforms your living space. Happy crafting!