Crafting Your Own DIY Hanging Planters: A Guide for Green Thumbs and Crafters Alike
Hello there, fellow plant enthusiasts and crafty souls! Today, I’m thrilled to share one of my favorite DIY projects: making your very own hanging planters. There’s something magical about greenery cascading from ceilings and walls, and hanging planters allow you to display your plants in a way that’s not only beautiful but also space-efficient. They bring a delightful touch of nature indoors and can even serve as a stunning focal point in your home or garden.
Whether you’re looking to add life to your apartment, elevate your patio, or simply indulge in your inner craftsperson, this project caters to various styles and skill levels. Let’s get started!
Why Are Hanging Planters So Popular?
Hanging planters have surged in popularity for several reasons:
- Aesthetic Appeal: They create an eye-catching, three-dimensional element in any space.
- Space Saving: Great for small apartments or areas with limited flat surfaces.
- Easy Plant Care: Most hanging planters are easy to manage when it comes to watering and sunlight exposure.
- Creative Expression: They’re a fantastic way to showcase your personality and style.
You can use these hanging planters indoors, on balconies, or in your garden. They’re absolutely perfect for trailing plants like pothos, spider plants, and ferns, which thrive when allowed to drape downward.
Getting Started: Choosing Your Materials
Before diving into the step-by-step tutorial, let’s gather the materials you’ll need:
Basic Materials:
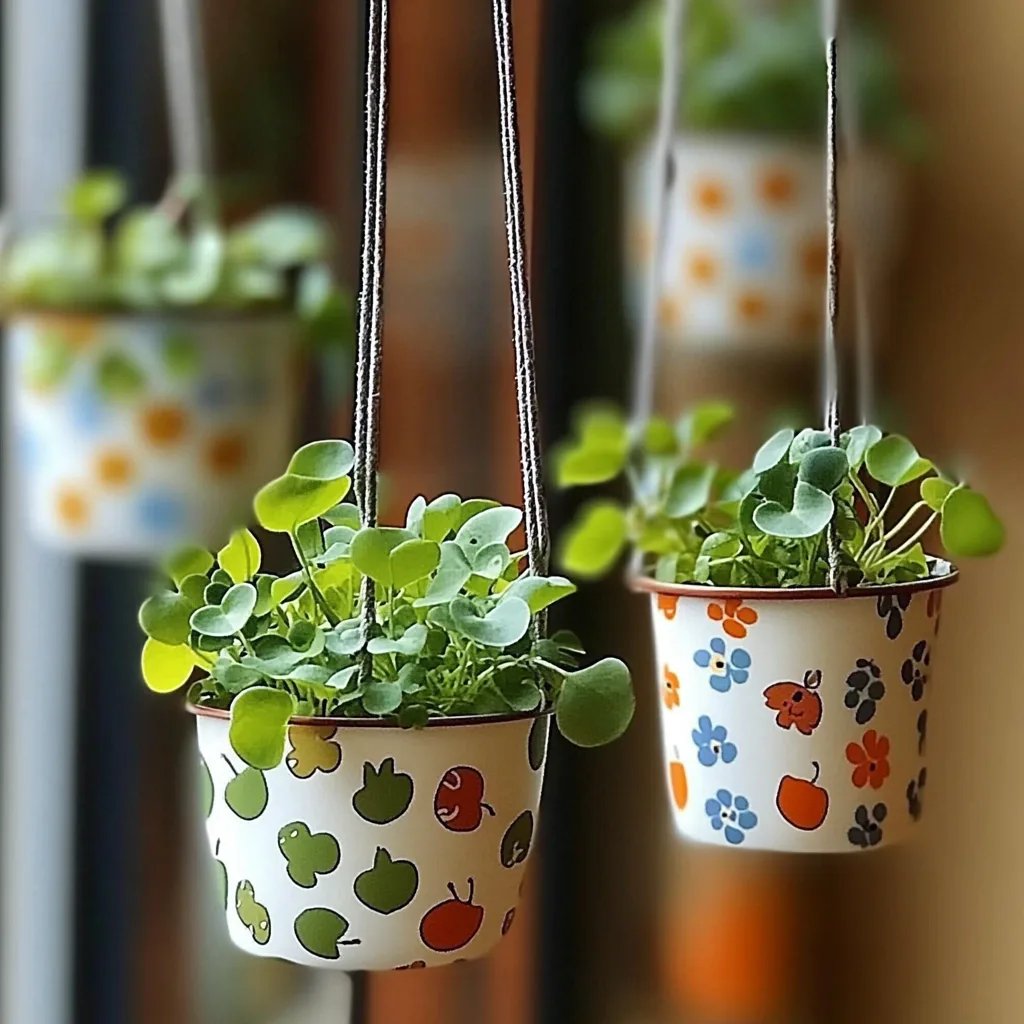
- Planters: Choose small pots or containers (ceramic, plastic, or even repurposed jars).
- Rope or Twine: Strong enough to hold the planters (e.g., jute twine or nylon rope).
- Scissors: For cutting the rope or twine.
- Plants and Potting Soil: Select easy-to-care-for plants.
- Drilling Equipment: If you want to drill holes for drainage (optional, depending on your pots).
Optional Materials for Advanced Techniques:
- S Hooks: For easy hanging.
- Colorful Paint or Ribbon: To decorate your planters.
- Stencils or Markers: For personalization.
The Step-by-Step Guide to Making DIY Hanging Planters
Step 1: Prepare Your Planters
Why This Matters: Proper drainage is crucial for plant health. Without it, roots can rot, and your plants will suffer.
If your chosen pots don’t already have drainage holes, use a drill to make one or two stakes in the bottom. Ensure you do this carefully, wearing safety goggles to protect your eyes.
Tip: If you’re using ceramic or glass pots, a diamond drill bit will work best.
Step 2: Finishing Touches on Your Planters
This is where you can let your creativity shine! You may choose to paint your planters or use colorful twine to wrap them for a rustic vibe.
Personal Anecdote: I once used leftover fabric to create a crochet cover for my pot, which added a vintage touch to it. Try this for a unique spin!
Step 3: Prepare Your Hanging Mechanism
- Cut the Rope or Twine: Measure pieces of twine in lengths you feel are appropriate for the height you want your planters to hang down. Two to three feet is typical for indoor use.
Why Measurement is Key: If you cut them too short, your plants may end up too high for watering or sunlight. Too long? You risk them hanging too low and becoming unwieldy.
- Attach the Twine:
- If you’re using pots with drainage holes, thread the twine through the hole and tie it in a knot underneath.
- For pots without holes, create a sturdy bottom for your planter by tying the twine around the body of the pot.
Step 4: Potting Your Plants
Fill your pots with potting mix and make small indentations for your plants. Remove them gently from their nursery pots and place them into the new pots, ensuring they’re firmly seated in the soil.
What Could Go Wrong: If you compact the soil too much, the roots won’t get enough air. Leave it somewhat loose to encourage healthy growth.
Step 5: Hang Your Beautiful New Planters
Now that your plants are potted, it’s time to hang them! You can use ceiling hooks, brackets, or even sturdy branches if you’re taking this project outdoors.
Safety Warning: Ensure whatever you’re hanging them from can support the weight—both of the planter and the wet soil.
Creative Variations
Feel free to mix and match! Here are a few creative twists I’ve discovered:
- Macramé: Use knotting techniques to create beautiful, intricate designs for your planters.
- Recycled Materials: Consider using old bottles, cans, or even wooden crates as unique planters.
- Color Pop: Paint or decorate your pots with geometric designs or even plant-themed designs to match your décor.
Caring for Your Hanging Plants
After your hanging planters are set up, ensure you understand the specific needs of your plants. Most importantly:
- Watering: Be cautious of letting them dry out, but also avoid overwatering, which can be tricky since they’re out of sight.
- Sunlight: Make sure they’re getting appropriate light without being directly positioned under intense sun, which might scorch some species.
Troubleshooting Common Issues
- Wilting Leaves: This often indicates underwatering. Adjust your watering schedule based on plant needs.
- Yellowing Leaves: More often than not, this is a sign of overwatering. Check for soggy soil and drainage issues.
Final Thoughts
Creating DIY hanging planters is not just a fun craft—it’s a fulfilling way to connect with nature and brighten up any space. Whether you’re a novice or a seasoned DIYer, this project is entirely approachable and a fantastic way to express your artistic flair.
Please share your results with me! I’d love to see your hanging planters and any creative variations you come up with. Remember, the process is as beautiful as the final product, so take your time, enjoy gardening, and happy crafting! 🪴✨