Crafting With a Purpose: How to Make Recycled Plastic Bottle Suncatchers
Hey there, crafty friends! I’m excited to share one of my favorite eco-friendly projects: recycled plastic bottle suncatchers. Not only are these dazzling decorations a wonderful way to upcycle materials you’d typically toss in the recycling bin, but they also allow you to brighten up your living space with bursts of color and creativity. As someone who has been crafting for years, I can assure you that making suncatchers is a delightful and satisfying experience that’s perfect for all ages.
Why You'll Love Recycled Plastic Bottle Suncatchers
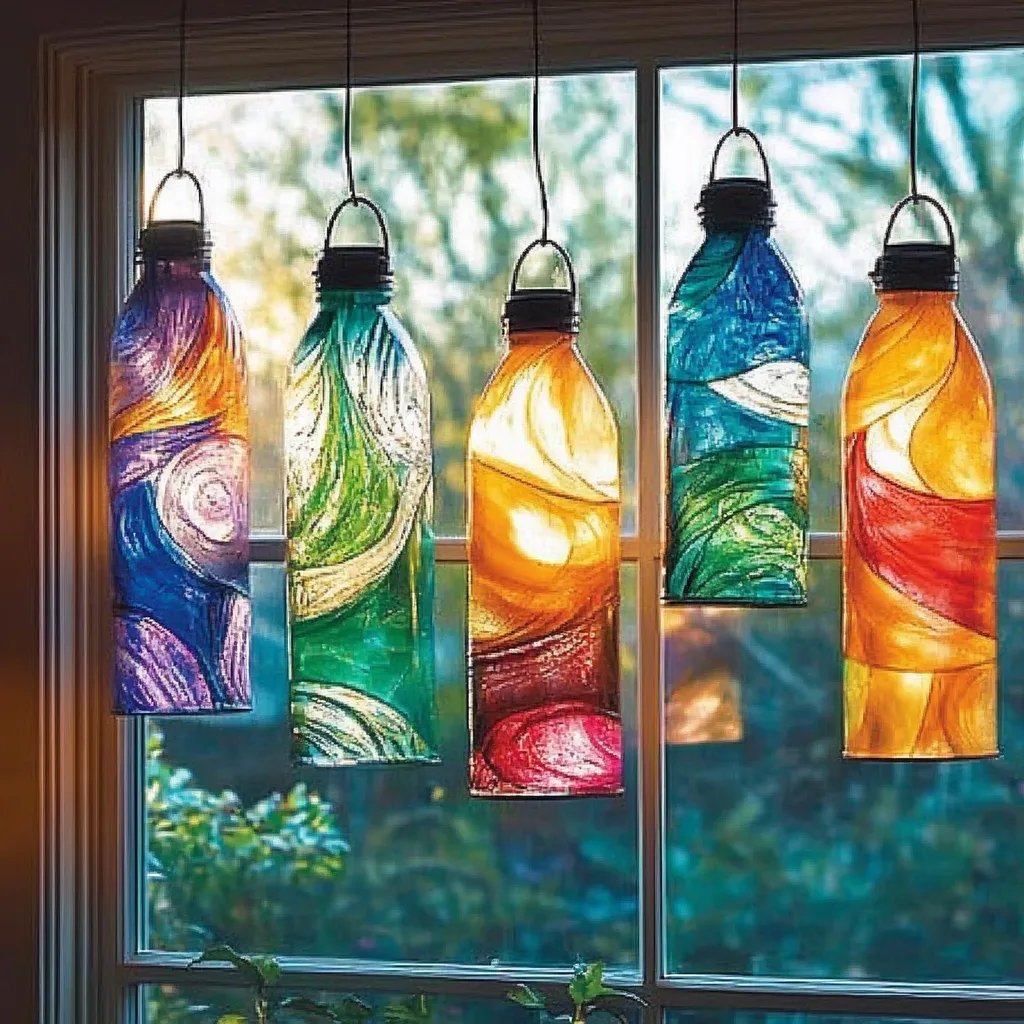
What Are They?
Suncatchers are decorative hangings made to reflect sunlight, creating a beautiful play of colors on your walls and floors. When made from recycled plastic bottles, these suncatchers not only help reduce waste but also offer an opportunity to personalize your décor while embracing an eco-conscious approach.
Why Are They Popular?
The popularity of suncatchers has surged in recent years, as more people seek sustainable and low-cost home decor options. They’re perfect for hanging in windows, gardens, or porches, and can also be a fun project to enhance creativity for kids and adults alike. You can even create seasonal variations to showcase different colors based on holidays or weather changes!
When To Use Them?
These colorful accents shine brightly during sunny days, but they’re also great conversation starters during gatherings. Use them as vibrant backdrops for your outdoor events, or hang them in your children’s playrooms for a splash of cheer.
Gathering Your Materials
Before jumping into crafting, let’s gather our supplies. Here’s what you’ll need:
Materials:
- Plastic Bottles: Clear, colored, or translucent bottles work best—think soda bottles, water bottles, or juice bottles.
- Acrylic Paints: Choose your favorite colors. Bright hues work wonderfully for a cheerful effect.
- Paintbrush: A flat brush is excellent for covering larger areas quickly.
- Scissors: Safety scissors for kids and sharp scissors for adults.
- Twine or Fishing Line: For hanging your suncatcher.
- Optional: Markers, crafts sequins, glitter, or beads for embellishments.
Safety Warning: When working with scissors, ensure you supervise children, explaining safe cutting practices. Slippery surfaces when paint is involved can also be hazardous, so lay down a drop cloth to protect your workspace.
Step-by-Step Tutorial
Step 1: Prepare Your Bottles
Why This Step Matters: Cleaning and cutting your bottles properly ensures a smoother painting process and a better final product.
- Rinse out the plastic bottles to remove any lingering residue or labels. This will help the paint adhere better.
- Use scissors to carefully cut the bottom off the bottles to form a bowl-like shape. If you’re making several out of different types of bottles, explore how the shapes and sizes can vary your designs.
Step 2: Paint Your Suncatchers
Tip: Start with lighter colors and layer with darker shades for depth.
- Using your paintbrush, apply acrylic paints to the outside of the plastic. This way, once dry, the paint can reflect light beautifully.
- Don’t stress about perfection; the beauty lies in the artwork. If you drip paint or make mistakes, consider them part of the charm!
Common Pitfall: Over-brushing can lift paint. Go light on the strokes and let each layer dry before adding more if you wish.
Step 3: Let Them Dry
Why This Step is Crucial: Ensuring the paint is completely dry prevents smudges and ensures a vibrant finish.
- Place your painted suncatchers on a paper towel, and leave them to dry for several hours. If you’re in a hurry, you can speed up the process with a hairdryer on the cool setting (but keep it at a distance).
Step 4: Add Embellishments
Personal anecdote: I love adding glitter and sequins to some of my pieces—there's something magical about the sparkles that catch the light!
- Once dry, get creative! Glue on beads, sequins, or draw patterns with permanent markers.
- If you want to add dimension, consider gluing two halves of a different shaped bottle together.
Step 5: Create a Hanging Mechanism
- Use scissors to poke a hole at the top of your suncatcher (make sure it’s dried completely first).
- Thread through twine or fishing line, and tie a knot to secure it. Ensure it’s long enough to hang at your desired height.
Step 6: Show Off Your Art!
- Hang it in a sunny window, your garden, or even gift it to a loved one—your creation is ready to shine!
Tips, Tricks, and Creative Variations
- Alternate Methods: If you don’t have acrylic paints, consider using permanent markers for a vibrant effect. Just remember, this works best on clear or light-colored bottles!
- Express Yourself: Try using a theme—nature-inspired colors for garden suncatchers or festival colors for holidays.
- Safety with Colors: Be cautious while working with small children and glitter; opting for less messy options can make cleanup easier.
- Combine with Other Materials: Consider adding shells, dried flowers, or leaves to your designs. This variation can create unique textures and natural touches.
Wrapping Up
Creating recycled plastic bottle suncatchers is such a joyful and fulfilling project that marries creativity with sustainability. Not only will they brighten your living spaces, but you’ll also feel great knowing you’re reducing waste and inspiring others to create!
Whether you’re making them for yourself, your kids, or as gifts, each suncatcher tells a story, and I can’t wait for you to share yours. Happy crafting! 🌈
If you enjoyed making these suncatchers, consider sharing your creations online. Your art deserves to shine, just like your new suncatchers do in the light! Let’s inspire others together.