Crafting Water Bottle Love Bugs: A Fun and Creative DIY
Hello fellow crafters! Today, I want to share with you one of my absolute favorite projects to make with my kids and friends—the adorable Water Bottle Love Bugs! Not only are they cute and whimsical, but they’re also a fantastic way to recycle old plastic water bottles while teaching kids a bit about crafting. These lovable little critters are perfect for parties, gifts, or simply to bring a smile to someone’s face. Plus, they’re an easy craft that anyone can dive into, regardless of your experience level!
What Are Water Bottle Love Bugs?
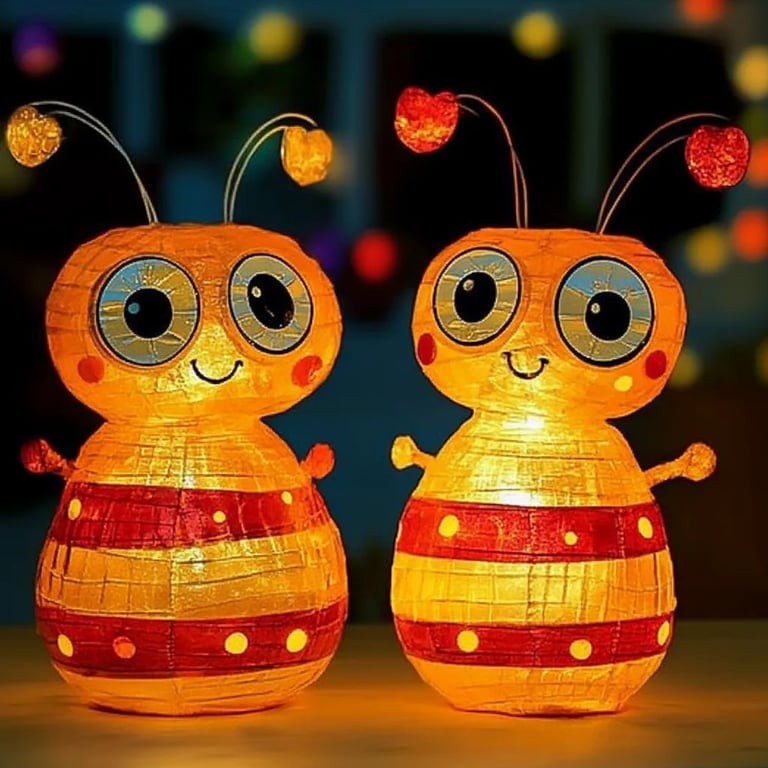
Water Bottle Love Bugs are charming little creatures made from recycled plastic water bottles, decorated with various craft materials to bring each bug to life. Typically, they have googly eyes, colorful paper or felt decorations, and sometimes even functional elements like wings. These delightful bugs are not only a fun crafting session but also an engaging way to explore recycling and creativity. They’re popular for making party favors, gifts for loved ones, or even as decorations for special occasions. And trust me, kids and adults alike fall in love with them!
Materials You'll Need
Before we dive into the step-by-step instructions, let’s gather our materials. This project is quite forgiving, so you can modify and substitute as needed:
- 1 clean, empty plastic water bottle (any size—small or medium works well)
- Acrylic paint (variety of colors for decorating)
- Paintbrushes (at least one flat brush and a small detail brush)
- Googly eyes (various sizes can make it more fun)
- Craft paper or felt (colorful sheets for wings or other features)
- Scissors
- Glue (a hot glue gun works best, but white craft glue can also work)
- Pipe cleaners (for antennae—fun colors add a whimsical touch)
- Markers or crayons (for additional decoration)
- Optional embellishments like sequins, pom-poms, or stickers (to personalize further)
Safety Warning
If you are using a hot glue gun, be extra cautious and ensure that adults supervise younger crafters. Always keep the hot end away from your skin and work on a heat-resistant surface.
Step-by-step Tutorial on Crafting Water Bottle Love Bugs
Step 1: Prepare the Bottle
Start by rinsing the plastic water bottle thoroughly and letting it dry completely. It’s essential that the bottle is clean to ensure the paint adheres properly. Any label residue or moisture could interfere with the paint.
Tip: If the label is stubborn, soaking the bottle in warm soapy water can help lift it off.
Step 2: Paint the Base Color
Using your acrylic paint, give the bottle a solid coat of your chosen base color. I love going with vibrant colors like pinks, blues, or greens—'cause who doesn’t love a splash of joy? Apply at least two coats for a rich color, letting each coat dry for about fifteen minutes.
What could go wrong? If the paint begins to bead up, it may mean the bottle wasn’t clean enough. If this happens, don’t panic! Just gently wash it and start the painting process again after drying thoroughly.
Step 3: Create the Bug’s Features
Once the paint is dry, it’s time to let your creativity run wild! Glue on the googly eyes—this is where your bug truly comes to life! You may want to use two or three eyes for a quirky and fun look. After that, cut out wings from your craft paper or felt and glue them to the back.
Creative Variation: Instead of traditional wings, use old wrapping paper or shiny foil to yield metallic wings that shimmer in the light!
Step 4: Make Antennae
Cut two pieces of pipe cleaner, each about 6 inches long. Gently twist them together at one end to form a “Y” shape, then insert the other end into the top of the bottle. Push them in securely to ensure they stand upright.
What could go wrong? If the antennae feel flimsy, reinforce them with a drop of hot glue on the inside of the bottle neck for extra sturdiness.
Step 5: Add Details
This is the fun part! Take markers, sequins, or beads and add details like spots, stripes, or glitter. The bugs can represent any insect style you fancy. For example, painting them as ladybugs with black spots can be splendid, and using vibrant colors can make a dragonfly look shining!
Step 6: Final Touches
After all your embellishments are glued down and dry, carefully flip the bug upside down and glue on small felt or paper “feet.” This little addition will help give your bug some stability while standing.
Personal Anecdote
I remember the first time I made these with my niece, Emma. She was a bit hesitant at first, but once she saw how fun it was to create her own colorful bug, she was hooked! She made a whole family of bugs to surprise her parents when they got home. Watching her light up with each new creation reminded me just how magical crafting can be.
Alternatives and Substitutions
You can also try using coffee cans, soda bottles, or even cardboard boxes to create a variety of bugs. The possibilities are endless, so don’t feel limited by materials!
Embrace Custom Variations
You could turn your love bugs into themed creations, like holiday decorations with Halloween-like features, or spring-themed bugs with flower details. Get those creative juices flowing!
Conclusion
And there you have it, friends—your very own Water Bottle Love Bugs! I hope you find this project as delightful as I do. Not only is it a fantastic way to celebrate creativity and recycling, but it also creates lasting memories whether you’re crafting alone or with loved ones. Remember, crafting is all about enjoying the process—don’t worry too much about perfection. Each bug will have its unique quirks, just like all of us!
I encourage you to share your creations or variations in the comments below. Happy crafting, and may your project be filled with joy and love!