Crafting Sunshine Suncatchers: A Step-by-Step Guide
As an avid crafter and lover of all things bright and beautiful, there are few projects I adore more than making Sunshine Suncatchers. Not only are these vibrant decorations a feast for the eyes, but they also bring a burst of color and light into any space—perfect for brightening up a window or giving as a heartfelt gift. Whether you hang them inside your home or use them to jazz up your outdoor spaces, these suncatchers are both easy to make and incredibly rewarding. Join me on this creative journey as I share my personal insights, tips, and a comprehensive tutorial on how you can create your own Sunshine Suncatcher!
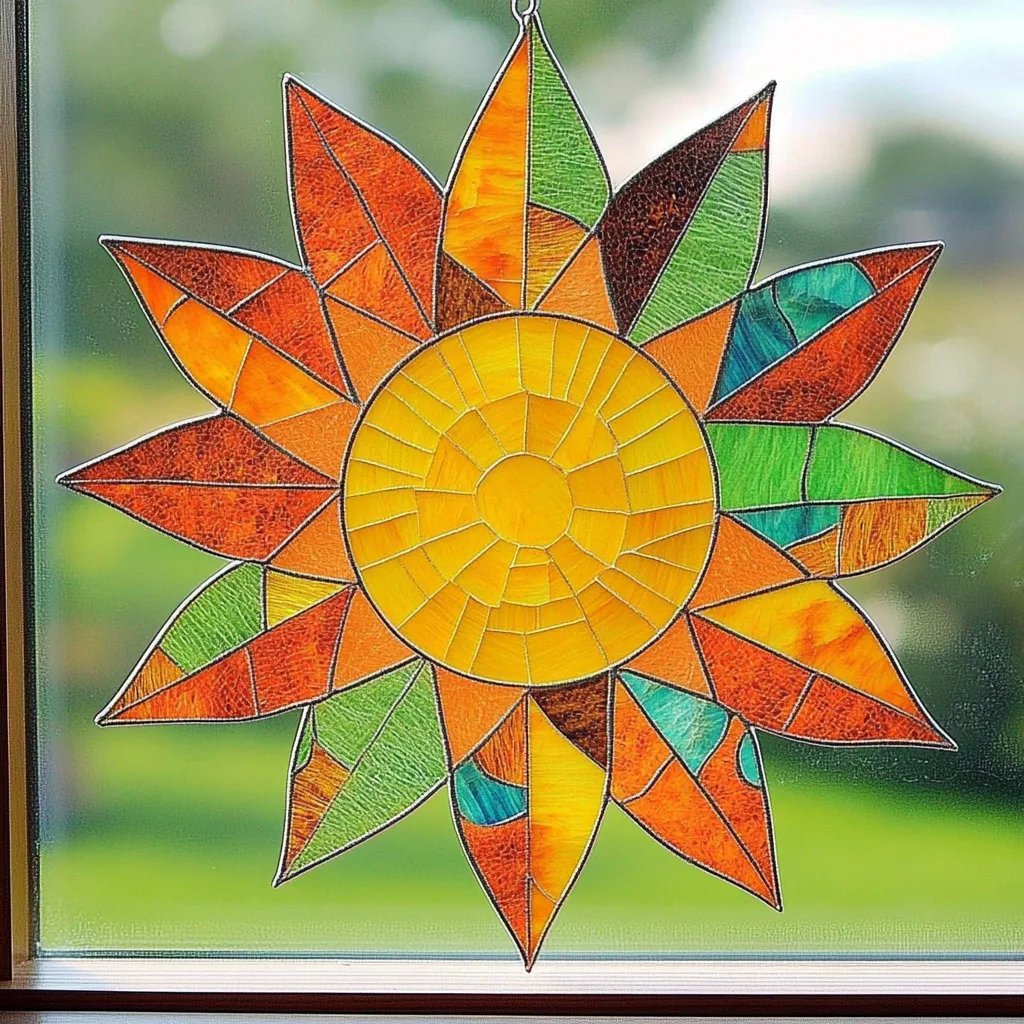
What is a Sunshine Suncatcher?
A Sunshine Suncatcher is a decorative accessory that reflects and refracts sunlight, typically made from colorful materials such as clear plastic, glass, or resin. Their popularity stems from their whimsical and eye-catching nature, making them suitable for individuals of all ages—from children eager to engage in crafting to adults looking for a calming and creative pastime. They are especially delightful during spring and summer but can be enjoyed year-round, invoking a sense of joy and playfulness regardless of the season.
Why Make Sunshine Suncatchers?
Before diving into the crafting process, let’s talk about why you might want to take on this project.
- Creative Expression: Sunshine Suncatchers allow you to play with colors, shapes, and patterns, making them a fantastic canvas for your artistic flair. Each piece can be unique and personal!
- Joyful Aesthetics: There’s something magical about how light dances through these pieces, creating stunning visual displays that enchant onlookers.
- Easy Accessibility: Most of the materials needed can be found around your home or purchased inexpensively, making this an accessible craft for everyone.
- Perfect Gift: Handmade gifts are always cherished. A suncatcher can brighten someone’s day, making it an ideal present for birthdays or special occasions.
Now, let’s dive into crafting our very own Sunshine Suncatcher!
Materials You’ll Need
- Clear plastic sheets – You can use old CD cases, flexible plastic sheets, or even transparency film.
- Transparent glue – This will help the colors stick together without changing their appearance.
- Colored tissue paper or cellophane – This is where the magic happens! Choose vibrant colors that you love.
- Scissors – For cutting your materials.
- Hole puncher (optional) – If you want to hang your suncatcher.
- String or fishing line – To hang your suncatcher.
- A sturdy surface for drying – Flat cardboard or a plate works well.
Tips:
- If you're crafting with kids, consider using non-toxic and washable glue.
- Lay down newspaper or plastic sheets to protect your workspace!
Step-by-Step Crafting Process
Step 1: Prepare Your Base
Why This Step Matters: The base holds your design, and choosing a sturdy foundation will allow your suncatcher to remain intact.
- Begin by cutting your clear plastic sheets into a specific shape. It could be a classic circle, star, or even a freeform design—let your creativity soar! Recommended sizes range between 6 to 12 inches in diameter.
- Ensure both sides are clean; any smudges or dust will detract from the final product.
Troubleshooting:
- If your plastic is too thick, the glue may not adhere properly. Opt for flexible plastic when possible to allow for easy handling.
Step 2: Start Designing
Why This Step Matters: This is your chance to layer colors creatively, enhancing visual allure.
- Tear or cut your colored tissue paper or cellophane into small shapes—squares, circles, or unique forms work well.
- Lay out your pieces on the clear plastic base without gluing them down. This lets you see how the colors look together and facilitates any last-minute changes.
Tips:
- Use contrasting colors to create depth. For example, pairing yellow with purple can be visually striking.
Step 3: Glue the Pieces
Why This Step Matters: Proper adhesion ensures your suncatcher remains beautiful and intact over time.
- Once you’re satisfied with the arrangement, start applying a thin layer of glue over the colored pieces. Make sure to cover all edges to keep the paper from lifting.
- Allow the glue to set for an hour. It’s important to let it dry completely to avoid messy results.
Troubleshooting:
- If you accidentally apply too much glue, simply blot it with a tissue before it dries.
- If you’re using regular paper instead of tissue paper, make sure to use less glue to prevent soggy sections.
Step 4: Assemble the Suncatcher
Why This Step Matters: Creating a finished product that displays well is the finishing touch to a beautiful decoration.
- Once your glued pieces are dry, trim any excess tissue paper sticking out around the edges.
- If you want to hang your suncatcher, punch a hole at the top and tie your string or fishing line through it.
Tips:
- Consider adding glitter or sequins before gluing for an extra dazzling effect!
Step 5: Hang and Enjoy!
Why This Step Matters: Positioning is crucial to achieving that magical light reflection and refraction.
- Find a bright, sunny spot to hang your suncatcher. South-facing windows work best for maximum sunlight.
- Step back and admire your handiwork as the sunlight bathes your suncatcher, creating colorful patterns on your walls!
Personal Anecdotes and Creative Variations
One summer afternoon, I decided to host a crafting session for my neighborhood kids. We explored making Sunshine Suncatchers with different themes: rainbow, underwater, and floral designs. The joy and excitement in their faces as they created their masterpieces was truly heartwarming!
Additionally, consider using shapes or colors that correspond to different seasons or holidays. For example, fall suncatchers could incorporate oranges, reds, and yellows, while winter suncatchers could feature blues and whites.
Alternative Methods and Ingredient Substitutions
If tissue paper isn't available, colored plastic cut from recyclable containers works as a fantastic alternative. Similarly, you can experiment with different adhesives like mod podge for an added gloss finish.
Safety Warnings
- Always handle scissors carefully and supervise young children during the cutting process.
- Ensure that the glue used is non-toxic, especially if children are involved in crafting.
In conclusion, making Sunshine Suncatchers is more than just a craft; it’s an opportunity to express yourself, brighten up your space, and create cherished memories. I hope you've enjoyed following along on this artistic adventure, and I encourage you to let your creativity shine! Happy crafting!