Crafting Stunning CD Suncatchers: A Joyful Journey to Colorful Spaces
Hello, fellow crafters! Today, I’m thrilled to share one of my absolute favorite DIY projects—creating beautiful CD suncatchers. This delightful craft not only brightens up your home with splashes of color but also offers a fantastic way to repurpose old CDs that might otherwise end up in the landfill. Whether you're looking for a creative family activity or a serene solo project, making CD suncatchers is an enjoyable endeavor that brings a touch of the outdoors into your space.
Why CD Suncatchers?
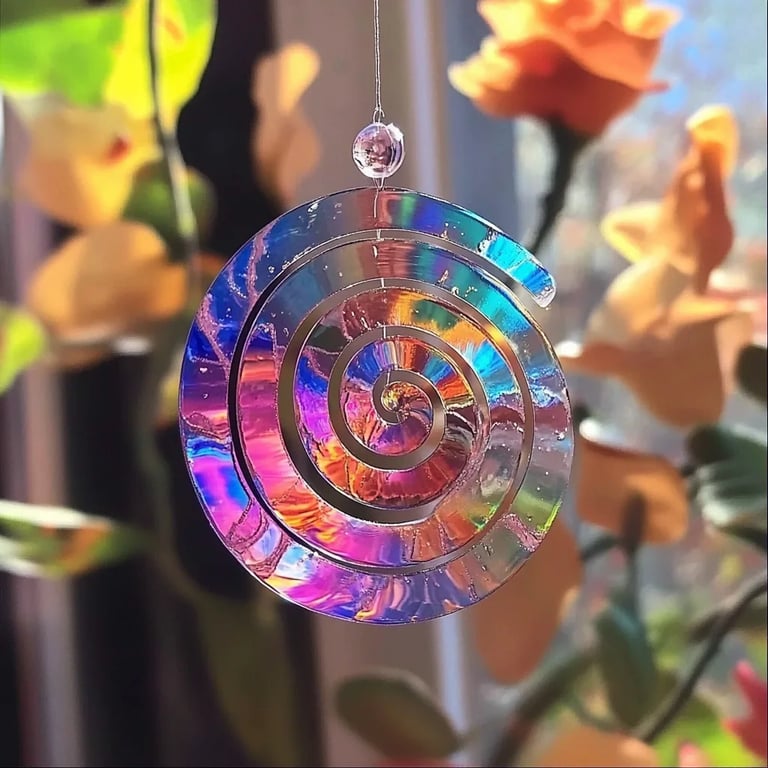
You might be wondering, what exactly is a CD suncatcher? Simply put, it’s a decorative piece made from old CDs, designed to reflect sunlight in a dazzling array of colors. These suncatchers are incredibly popular due to their vibrant display and versatility. You can use them indoors, hang them in windows to catch the sunlight, or even adorn your garden as a whimsical outdoor decoration. Moreover, they make excellent homemade gifts or additions to your craft fair offerings, inviting smiles wherever they sway.
Here’s What You’ll Need
Before diving into the crafting stage, let’s gather our supplies. The beauty of this project is that you likely have most of what you need at home.
Materials:
- Old CDs: Aim for a mix of plain and colored CDs for added effects (I prefer the ones that are no longer usable for music—no need to damage your music library).
- Paint or Sharpies: Permanent markers or acrylic paints in bright colors work best.
- Clear Glue or Mod Podge: This great all-rounder will help adhere any designs you create.
- Fishing Line or Strong String: For hanging your suncatchers.
- Beads or Decorative Items: Optional but great for embellishment. I personally love using clear beads!
- Scissors: For cutting string or adding details.
- Paint Brushes: If using paint, soft brushes will give a nice finish.
- Old Newspapers or a Drop Cloth: To protect your work surface.
- Pencil and Paper: For sketching designs.
Optional Tools:
- Hot Glue Gun: For more robust connections (be cautious—this gets very hot!).
- Drill or Craft Knife: If you want to create holes in the CDs for hanging.
Step-by-Step Tutorial
Let’s dive into the crafting process!
Step 1: Prepare Your Workspace
First things first—make sure you have a clean, designated area to work. Lay down newspapers or a drop cloth to catch any paint spills. Set up good lighting; natural daylight is always a bonus!
Step 2: Design Your Suncatcher
Now it’s time to get creative! I usually start by sketching out designs on paper. Consider themes—flowers, abstract patterns, or geometric shapes. Remember, the light will reflect off these designs, so think of bold colors!
Tip: Use a mix of colors and materials for a more vibrant effect. If you mess up, just paint over it once dry!
Step 3: Paint the CDs
Once you have your design planned out, it’s time to turn those sketches into reality.
- Take your CD and start by applying clear glue or Mod Podge to the area you want to decorate.
- Apply your paint or color with a brush or marker. Work quickly, as the glue can start to dry.
- Let your designs dry completely. A drying rack or a flat surface will work wonders for this step.
Common Issue: Sometimes the paint can bubble. If this happens, it usually means you’re applying too thick a layer. You can save this by gently smoothing it out with a brush while it’s still wet.
Step 4: Drill Holes for Hanging (Optional)
If you'd like to hang your suncatchers, consider drilling a small hole (or making one with a craft knife) at the top of the CD. Ensure you wear eye protection when using power tools and work carefully.
Step 5: Assemble and Hang
Now it’s time for the fun part!
- Cut a length of fishing line or strong string (around 12-18 inches).
- If you’ve made holes, thread the string through and tie a knot. Otherwise, use hot glue to attach the string to the back of the CD.
- Tie a loop at the top for easy hanging.
Creative Variation: Add beads to the string before tying! This could add an additional dimension to your suncatchers, with the beads also catching the light.
Step 6: Find a Perfect Spot
Hang your CD suncatcher in a sunny window or a spot where it can catch the light. Watch as the colors dance and shift, bringing magic to your space!
Tips for Success
- Be patient! Crafting takes time, especially with drying. Give your designs ample time to set before moving them.
- Try layering different colors for a more dynamic effect. Start with a base color and add designs on top for a multi-dimensional look.
- If you’re working with children, supervise closely through the step involving scissors and glue.
Safety Warnings
- If you’re using a hot glue gun or drilling holes into CDs, exercise caution to avoid burns or injuries.
- Work in a well-ventilated area, especially when using paints, to avoid inhaling any fumes.
Alternatives and Substitutions
If you don’t have CDs on hand, consider using clear plastic lids as a substitute. You can also use any other reflective surfaces like mirrors or even old clear glass.
Conclusion
Creating CD suncatchers is an incredibly rewarding experience that not only beautifies your surroundings but also promotes sustainability by giving new life to discarded materials. Share your creations with friends and family, and don't hesitate to experiment with different designs and colors!
So gear up, embrace your creativity, and let the sunshine in—your suncatchers are bound to bring joy and color into your life! Happy crafting!