Crafting Sparkle: How to Make Glitter Gel Air Fresheners
Hello, fellow crafters! Today, I’m thrilled to share one of my favorite DIY projects that combines creativity and functionality—the glitter gel air freshener. Not only does this delightful creation add a personal touch to your home, but it also fills the air with inviting fragrances that can elevate your mood and refresh your space. Whether you’re looking to spruce up your living room, create a custom gift, or simply infuse some personality into your car, glitter gel air fresheners are the perfect choice.
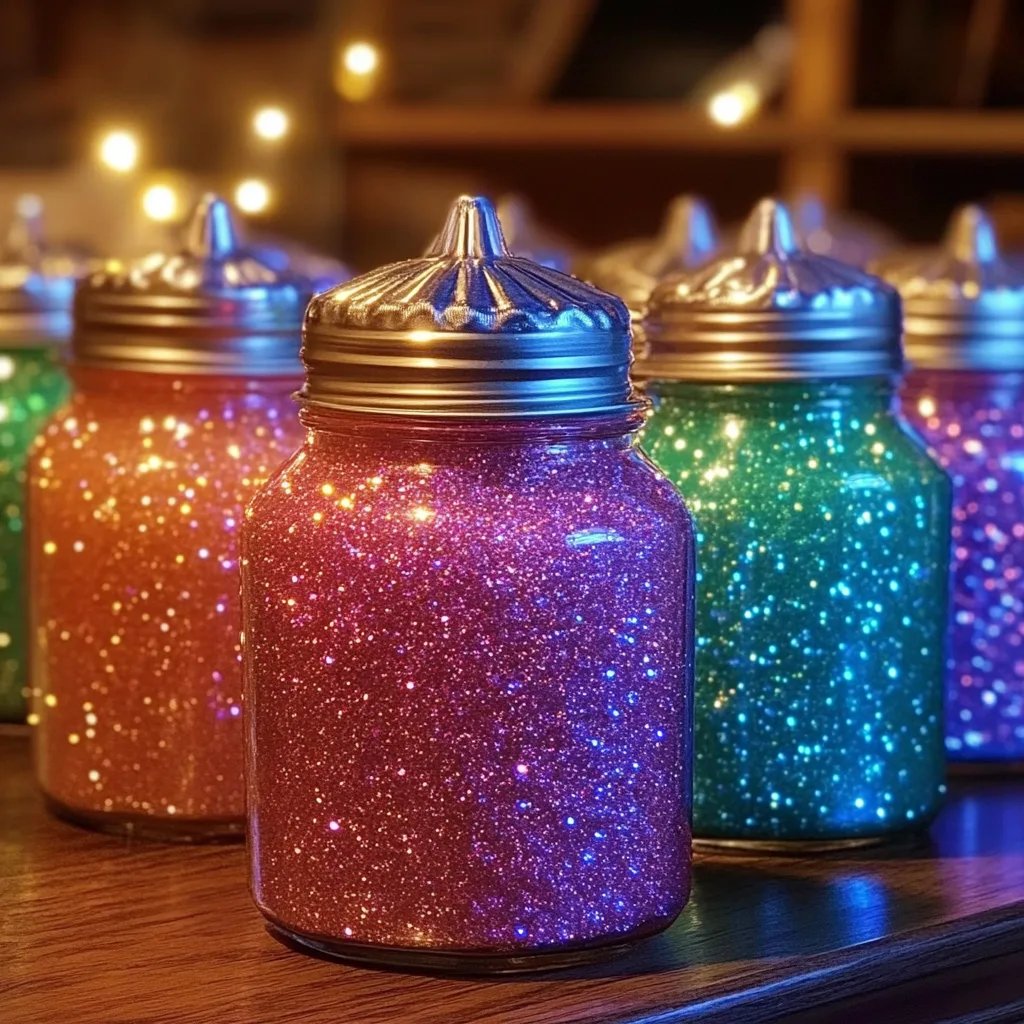
What makes them so popular? For one, the soothing scents can help mask less desirable odors, transforming your space into a fragrant paradise. Additionally, the mesmerizing glimmer of the glitter gently reflects light, creating a captivating visual effect that adds charm to any setting. You might be surprised to learn that you can make these little beauties using simple, accessible materials right in your own home!
Why Make Glitter Gel Air Fresheners?
With the increasing demand for homemade, eco-friendly, and aesthetically pleasing products, glitter gel air fresheners have become a sought-after craft for many. Not only are they customizable to suit your scent preferences, but they’re also a sustainable alternative to commercial air fresheners that often contain harsh chemicals. As someone who enjoys creating unique items, I find these air fresheners versatile and rewarding to make. They can be used at various occasions—from a relaxing bath to a festive gathering.
Materials You'll Need
Before we get started, let’s gather our supplies! The beauty of this project is that the materials are easy to find:
- Gelatin Powder: 1 tablespoon (gives the gel consistency).
- Water: 1 cup (for dissolving the gelatin).
- Essential Oils or Fragrance Oils: 20-30 drops (your choice of scent!).
- Glitter: 2 tablespoons (choose biodegradable for an eco-friendly option).
- Food Coloring (optional): to add color to your gel—aim for skin-safe options.
- Small Containers or Jars: for holding your air fresheners (mini jars, silicone molds, or decorative dishes work wonderfully).
- Whisk or Spoon: for mixing.
- Microwave-Safe Bowl: for heating water.
Step-by-Step Tutorial
Now that we have everything ready, let’s dive into the crafting process!
Step 1: Dissolve the Gelatin
Why it matters: Properly dissolving the gelatin at the beginning ensures that your gel will be smooth and consistent. If not dissolved adequately, you could face lumps in your final product.
How-to:
- Pour 1 cup of water into a microwave-safe bowl. Heat the water in the microwave for about 30 seconds to 1 minute until it's steaming hot (but not boiling).
- Remove the bowl from the microwave and whisk in 1 tablespoon of gelatin until fully dissolved.
Tip: Let the mixture cool slightly before moving to the next step to avoid warping the containers or burning yourself.
Step 2: Add Fragrance
Why it matters: The aroma is the heart of this project. Selecting the right essential or fragrance oil will create the desired scent profile for your space.
How-to:
- Once the gelatin is dissolved, add 20-30 drops of your chosen essential oil or fragrance oil. Feel free to mix different scents to create a signature blend! Peppermint and lavender are fantastic together, for instance.
Common problems: If you find the scent isn't strong enough, you can always add more drops until you’re satisfied.
Step 3: Introduce Color and Glitter
Why it matters: Adding color makes your air fresheners visually appealing, and the glitter enhances their charm. This step allows you to personalize your project.
How-to:
- If you’d like your gel to be tinted, add a few drops of food coloring at this point and stir until the color is uniform.
- Now, add 2 tablespoons of glitter to the mixture and stir again. This is where the magic happens!
Suggestions: For a more celestial theme, try silver or gold glitter, or for a beachy vibe, opt for vibrant ocean blues.
Step 4: Pour into Containers
Why it matters: The way you pour the mixture affects the final look of your gel air fresheners.
How-to:
- Carefully pour the mixture into your chosen containers. You can use silicone molds for cute shapes or mini jars for a rustic vibe.
- Leave some space at the top to avoid overflow as it sets.
Step 5: Allow to Set
Why it matters: Patience is key here, allowing the gelatin to set correctly will ensure that you have a solid air freshener.
How-to:
- Place your filled containers on a level surface and let them sit at room temperature for 4-6 hours or until completely firm.
Tip: If you're in a hot environment, consider placing them in the fridge for faster setting.
Troubleshooting Common Issues
While making these glitter gel air fresheners is relatively straightforward, sometimes things can go amiss. Here are a few pointers:
- Lumpy Gel: If you see lumps, you may not have dissolved the gelatin completely. Always mix thoroughly!
- Weak Scent: If the scent fades quickly, consider using more fragrance oil next time. It's allowed to be fragrant, so don’t hold back on the drops!
- Too Gelatinous: If your final product is too firm, you can mix a little distilled water in and let it sit for an hour.
Personal Anecdotes & Safety Considerations
I remember the first time I made these air fresheners—I went a bit overboard with the glitter, and they ended up looking like disco balls. While it was amusing, it also taught me the value of moderation. Now, I embrace a little less sparkle for a more sophisticated look.
When handling essential oils or fragrances, it's essential to check for skin sensitivity. Always do a patch test if you're unsure, especially when applying directly onto skin or if you have allergies. Also, ensure that the containers you choose are safe for use with hot materials.
Creative Variations
Feel free to get creative! Here are a few variations that have turned out to be favorites:
- Herbal Blend: Use dried herbs like lavender or rosemary for a more rustic look.
- Colored Layers: Pour different colored gel layers into your container for a multi-dimensional effect.
- Add a Touch: Incorporate small dried flowers or green herbs for a more natural aesthetic.
Conclusion
And there you have it—your guide to making glitter gel air fresheners! I hope this tutorial inspires you to dive into this fun crafting project. Once you've made a batch, you’ll find they also make delightful gifts for friends and family or charming decorations in any room.
Embrace the process, get creative, and let your personality shine through your homemade air fresheners. Crafting is not just about the final product; it's about enjoying the journey. I can't wait to see your creations! Happy crafting!