Crafting Sparkle: A Complete Guide to Making Glitter Tube Bracelets
Hello fellow crafters! Today, I am thrilled to share with you one of my most beloved DIY projects: Glitter Tube Bracelets. These charming accessories not only add a splash of color and sparkle to any outfit but also make for unforgettable gifts and fun crafting projects with friends and family. Whether you're gearing up for a festival, a party, or just want to express your creative spirit, these bracelets are versatile and easy to make!
What Are Glitter Tube Bracelets?
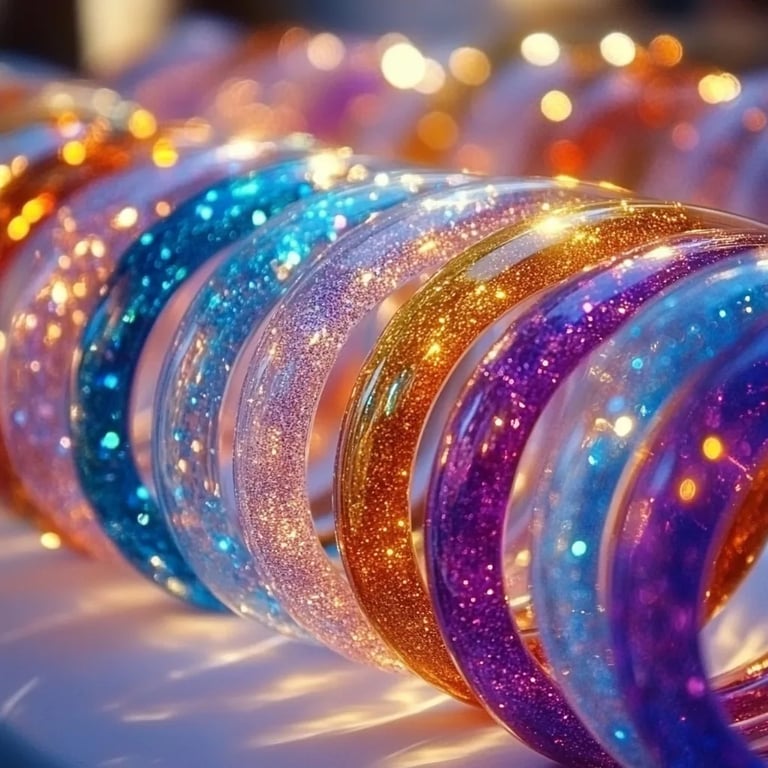
Glitter Tube Bracelets are vibrant, eye-catching accessories that incorporate colorful glitter encapsulated in a plastic tube. These fashionable pieces are among the hottest DIY trends right now, as they can be personalized with different colors and patterns to match your unique style. I love making these bracelets because they're fun to create and offer endless opportunities for creativity! Plus, they're lightweight, comfortable, and perfect for layering or wearing solo for a bold statement.
Why Are They Popular?
The popularity of these bracelets lies in their simplicity and versatility. They can be worn at casual outings, parties, festivals, or even as a fun adornment during cozy evenings at home. They also make wonderful gifts that showcase personal touches, as you can customize the colors to suit the recipient's style. Furthermore, crafting Glitter Tube Bracelets is an excellent introduction to jewelry making for beginners. It's a fantastic way to express your artistic side while honing your crafting skills!
Getting Started with Glitter Tube Bracelets
You’ll be delighted to know that crafting these bracelets doesn’t require an extensive toolkit. Below, I've compiled a list of accessible materials and detailed steps for making your own Glitter Tube Bracelets!
Materials Needed:
- Plastic Tubes: You can find these at craft stores, or sometimes you may have them left over from packaging.
- Glitter: Choose your favorite colors or even mix them! Chunky glitter and fine glitter can both create unique looks.
- Elastic String: Be sure to select durable elastic string suitable for jewelry making.
- Beads (Optional): For added flair, you can incorporate beads between the glitter tubes.
- Adhesive (Optional): Clear glue or hot glue for sealing the ends.
- Scissors: For cutting the elastic string.
- Measuring Tape: For determining the correct length of your bracelet.
Step-by-Step Tutorial:
Now, let’s get into the fun part—the crafting process! Here’s a comprehensive, step-by-step guide to making your Glitter Tube Bracelets.
Step 1: Measure Your Wrist
First, you’ll want to determine the correct length of elastic string needed for your bracelet. Take a measuring tape and wrap it around your wrist. For a comfortable fit, add about an inch to your measurement for ease. Cut the elastic string according to your measurement.
Tip: If you are uncertain, it’s always better to make the bracelet slightly longer than too short!
Step 2: Choose and Prepare Your Glitter
Select the glitter colors that inspire you! For a stunning blend, consider using a mix of chunky and fine glitter. Prepare your plastic tubes by ensuring they’re clean and dry. If needed, you can wash and dry them, then give them some time to fully dry before proceeding to the next step.
Possible Pitfall: If the tubes are not clean, the glitter may not stick well, leading to a lackluster appearance.
Step 3: Fill the Tubes with Glitter
Using a funnel (or even a piece of paper folded into a cone), carefully pour glitter into your plastic tubes. You can create patterns by alternating colors or filling one tube fully with one color and another with a mix. Sealing options include using a bit of adhesive to hold the glitter in place.
Caution: Be mindful of the mess! Glitter can spread everywhere, so I recommend covering your workspace or doing this step outside if possible.
Step 4: Stringing It Together
Now it’s time to thread your finished glitter tubes onto the elastic string. Start by tying a secure knot at one end of the elastic to keep the tubes from falling off.
String your glitter tubes onto the elastic, allowing space in between for beads if you choose to add them. Keep an eye on the pattern, and let your creativity shine through!
Personal Anecdote: The first time I made these bracelets, I got so caught up in the glitter that I forgot to leave enough space for my beads! It turned out beautiful anyway, but now I always prepare a plan before stringing!
Step 5: Secure the Bracelet
Once all the components are strung on the elastic, tie a secure knot at the other end to secure your glitter tubes and beads. To ensure the knot holds, you can add a drop of clear glue for extra security. If your bracelet feels too tight or too loose, now’s the time to adjust it.
Step 6: Finish and Enjoy
Once your bracelet is securely tied and any glue has dried, it’s time to show off your new creation! Slide it onto your wrist and admire your handiwork. They also make fabulous gifts—wrap them up with a pretty bow and share your love for crafting with friends!
Creative Variations:
- Themed Bracelets: Create bracelets based on seasons, holidays, or personal interests. For example, red and green glitter for Christmas or pastel hues for spring.
- Layered Look: Make several bracelets in different colors and stack them for a trendy layered appearance.
- Charms: Add some charms to the elastic string for added flair.
Troubleshooting Common Issues:
- Glitter Overflow: If glitter spills out too easily, make sure your tubes are sealed well. Applying glue should prevent this.
- Too Loose or Tight Fit: If your bracelet is too loose, you may need to add more beads or tubes. Conversely, if too tight, consider redoing it with a longer piece of elastic.
Safety Warnings:
While crafting is fun, be cautious with small materials, especially around children, to avoid choking hazards. Additionally, if you use hot glue, be careful to avoid burns!
Final Thoughts
Making Glitter Tube Bracelets can yield stunning results and provide a delightful crafting experience. I hope this guide inspires you to unleash your creativity and explore the world of DIY jewelry. Remember, crafting is all about experimenting and having fun! Enjoy your crafting journey, and don’t hesitate to make these bracelets your own. Happy crafting!