Crafting Serenity: How to Make DIY Scented Aroma Stones
Hello fellow crafters! Today, I'm excited to share with you one of my absolute favorite DIY projects: scented aroma stones. I fell in love with these delightful little creations a few years ago when I was looking for eco-friendly ways to infuse my space with calming scents. Aroma stones serve not only as charming home decor but also provide a subtle and long-lasting fragrance that can elevate the atmosphere of any room.
Whether you're looking to add a personal touch to your space, create a thoughtful gift, or simply want to indulge in a creative outlet, making scented aroma stones is a simple yet rewarding process. So, let’s embark on this fragrant journey together!
What Are Scented Aroma Stones?
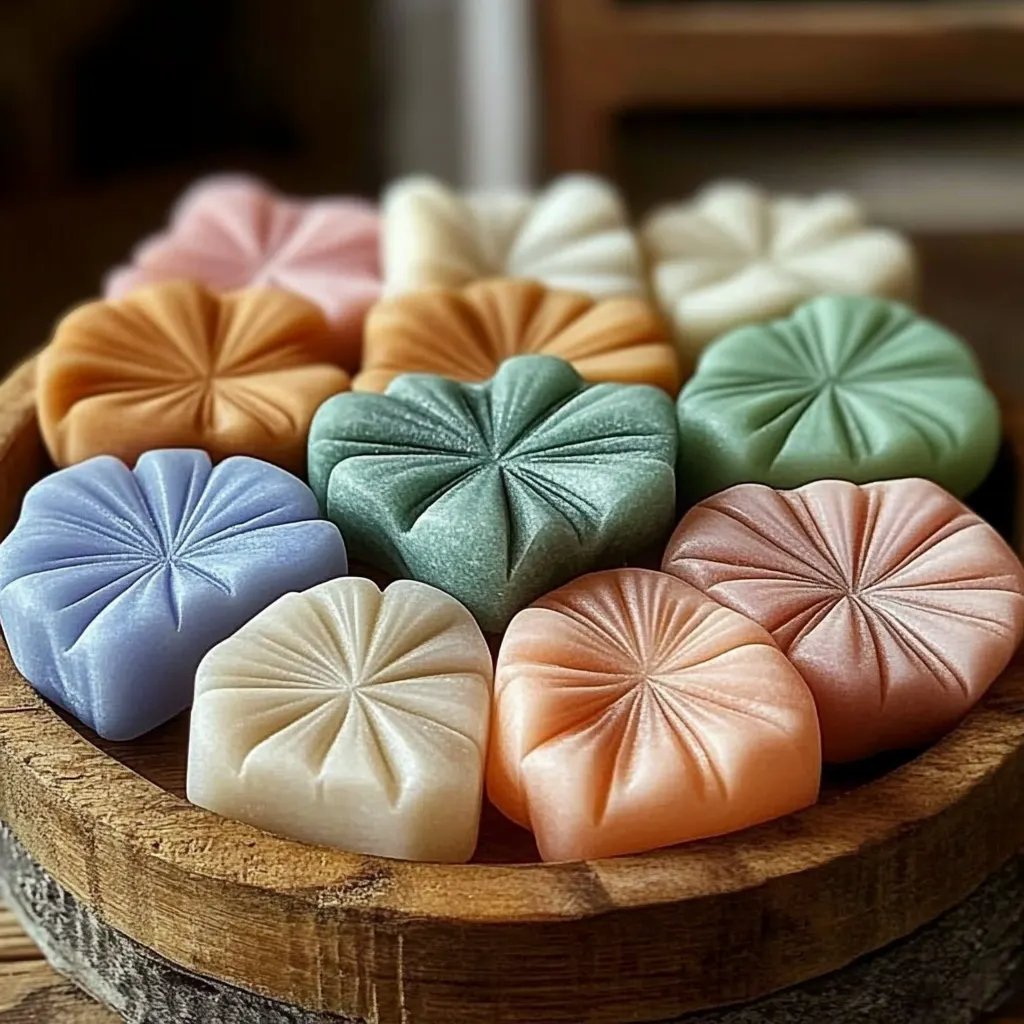
Scented aroma stones are essentially decorative stones made from a mixture of baking soda and warm water, infused with essential oils or fragrance oils. They release their lovely scents slowly over time, making them an excellent alternative to traditional air fresheners that can contain harsh chemicals. At home, I love placing these stones in rooms where I want to promote relaxation—the living room, bedroom, or even my home office during those busy work-from-home days.
Why are Scented Aroma Stones Popular?
These stones are gaining traction not just for their aesthetic appeal but also for their versatility. You can customize them with your favorite scents, adapt the shapes and colors to fit your decor, and they're incredibly simple to make. Additionally, they provide a great non-toxic option for fragrance, making them safe for homes with children and pets.
When and How Can You Use Scented Aroma Stones?
The possibilities for these stones are endless—they’re perfect for freshening up your home, enhancing your meditation space, or even as a delightful addition to a gift basket. I often use them during self-care moments, nestled into a relaxing bath setup, or I tuck them into drawers to keep my clothes smelling wonderful. You can also toss them into your car or office for an uplifting scent boost!
What You'll Need to Get Started
Before we dive in, let’s gather our materials. You probably have many of these items at home, making this project accessible and budget-friendly!
Materials:
- 1 cup baking soda – This is the base for our aroma stones.
- 2 tablespoons of white vinegar – This reacts with baking soda, creating a firm, moldable dough.
- 2 tablespoons of cornstarch – Helps to add firmness and gives the stones a nice texture.
- Water (as needed) – You may need a bit more to adjust the dough’s consistency.
- Essential oils or fragrance oils – Choose any scent you adore! I love lavender for its calming effects or citrus for a refreshing vibe.
- Silicon molds or cookie cutters – This is where your creativity shines!
- A mixing bowl and spoon – To combine your ingredients.
- Wax paper – For easy cleanup and to let your stones dry.
Optional:
- Food coloring – If you’d like to add a fun pop of color.
- Natural additives – Like dried flowers or herbs (think lavender buds or dried rose petals) which can enhance the aesthetics of your stones.
Step-by-Step Tutorial: Making Scented Aroma Stones
Step 1: Mix the Dry Ingredients
In a mixing bowl, combine 1 cup of baking soda and 2 tablespoons of cornstarch. I like to mix these thoroughly to ensure an even distribution since both ingredients play crucial roles in the texture and firmness of our stones. Dry mixing also helps avoid clumping when the wet ingredients are introduced.
Step 2: Add the Wet Ingredients
Next, carefully pour in 2 tablespoons of white vinegar. You’ll notice some fizzing—this is completely normal! It’s the reaction that produces the right consistency for our dough. Stir gently as the mixture foams to incorporate everything together.
After the fizz settles, it’s time to add water in small amounts—about a tablespoon at a time—until you achieve a moldable, dough-like consistency. You want it wet enough to hold shape but not so wet that it sticks excessively to your hands.
Step 3: Integrate Your Fragrance
Here comes the fun part—adding your scents! I usually recommend starting with about 15-20 drops of essential oil. Don’t be shy; feel free to mix different oils for a more complex aroma! If you'd like to incorporate color, now is the time to add a drop of food coloring as well. Blend thoroughly until evenly distributed.
Step 4: Shape Your Stones
If you're using a mold, simply scoop the mixture into each cavity, pressing it down firmly to avoid air pockets. If you're using cookie cutters, dust your surface with a bit of cornstarch to prevent sticking and press down the dough. Carefully remove the shapes, transfer them onto your wax paper, and continue until you’ve used up the mixture.
Step 5: Drying the Stones
Allow your aroma stones to dry for *24-48 hours* at room temperature. The drying time can vary based on humidity and thickness. If you live in a particularly humid area, I suggest placing them in a dry, well-ventilated space.
Tip: To speed up drying, you can place them in an oven set to the lowest temperature (around 200°F) for about 1-2 hours. Just keep an eye on them to avoid burning!
Step 6: Enjoy and Maintain Your Aroma Stones
Once completely dry, your aroma stones are ready to delight your senses! To refresh the scent, simply apply a few drops of essential oil onto the stones when the fragrance begins to fade.
Troubleshooting Common Mistakes
- Too Wet? If the dough is too sticky, add a little more baking soda or cornstarch incrementally until it reaches a workable consistency.
- Stones Cracking? This can happen if they were too thick or dried too quickly. Next time, ensure even thickness and follow the drying process carefully.
- Scent Too Weak? Be generous with the oils! Or, if you prefer subtler scents, feel free to experiment with quantities in future batches until you find your perfect formula.
Creative Variations and Personal Anecdotes
One of my favorite variations involves adding dried herbs or flowers into the dough for a lovely visual appeal. The first time I added lavender buds, it not only enhanced the stone’s aesthetic but added an extra dimension to the scent, making it twice as lovely.
Additionally, consider wrapping them in burlap or placing them in small mesh bags for gifting—these little touches can elevate your creations into something truly special!
Safety Warnings
Although the ingredients are non-toxic, always keep them out of reach of young children and pets, especially the essential oils, which can be harmful in large amounts.
Conclusion
Embarking on the journey of crafting your own scented aroma stones is not just fulfilling, it helps fill your home with beautiful, calming scents tailored to your tastes. I hope this detailed guide inspires you to try this project—it's perfect for both seasoned crafters and excited beginners. Remember, crafting should be a joyous experience, so don’t stress the little details. Enjoy the process, and embrace the aromatic results!
Happy crafting, and may your corners be filled with delightful fragrances for days to come. If you have any further questions or would like to share your own experiences, feel free to leave a comment below. I’d love to hear about your aroma stone creations!